“A balanced diet is a cookie in each hand.”–Barbara Johnson
Coaching cookies? 🏃♀️
During my first year of teaching at a large rural high school in Kentucky, I helped coach the women’s cross country and track teams. The young ladies were an enthusiastic group who wholeheartedly supported each other while managing to be individually competitive.
The head coach worked from a philosophy of three “hard-work” practices with active recovery workouts in between. Active recovery days meant running slower, but for longer distances and periods of time. Therefore, those girls burned calories.
On the day of track meets, which could last upwards of four or more hours, depending upon how many teams were participating, the head coach and a few parents provided fruit, granola bars, little boxes of raisins, and packages of peanut butter crackers, alongside coolers of gatorade and water for the team. It wasn’t unusual for the young ladies to snack throughout the meet, especially once their main event was completed.
I was young, single, and had extra time on my hands, so I started baking cookies for their meets. The first time I did this, I baked chocolate chip cookies and peanut butter cookies.

An Idea is Born 🤔
The ladies, in the way only teenagers do, started goofing off with the cookies. One of the girls gained her teammates’ attention and put a peanut butter cookie in one hand and a chocolate chip cookie in the other. Then, she dramatically took a bite off one cookie and a bite off the other, and she chewed the two “bites” together.
“Mmmm,” she raved
Inspired by her friend, another teammate stacked three cookies together, like a sandwich, and bit into the stack.
“Yummy,” she said with theatrical flair as crumbs sprayed out of her mouth.
A third young lady, giggling hysterically, managed to put a peanut butter cookie on her bottom lip/mouth area and somehow managed to get the chocolate chip cookie to momentarily stick to her top lip. She tried to talk, and the two cookies, predictably, crumbled out of her mouth, raining onto the other girls and the metal bleachers.
She dramatically chewed the pieces of the cookies that remained in her mouth, sing-songing, “Soooo gooooood!”
Snorts of laughter–and crumbs–erupted.
The girls, slap-happy from such a long-evening on a spring school night, continued eating and entertaining one another with the cookies and silly stories. One girl turned to me.
“Hey, Ms. Musick, why don’t you make a peanut butter and chocolate chip cookie?”
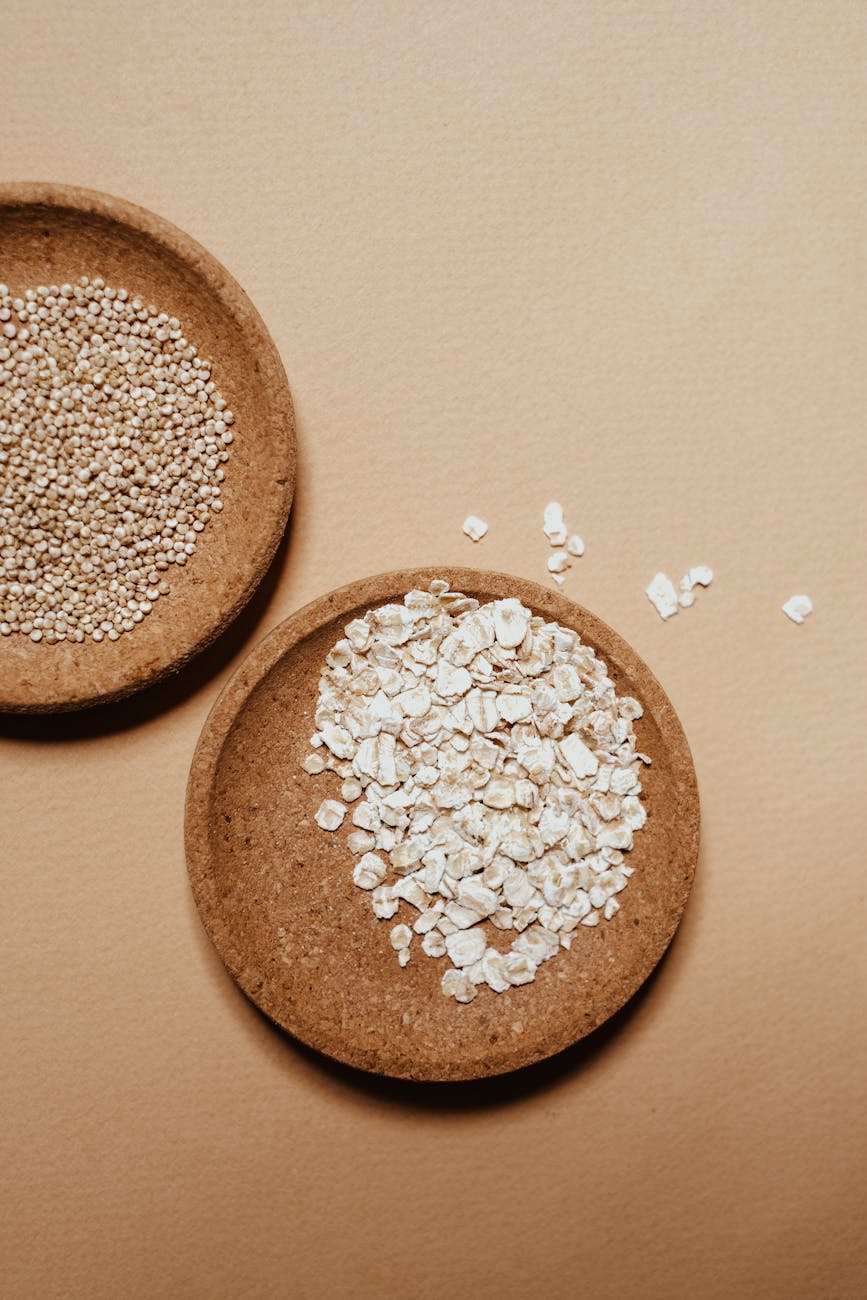
“But add oatmeal because it’s good for our cholesterol,” added another girl, arousing fits of raging laughter from her friends.
The reference was to the head coach–also the head cross country coach–who had, in all seriousness, had a mild cardiac event before the start of school. Throughout that school year, he lost quite a bit of weight and lowered his cholesterol through diet and exercise. It was no secret among the girls that he ate some form of oatmeal and/or oat bran twice daily.

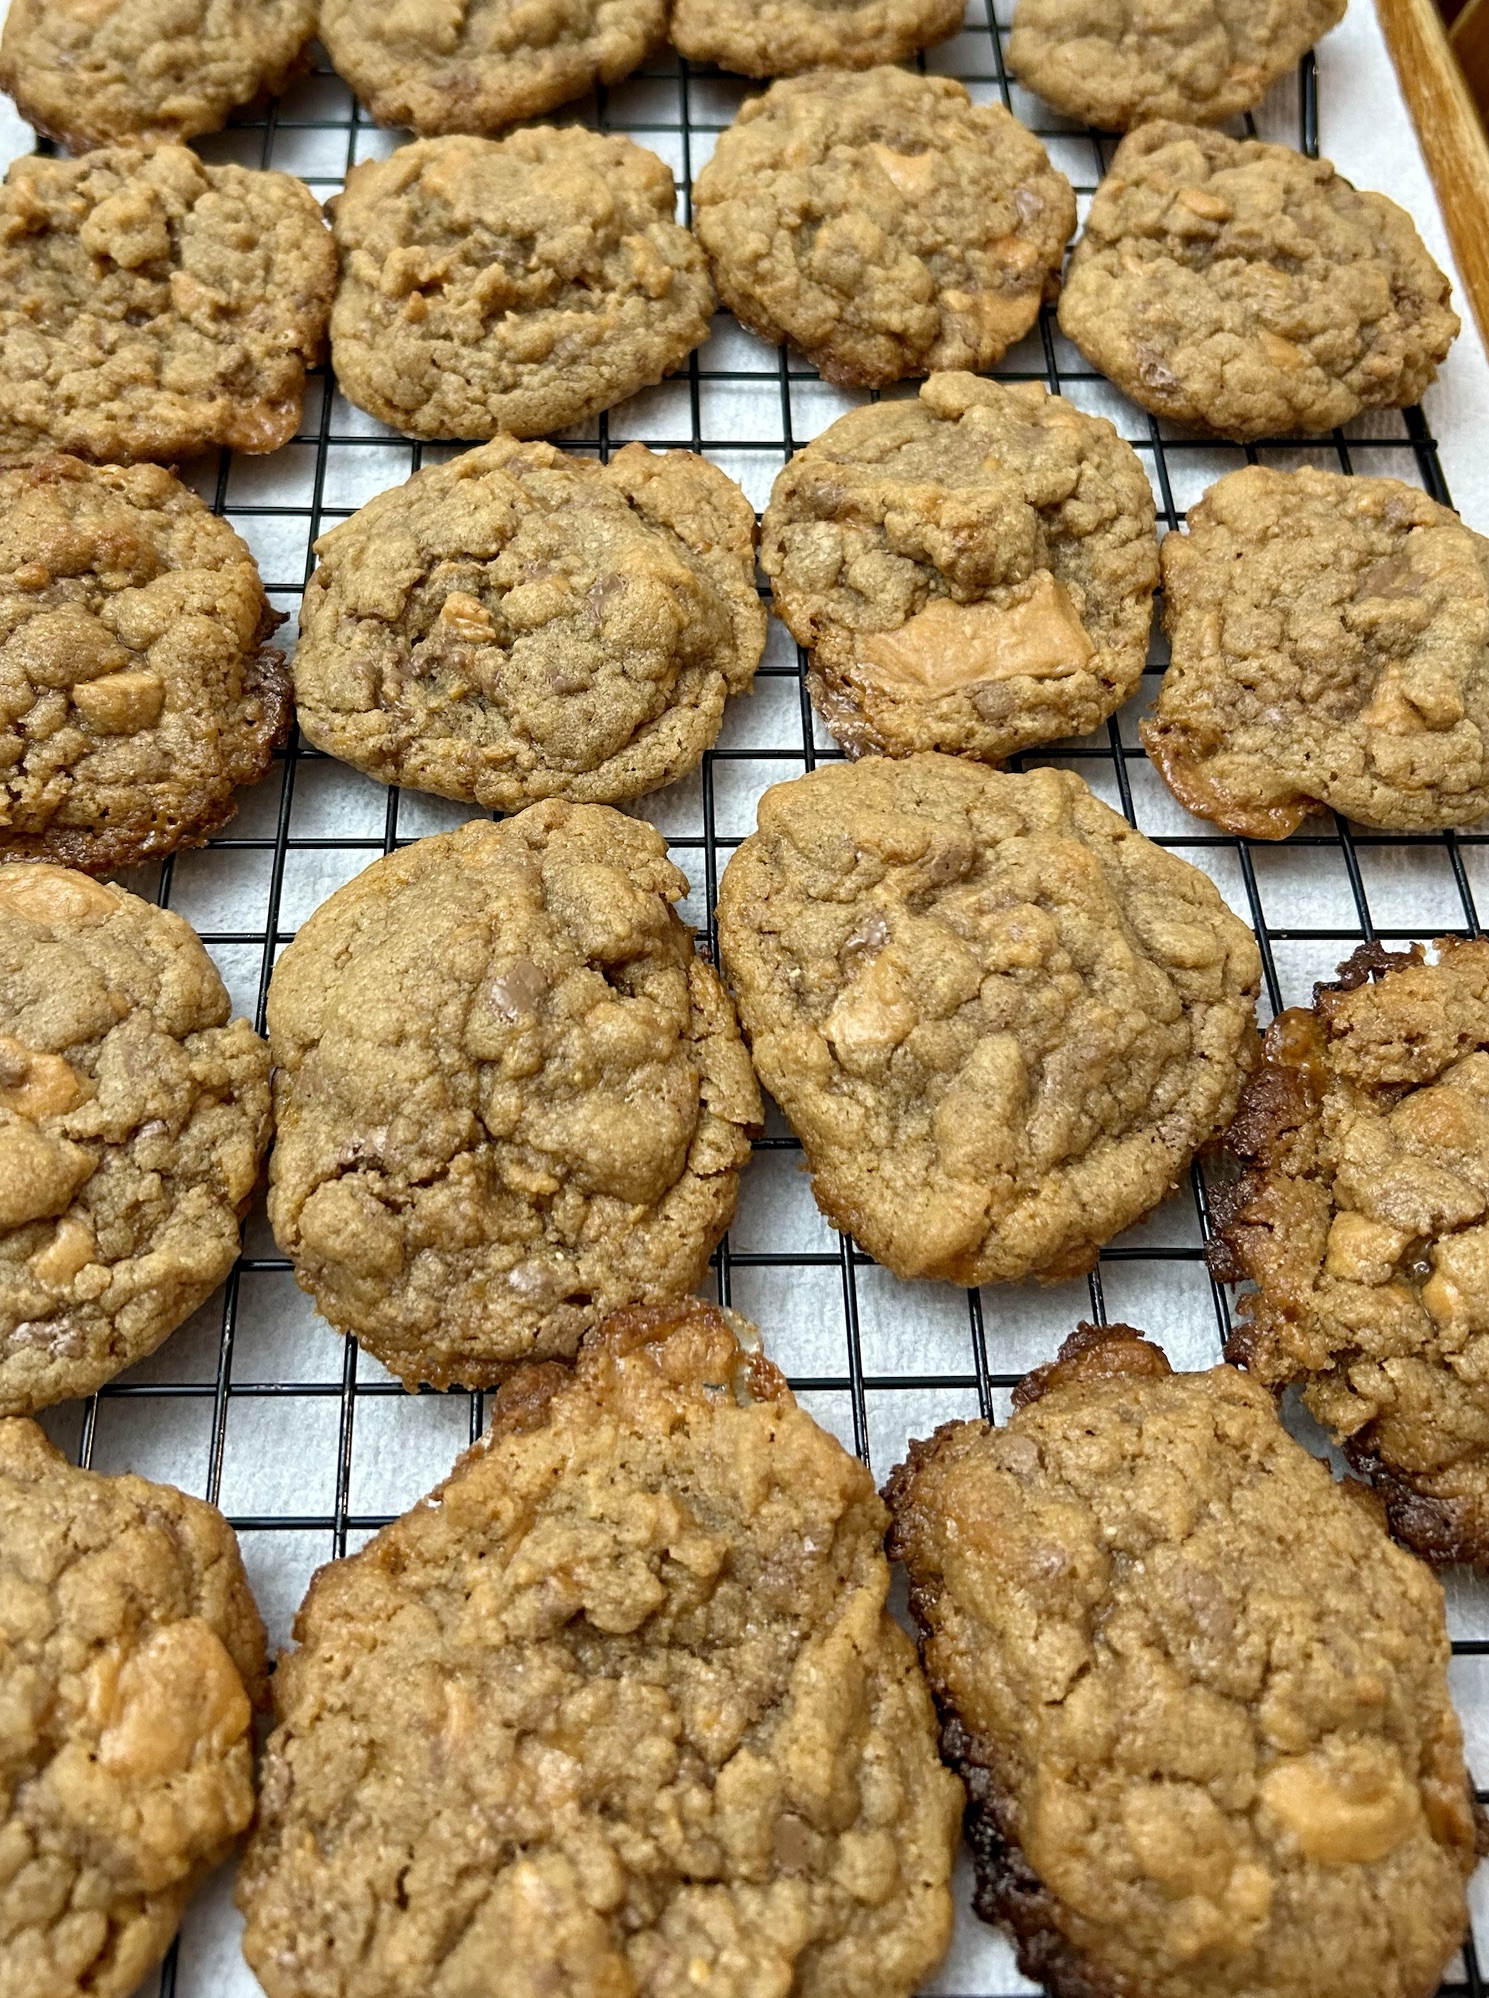
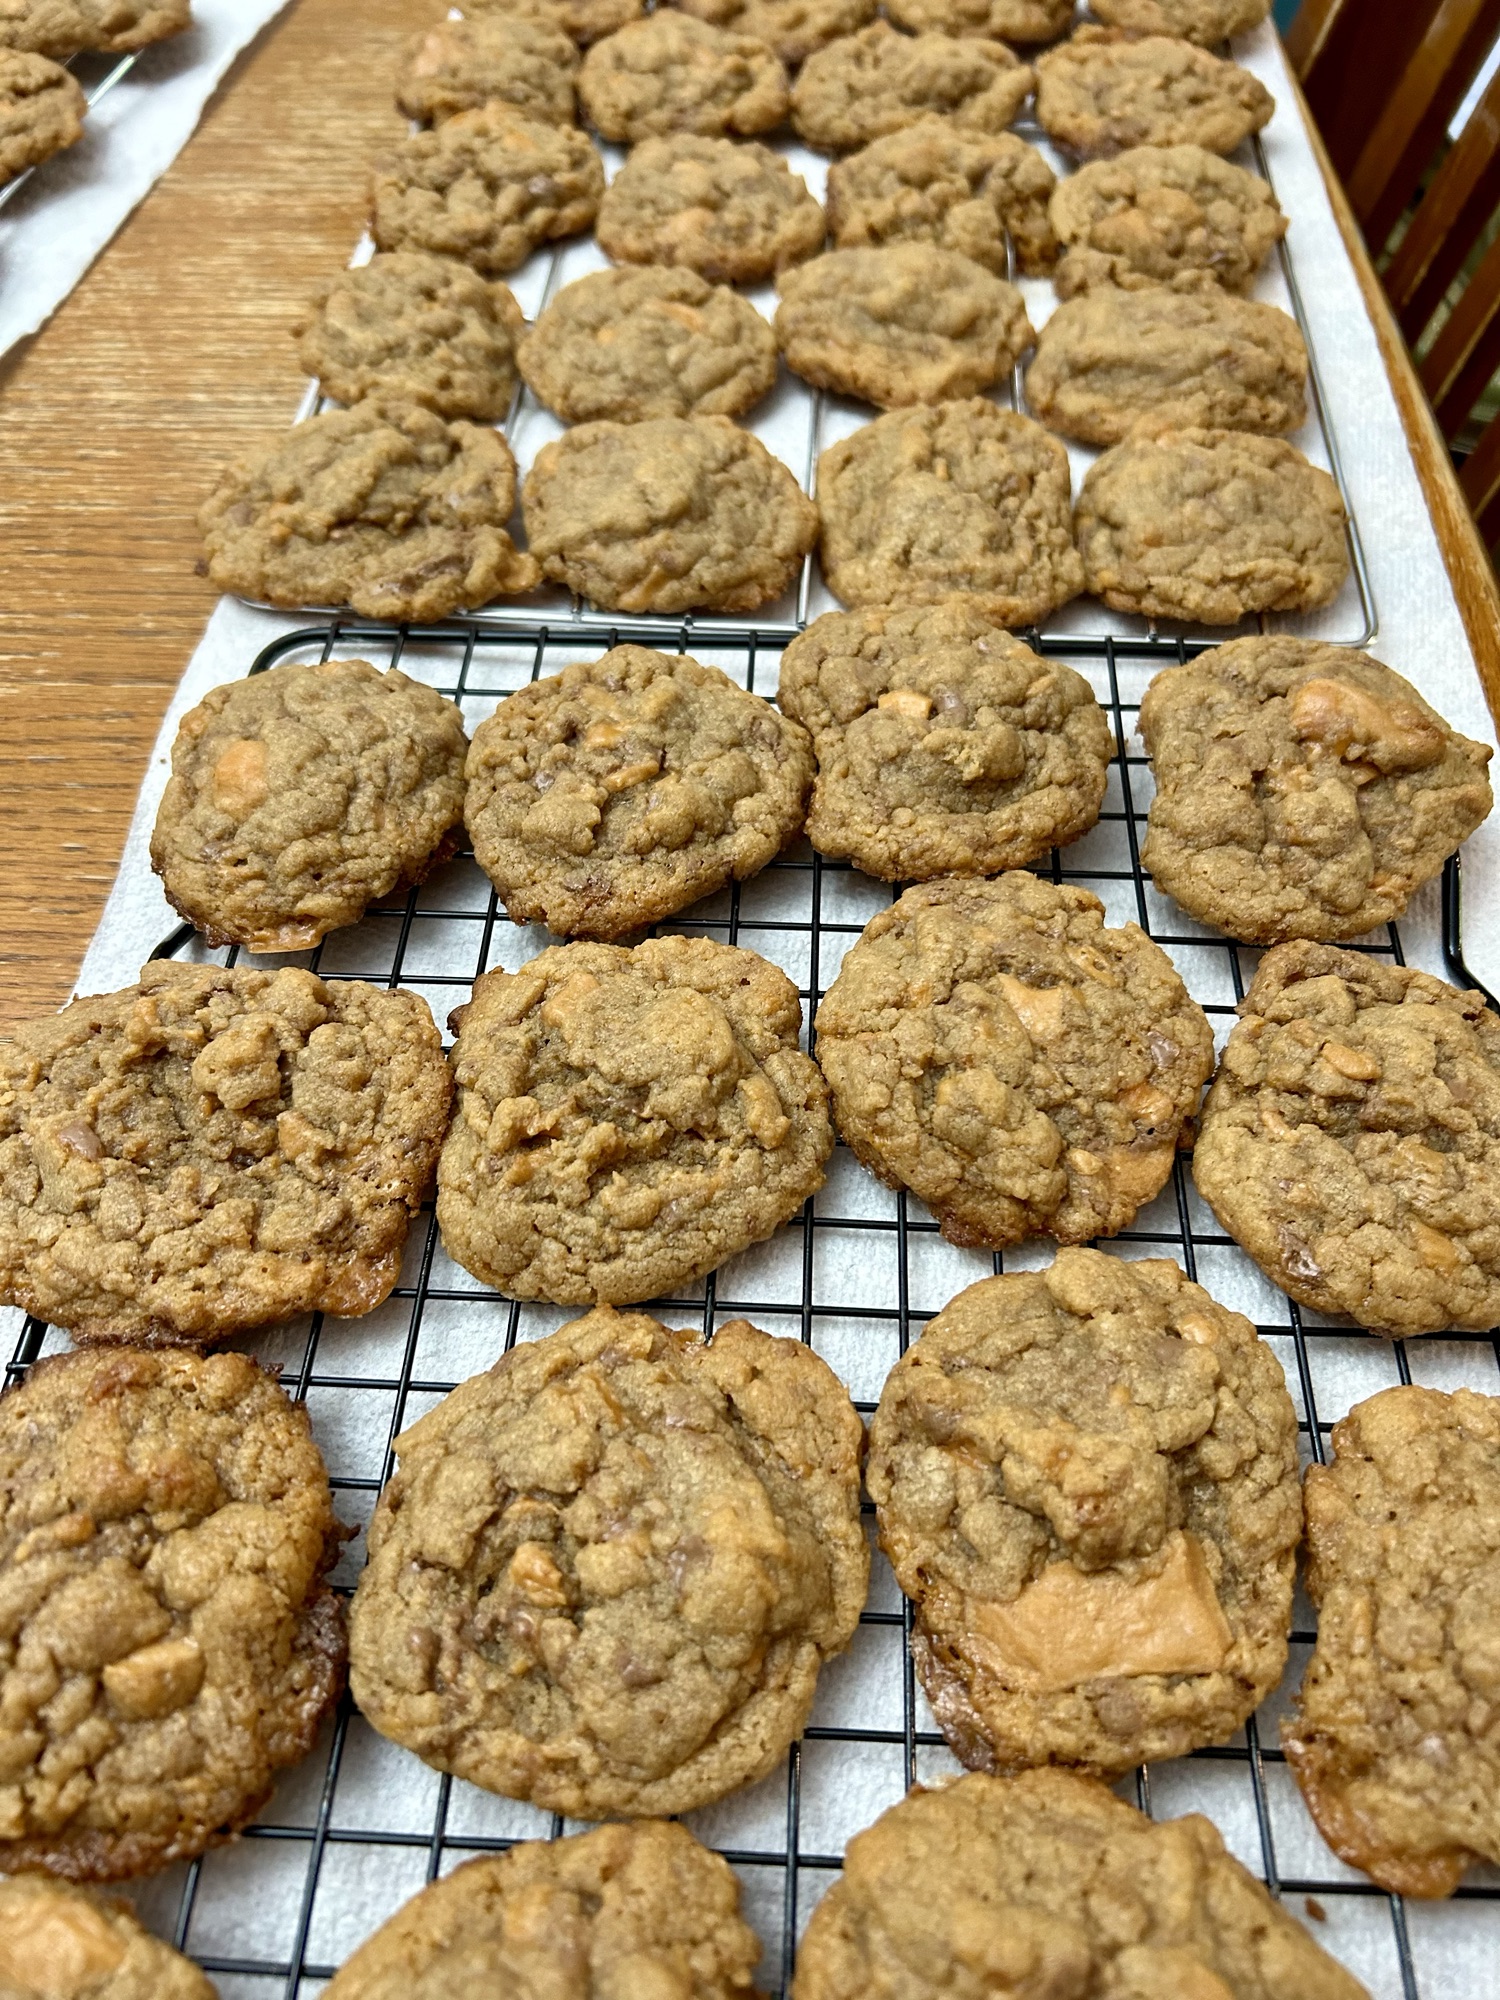
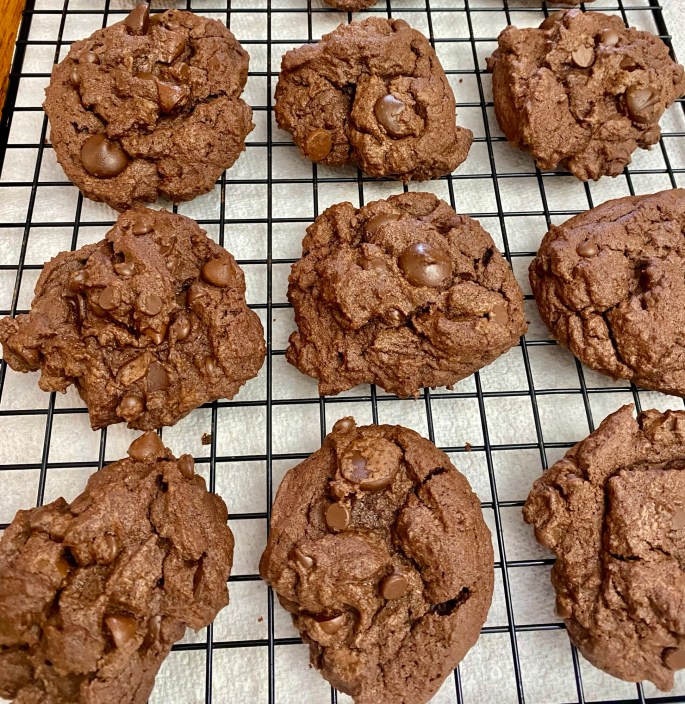
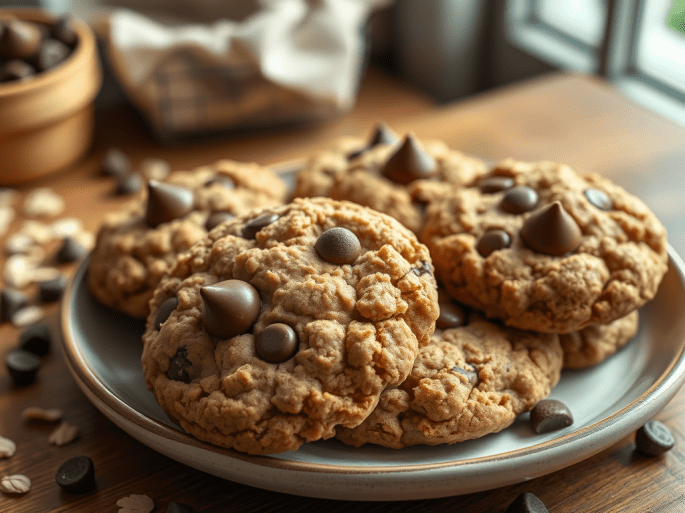
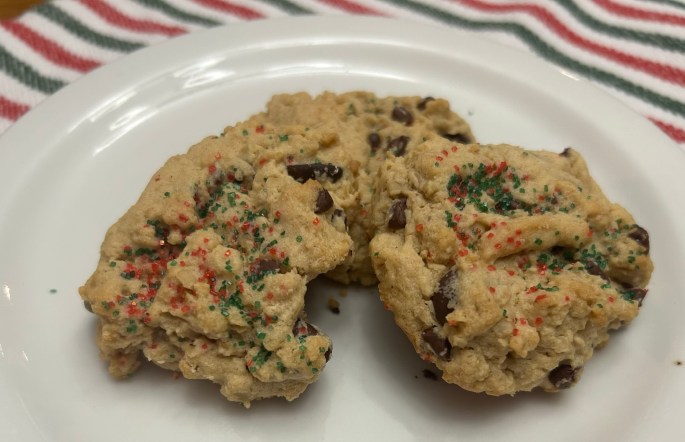
Introducing the Goop-N-Chip Cookie 🍪
Thus, a new cookie recipe was formed by the next track meet. If the cookies contained raisins, they were called “GORP-N-Chip” cookies, and if the cookies did not have raisins, the girls called them “GOOP-N-Chip,” mostly because it rhymed with poop, which made the girls hoot and holler.
Since that long-ago era, I haven’t made this recipe, and my notes for how to make them slipped into pages of the past, never to be found. (It was based on an idea found on an oatmeal container back in the late 80s during the oatmeal/oat bran craze.) Therefore, this current version takes inspiration from my own butterfinger cookie recipe as well as recipes found on Southern eats and goodies and Sally’s baking addiction. Perhaps, you can share these cookies with your favorite home team, however you define it.

The REcipe ⬇️
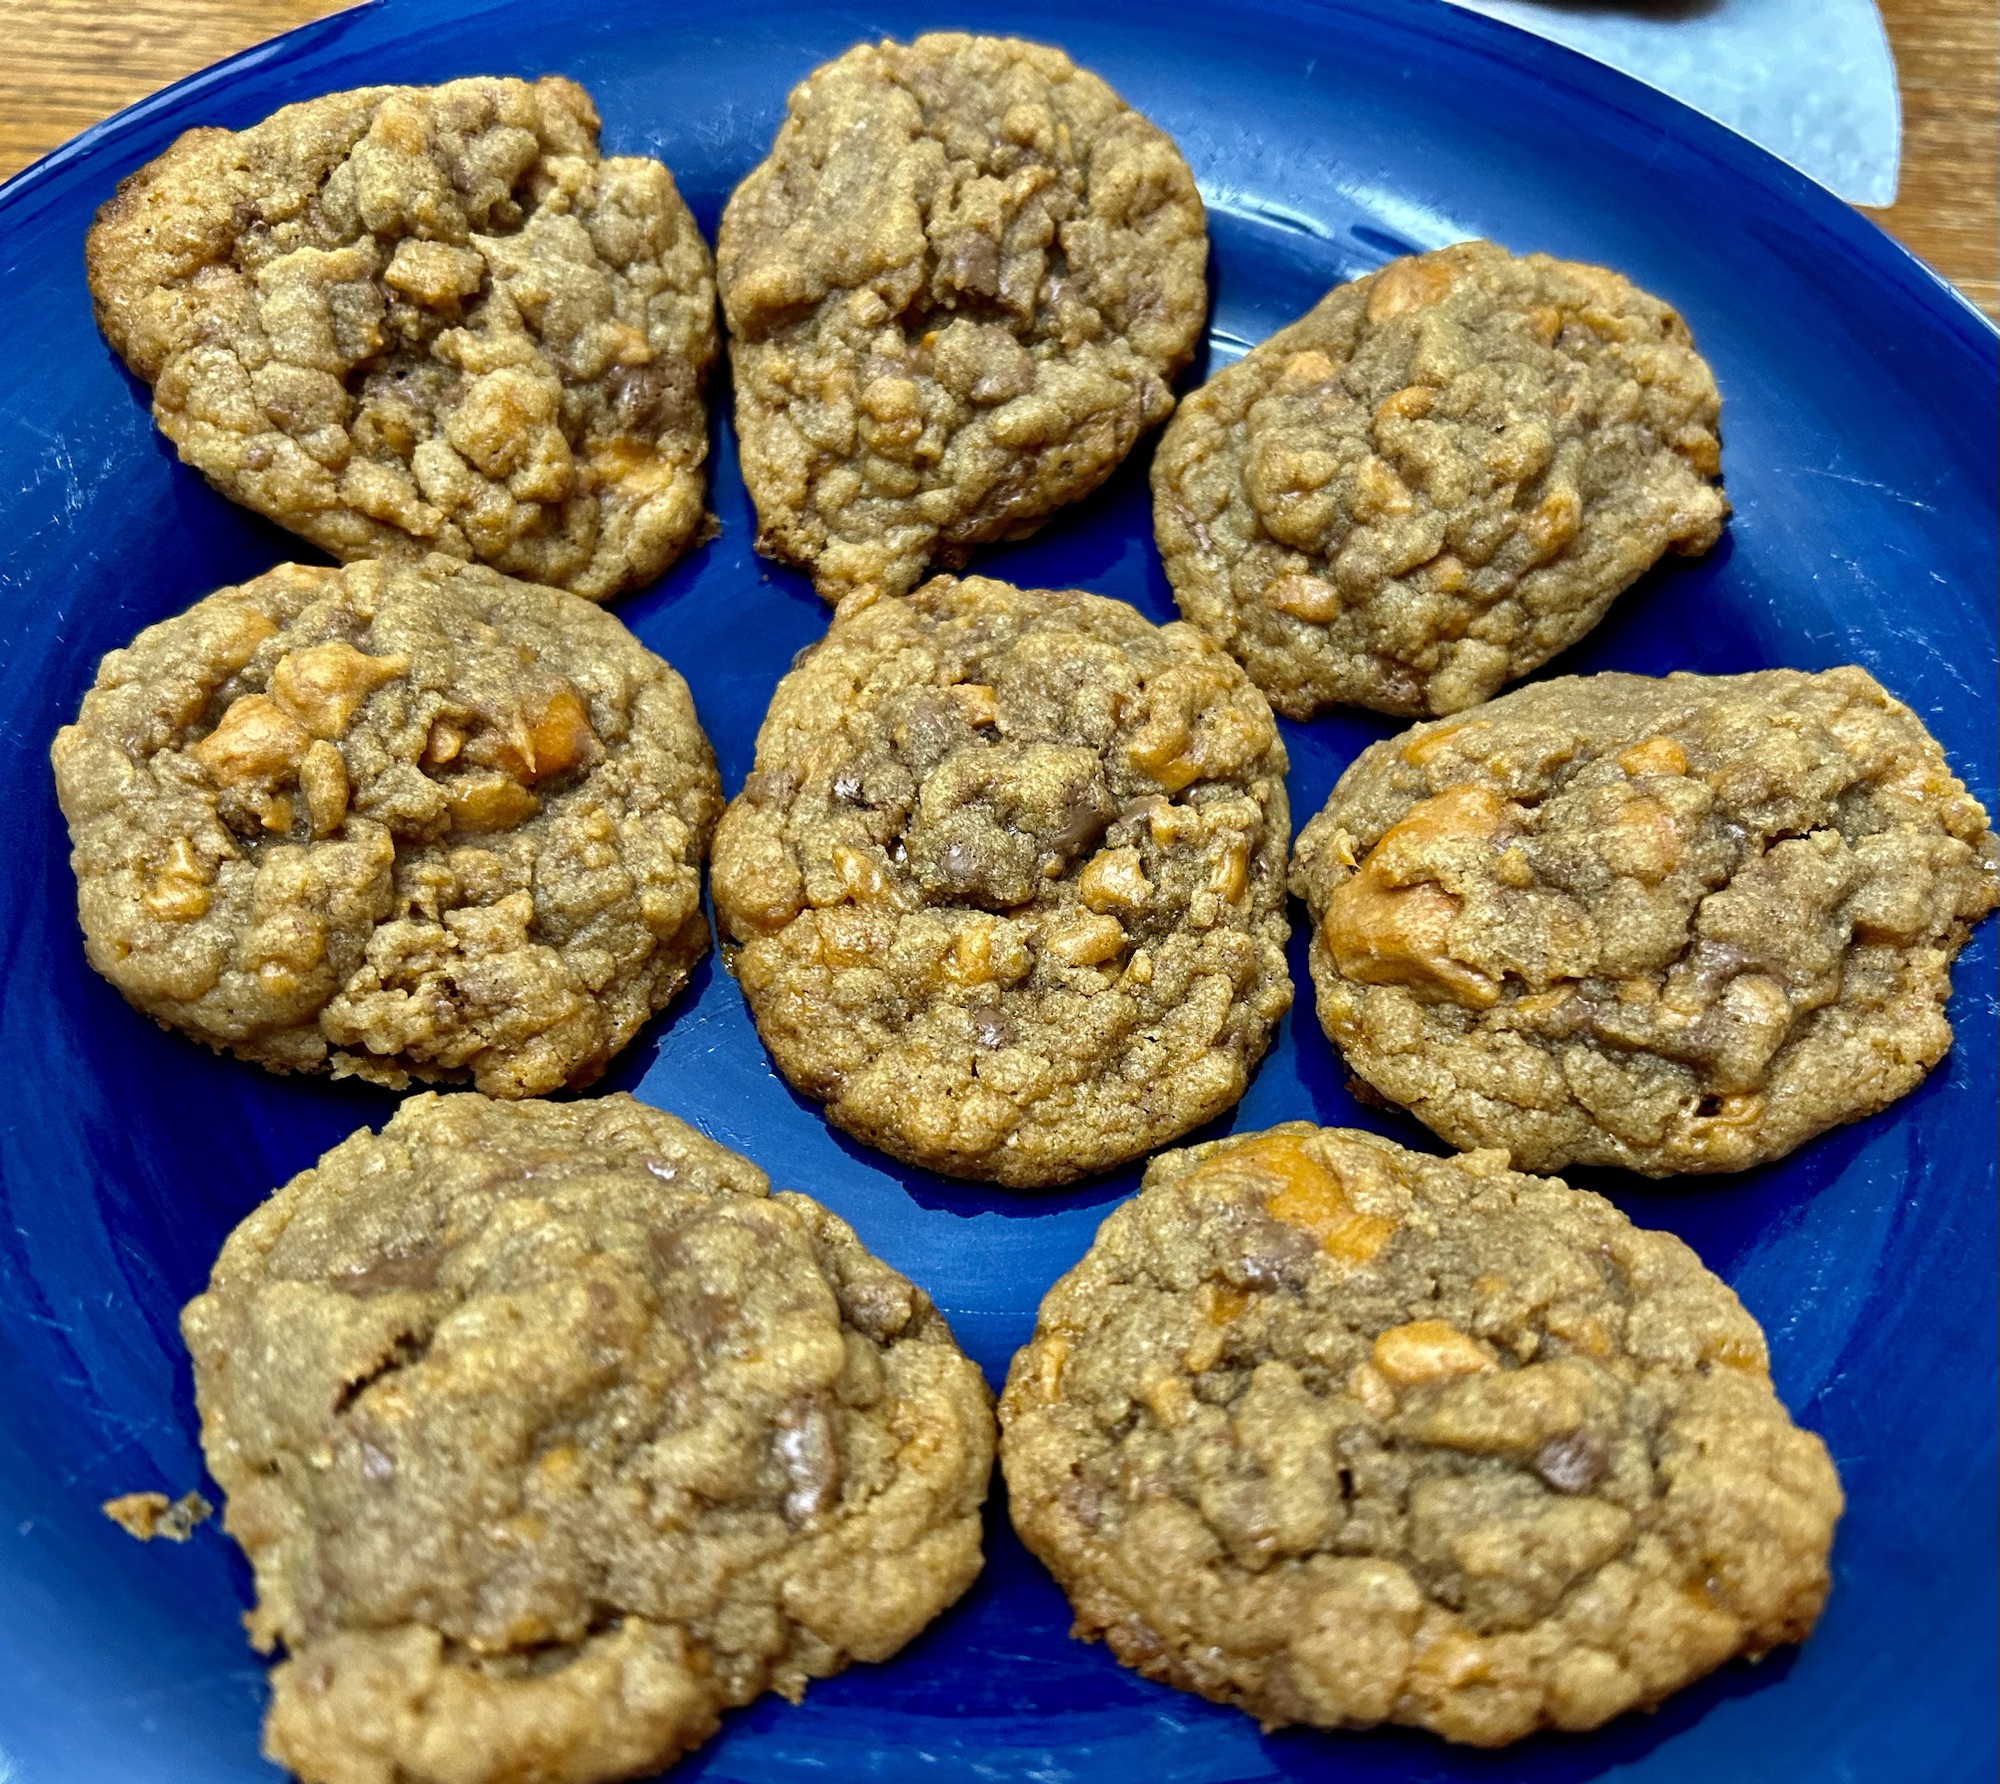
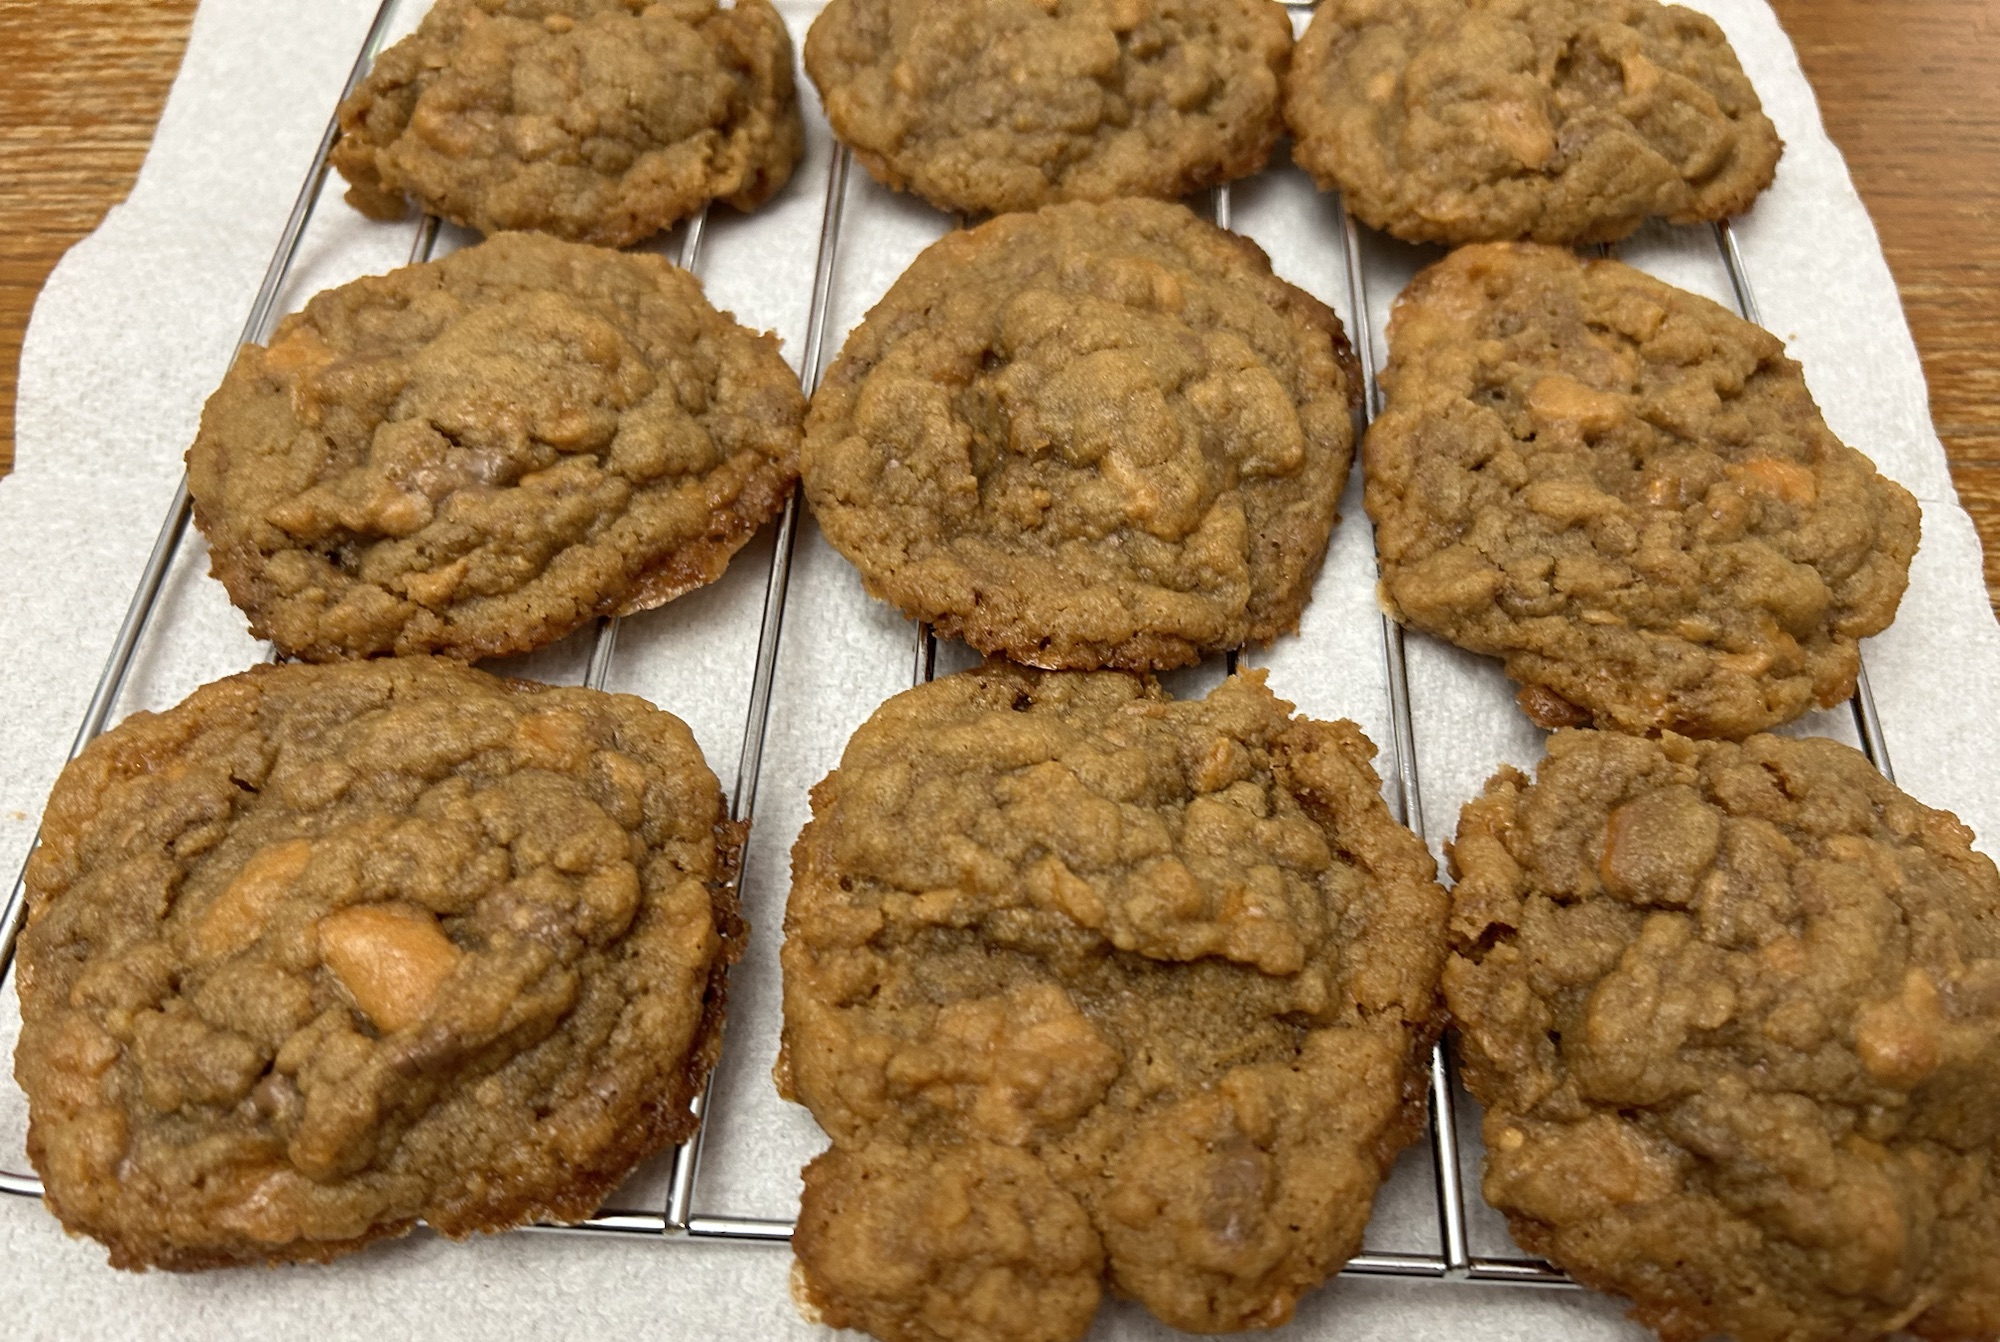
GOOP-N-Chip
(Good Old-Fashioned Oatmeal Peanut butter cookies with Chocolate chips)
With gluten-free options
Ingredients
1 ½ cup all purpose flour (I use gluten free)
1 teaspoon baking powder
1 teaspoon baking soda
1 teaspoon salt
½ cup butter, room temperature
½ cup shortening
1 cup creamy or crunchy (your preference) peanut butter
¾ cup granulated sugar
¾ cup brown sugar
2 large eggs, room temperature
1 tablespoon vinegar
2 teaspoons vanilla extract
2 cups oats (I used gluten free, old-fashioned rolled oats)
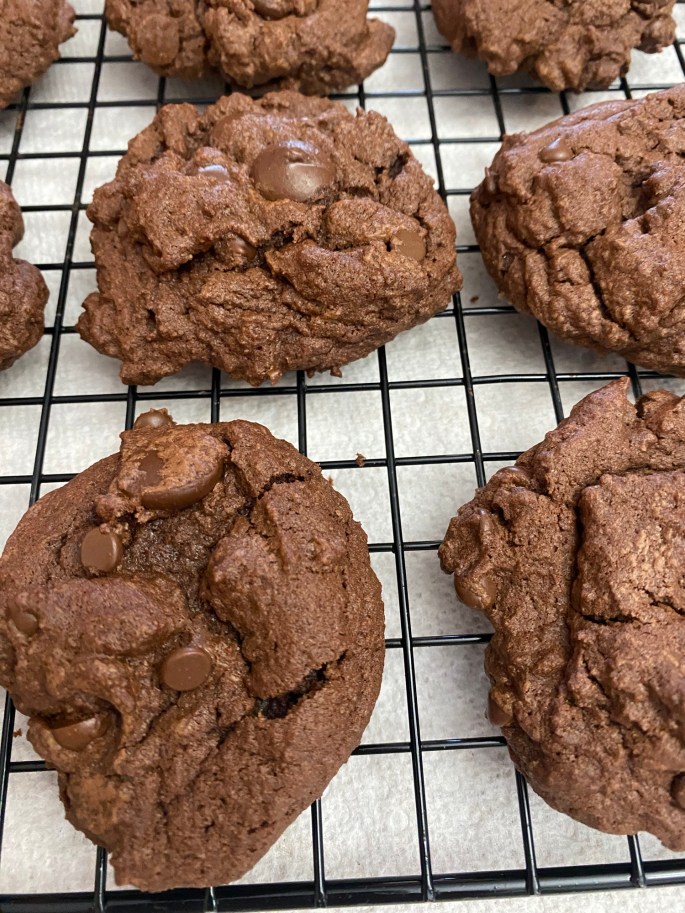
2 cups total of chocolate, peanut butter, or other candy chips (I used a variety of different types of chocolate chips)
½ cup raisins or nuts, optional
Directions
An hour or two before baking, set out eggs and butter to come to room temperature
When ready to bake, preheat oven 350 degrees
Line baking sheet with parchment paper & set out cooling racks
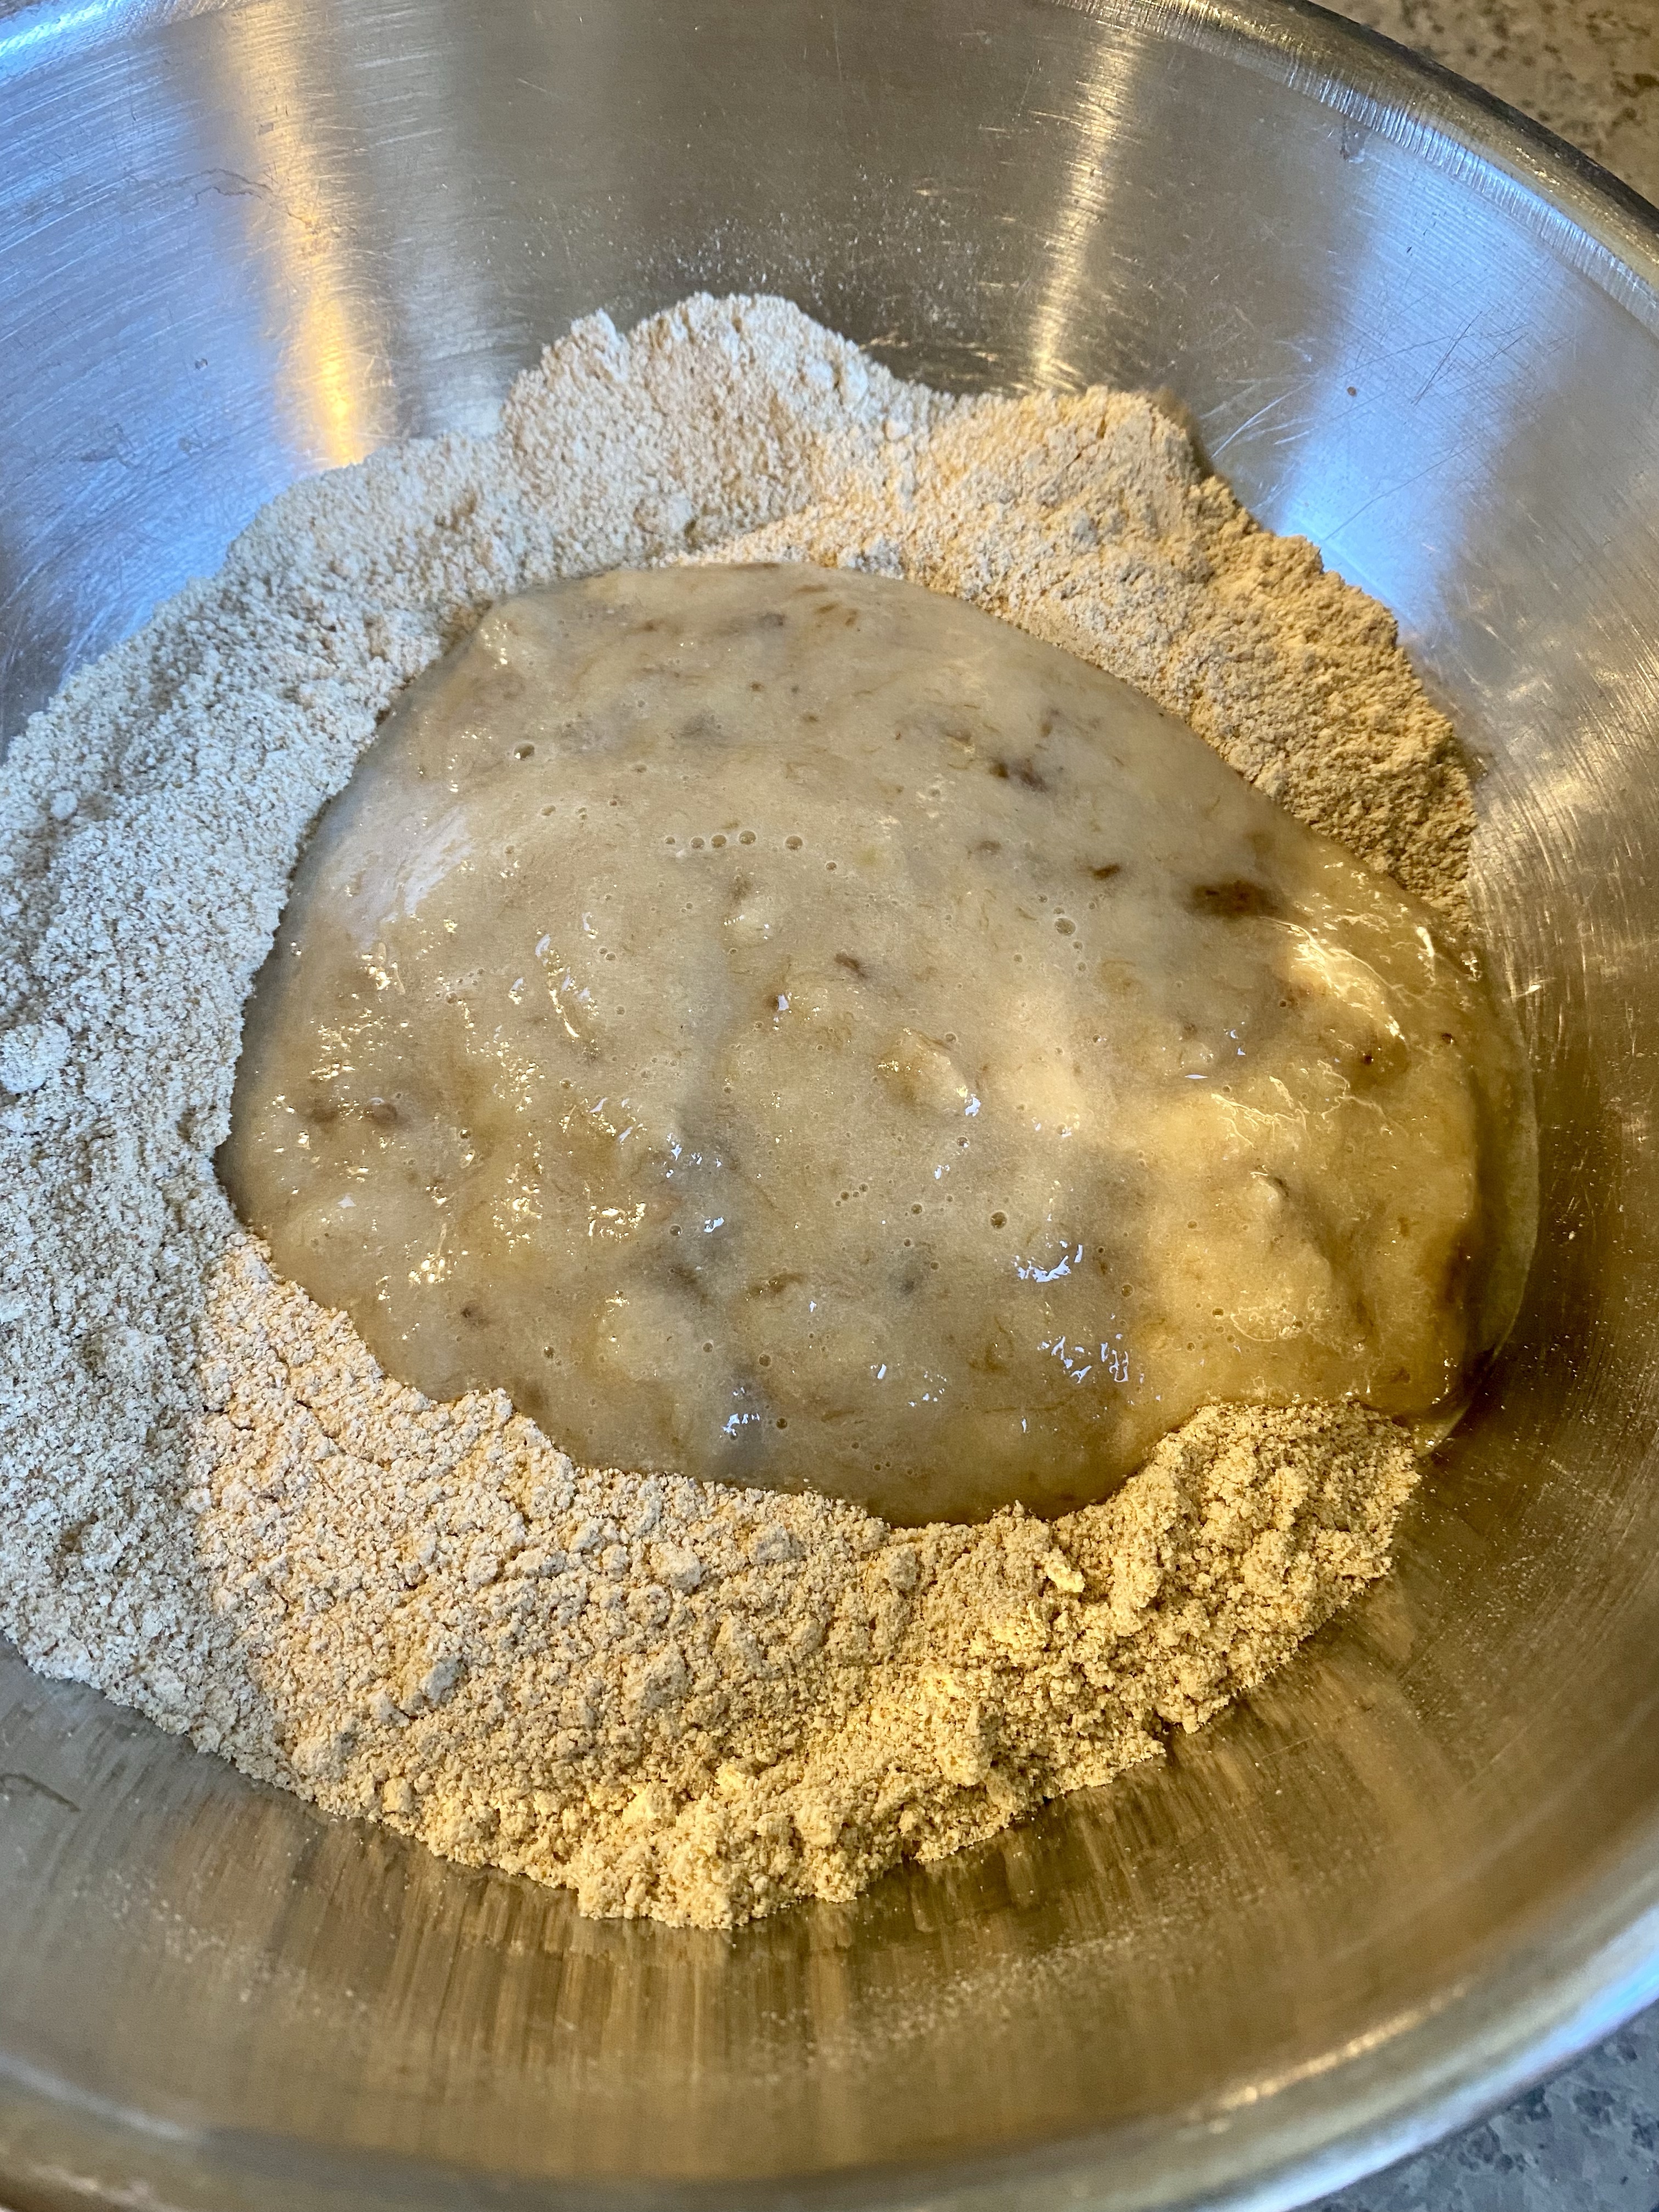
In a large bowl, blend together flour, baking powder, baking soda and salt, then set aside
In a large mixing bowl, cream together butter, shortening, and peanut butter until well blended
Beat in sugar for 2-3 minutes, scraping down sides of bowl as needed
Add in eggs–one at a time–vinegar, and vanilla until well blended, 1-3 more minutes
Stir in flour mixture until blended
Gradually add in oats and chocolate chips
Drop by rounded spoonfuls onto parchment paper, leaving at least one inch between.
Bake 8-12 minutes, less time if you prefer softer cookie, more time if you prefer crunchier cookie
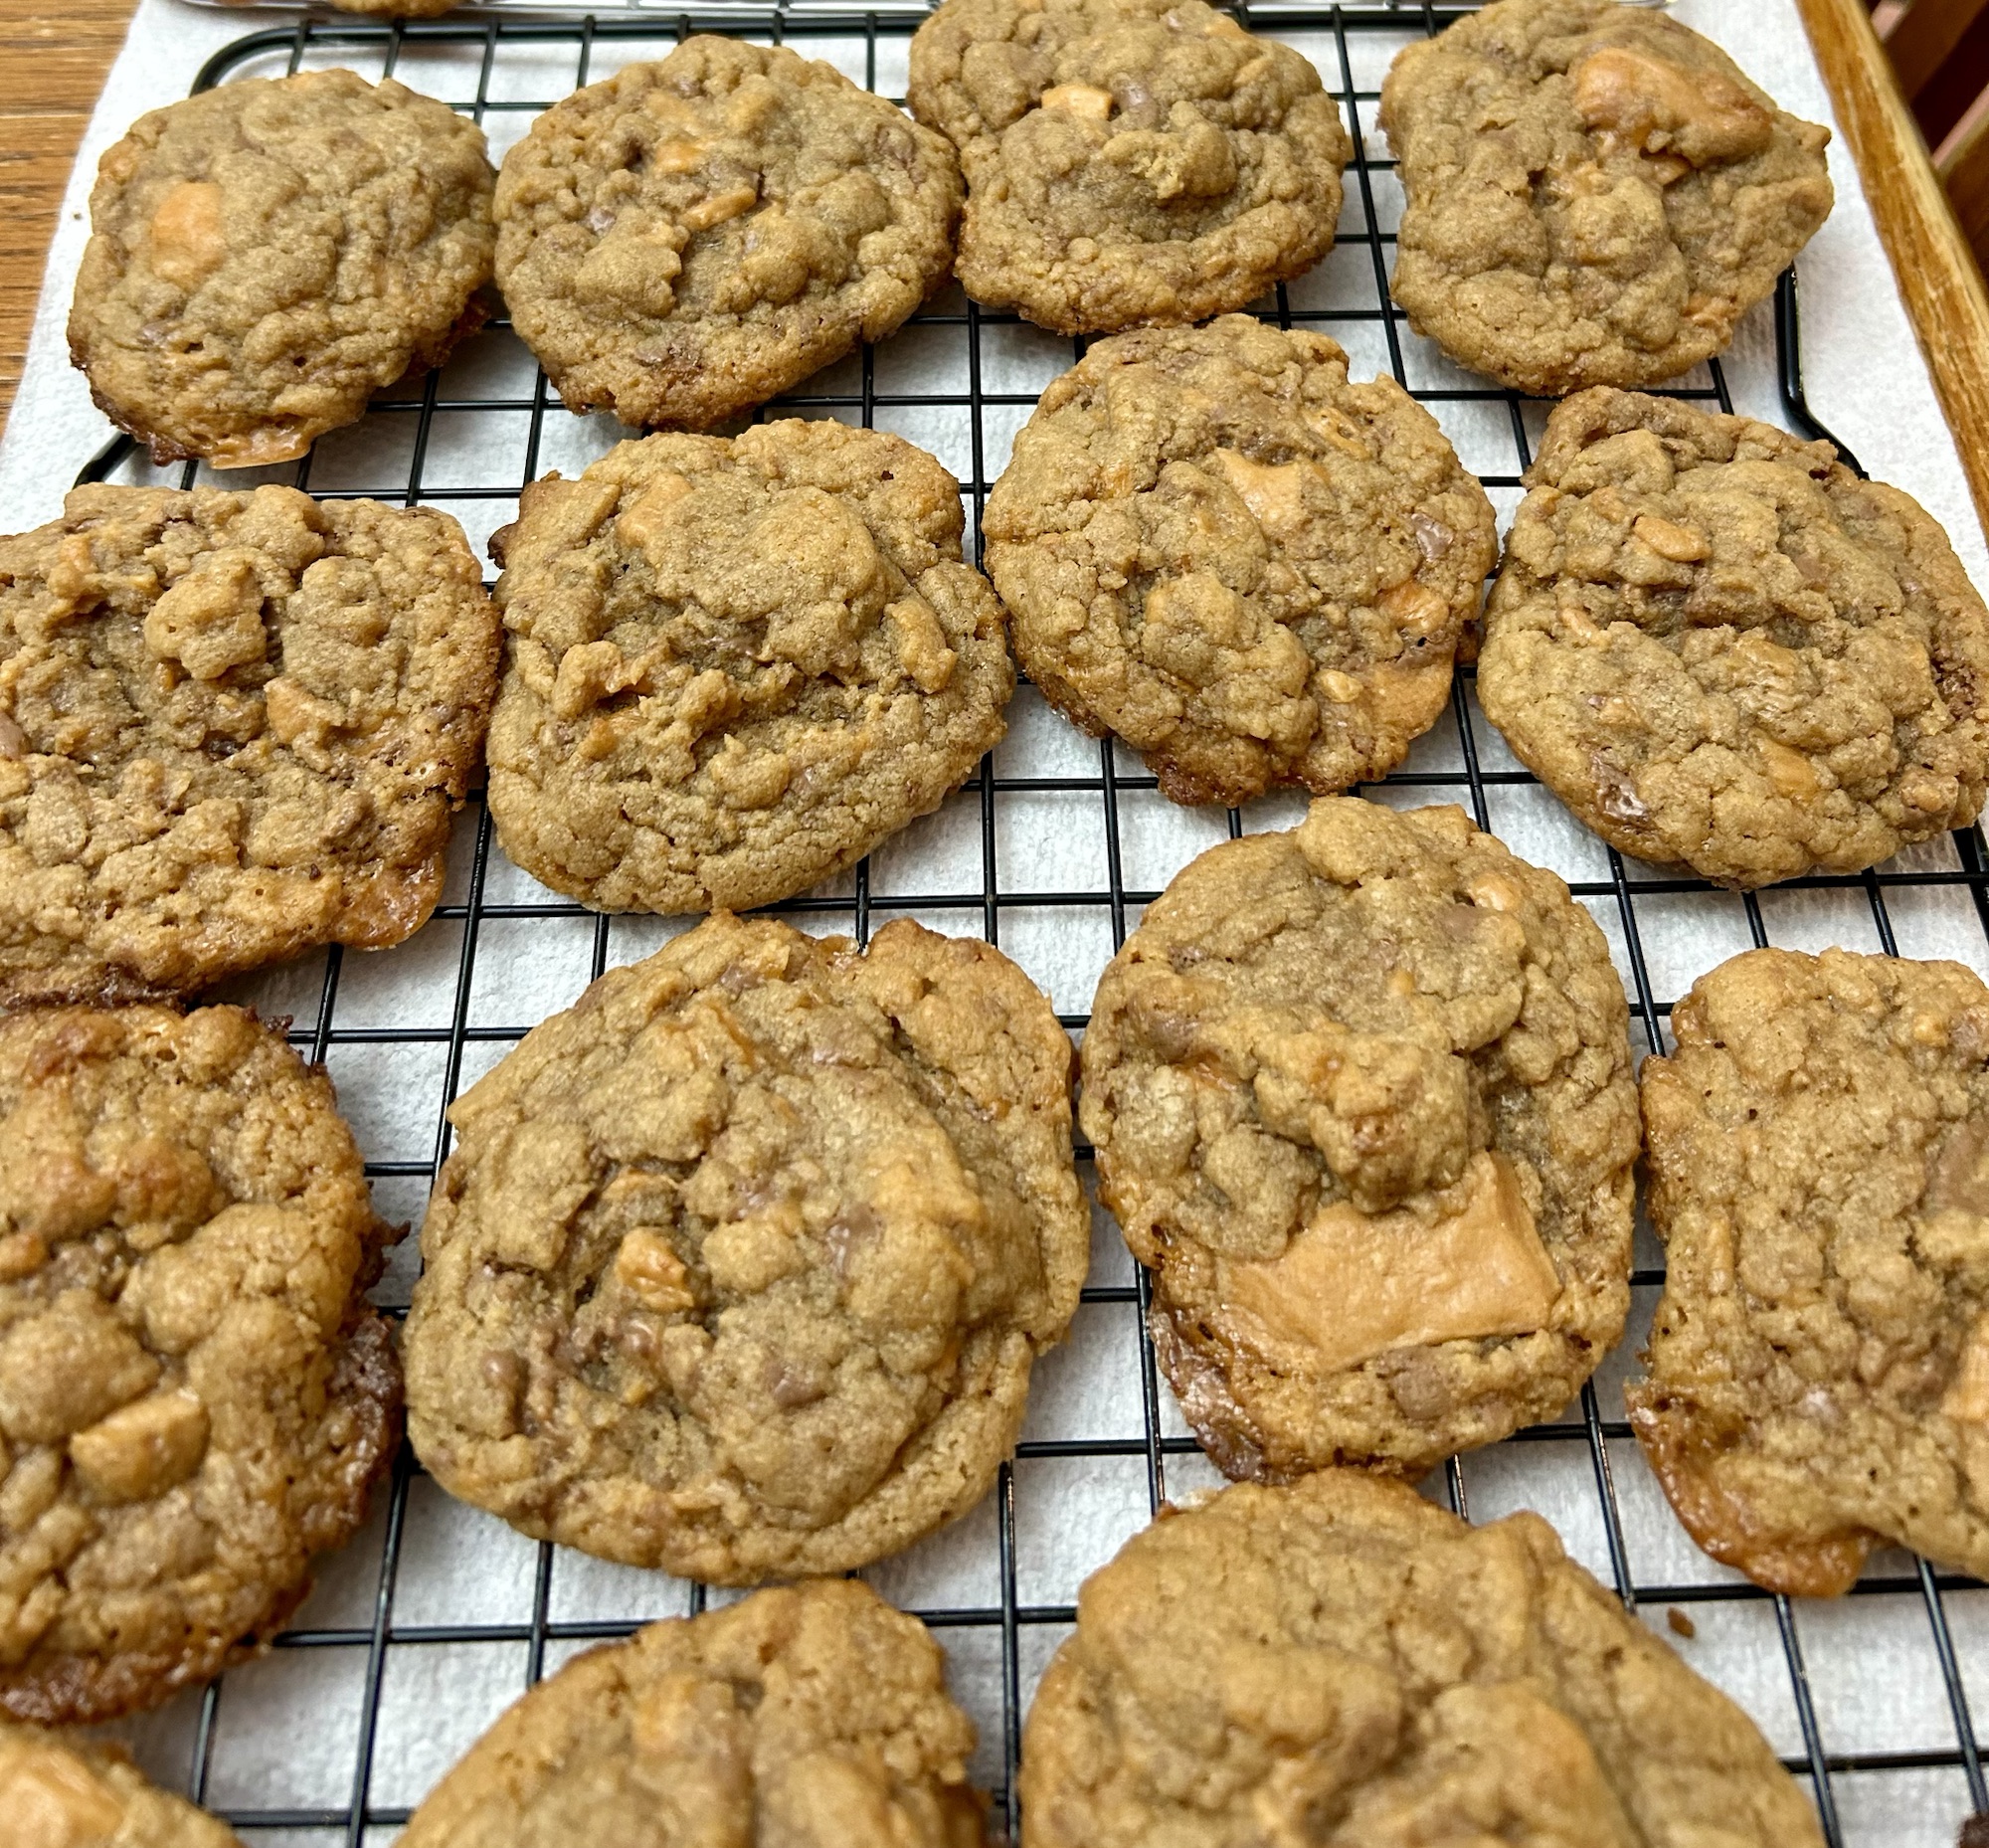
Lift by parchment paper onto a cooling rack and allow to cool.
Store in an airtight container for up to one week or so.
Tastes especially good with a short reheat in the microwave before eating, and also tastes good with a scoop of ice cream on top!