Sweet Summer Strawberry Cake

“Every cake has a story to tell.”–unknown

Sweet treat, strawberry cake

Family traditions🧑‍🍳

When I married into my husband’s family some thirty years ago, it was the merging of two families who enjoyed cooking, tried-and-true recipes, handed down from one generation to the next, typically accompanied by a story or two.  On my husband’s side, there were several excellent cooks, especially his mother, his sister, and her husband.  Whereas, in my own extended family, I grew up around three women–my grandmother, my mamaw, and my mom–who were great cooks in their own right.  Therefore, between the two families, there was a wealth of inspiration, ideas, and sources for recipes.  

To this day, many of those family recipes remain favorites.  However, since being diagnosed with celiac disease over ten years ago, I have been on a culinary quest to adapt many of those beloved recipes so that I can, forgive the pun, “have my cake and eat it too”! 

When I first saw my mother-in-law’s version of this recipe, I could help but notice the how thick and creamy the icing looked.

But First . . .🍰

The original Strawberry Cake recipe came from my mother-in-law, Colleen.  She and my grandmother were very similar when it came to their approach to cooking.  They both believed in the right to serve large portions, and both embraced the notion of going their own way instead of following recipes, step-by-step.  Therefore, when my grandmother, or Colleen, would share a written recipe, there was sure to be additional verbal directions and advice for best preparing the recipe.

Dressing it up with sprinkles and blueberries if desired.

Never shy away from making a recipe your own🥣

It is that familial cooking spirit of never shying away from the right to make a recipe uniquely your own that continues to inspire me. Gluten-free baking wasn’t a “thing” when Grandmother and Colleen were living, so if I want to still enjoy those cooking stories from my past, I have to forge my own cooking path.  Nonetheless, I think they would have enjoyed many of my modified recipes, including this one. 

Add some pomegranate arils, for a bit more color contrast!

The eyes have it first👀

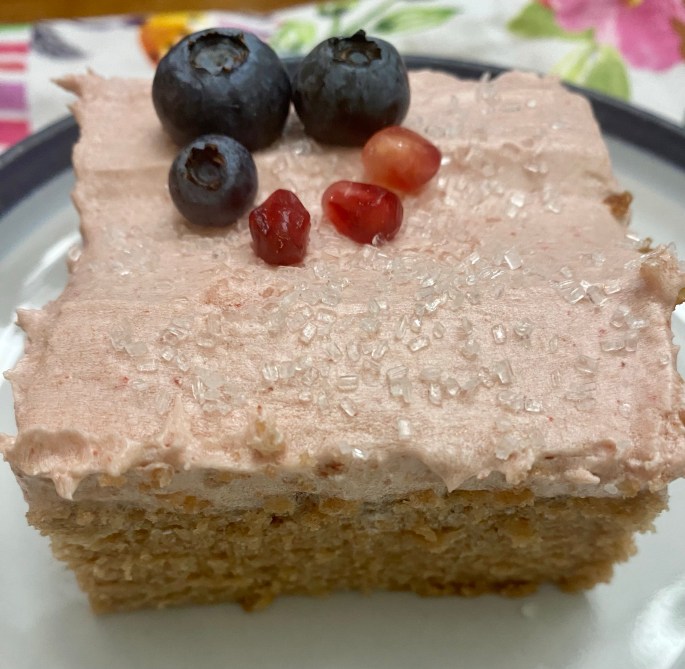
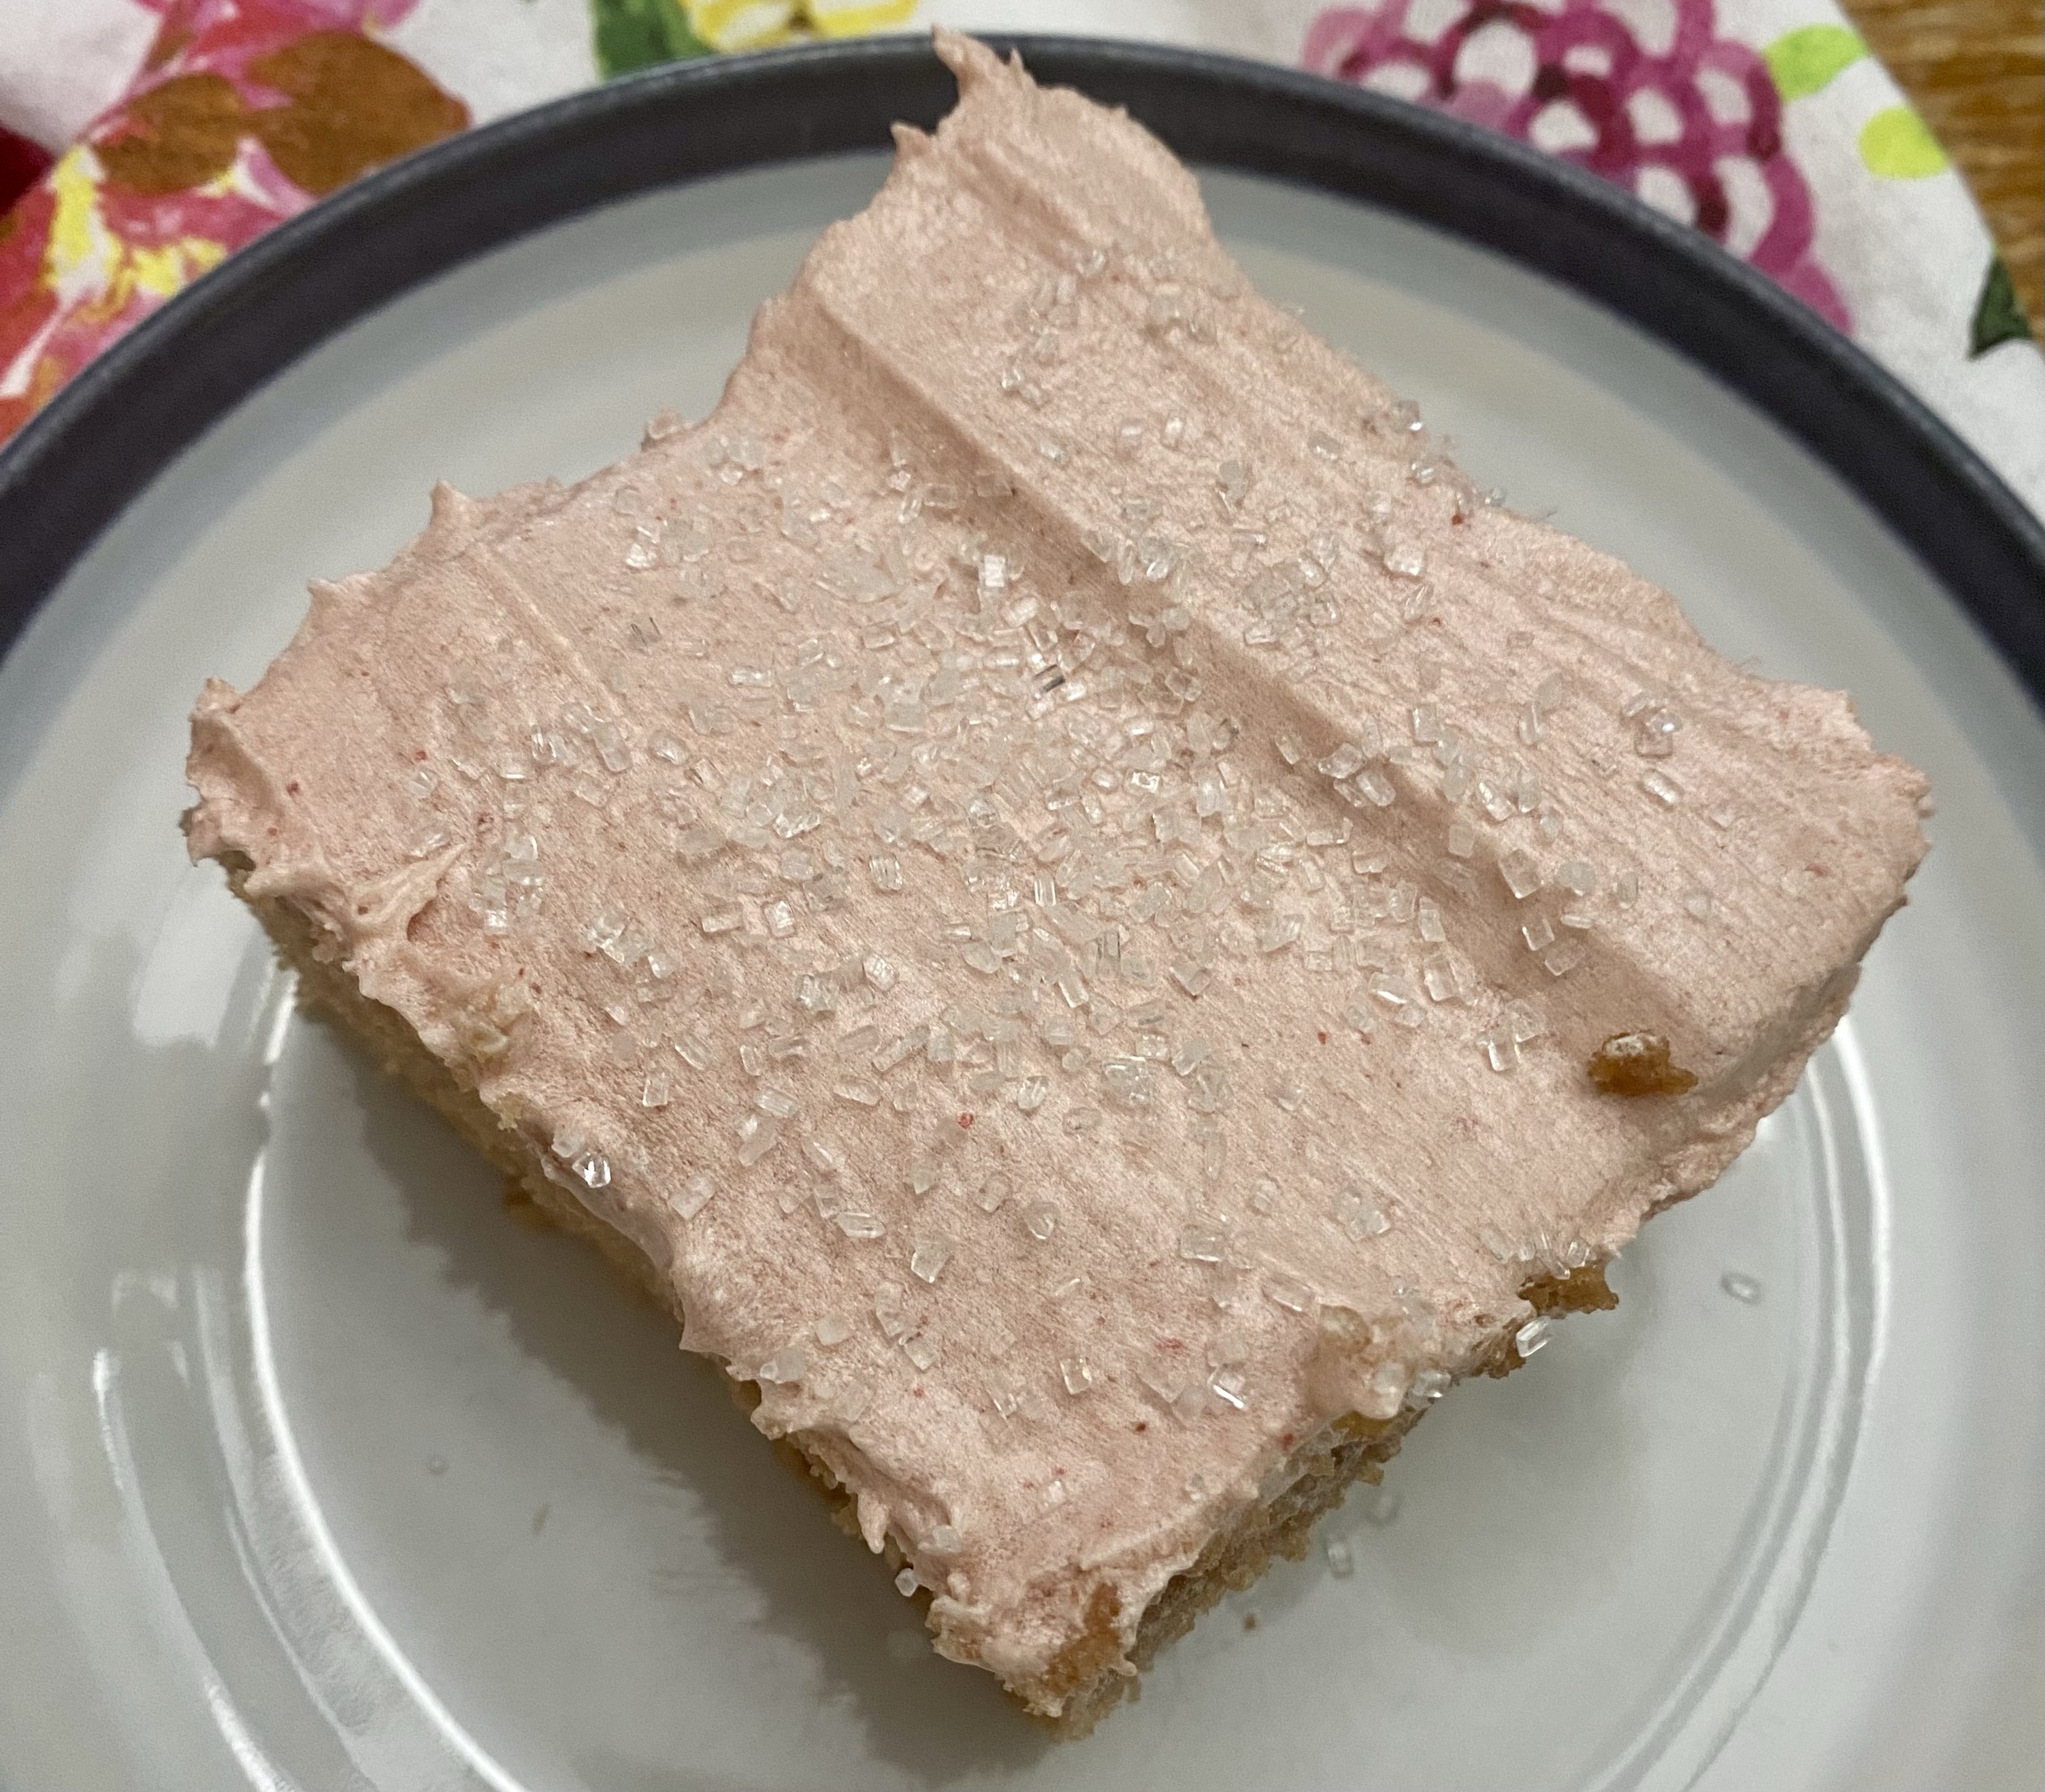
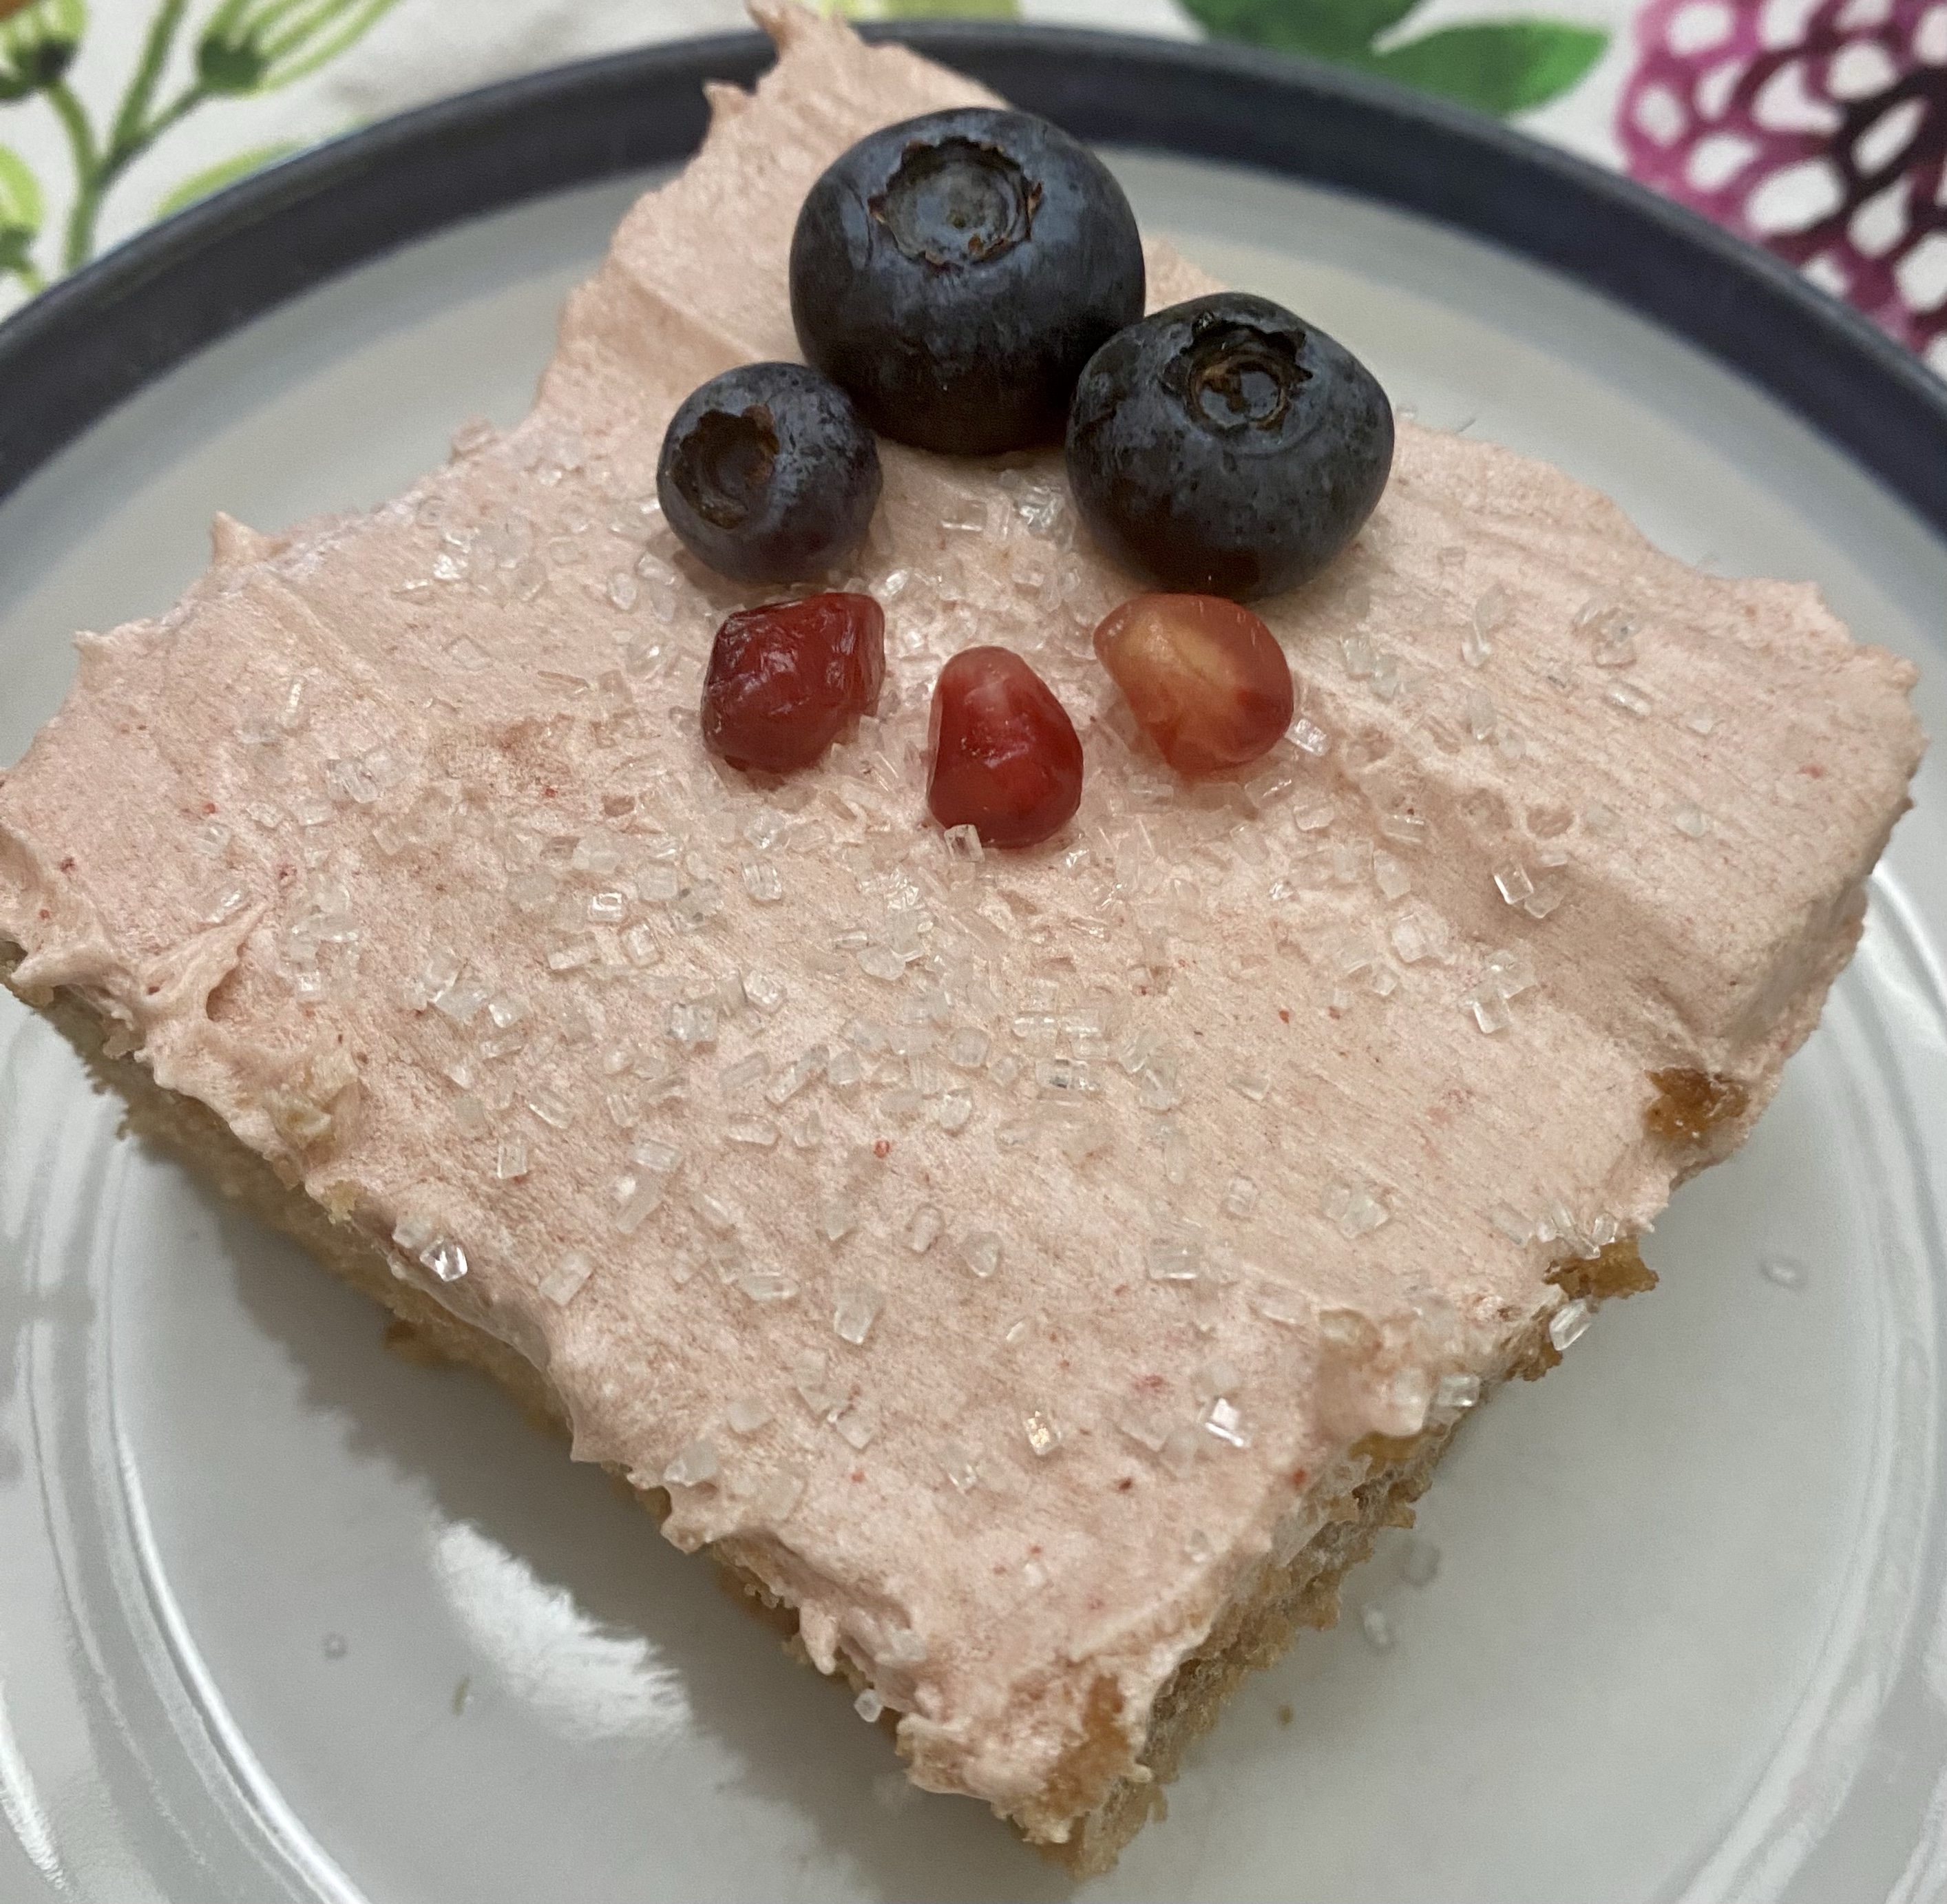
I recall the first time I ate this cake at Colleen’s house.  It was a Sunday family dinner, and I immediately noticed this beautiful, thickly frosted pink cake.  Now, my grandmother taught, “Your eyes eat things before your mouth,” and from the first look at that cake until the last bite, my eyes and mouth were in agreement: the cake was every bit the tasty confection it looked to be.  

The icing is thick and rich

Make it Gluten-free if you want🥮

I am not sure if my recipe adaptation is on-par with Colleen’s, but I do know that my own family loved it.  In fact, my adult daughter, one who typically, and quickly, discerns if I have made something gluten-free, asked if the cake was really gluten-free because she could not taste the difference.  Even more telling was the fact that she told me she thought that it was my best gluten-free recipe to date, and I could “bake it for her anytime.”  

Homemade strawberry reduction takes a bit more time, but it is so worth the effort! And, the leftovers of this reduction can used as you would any other fruit sauce or jelly.

Strawberry Reduction🍓

In addition to making the recipe gluten-free, I eliminated strawberry gelatin as a main ingredient, and instead, I made a strawberry reduction with double the amount of strawberries the original recipe called for.  My variation is also dairy-free, as I used non-dairy milk and butter; however, I did use real eggs.  That said, if you need this recipe to be egg-free, there are plenty of egg-replacement products available.  

The cake is light and spongy.

Cupcake Crazy?🧁

I’ve included directions for baking cupcakes and several cake variations, so the recipe can be baked and assembled in a variety ways.  Additionally, any leftover strawberry reduction tastes terrific spread over toast, stirred into oatmeal, or added to a smoothie.  

From my Family to Yours🏠

From my home to yours, I hope this recipe allows you to create your own cake story and recipe lineage.  Who knows, maybe one day, your grandkids will make their own version of Strawberry Cake! 

Any way you slice it up, this strawberry cake is sure to please!

Strawberry Cake (or Cupcakes) 🍰

Ingredients

½  cup milk (plant-based, if desired)

2 teaspoons white or apple cider vinegar

1 package white or yellow cake mix (gluten free, if needed)

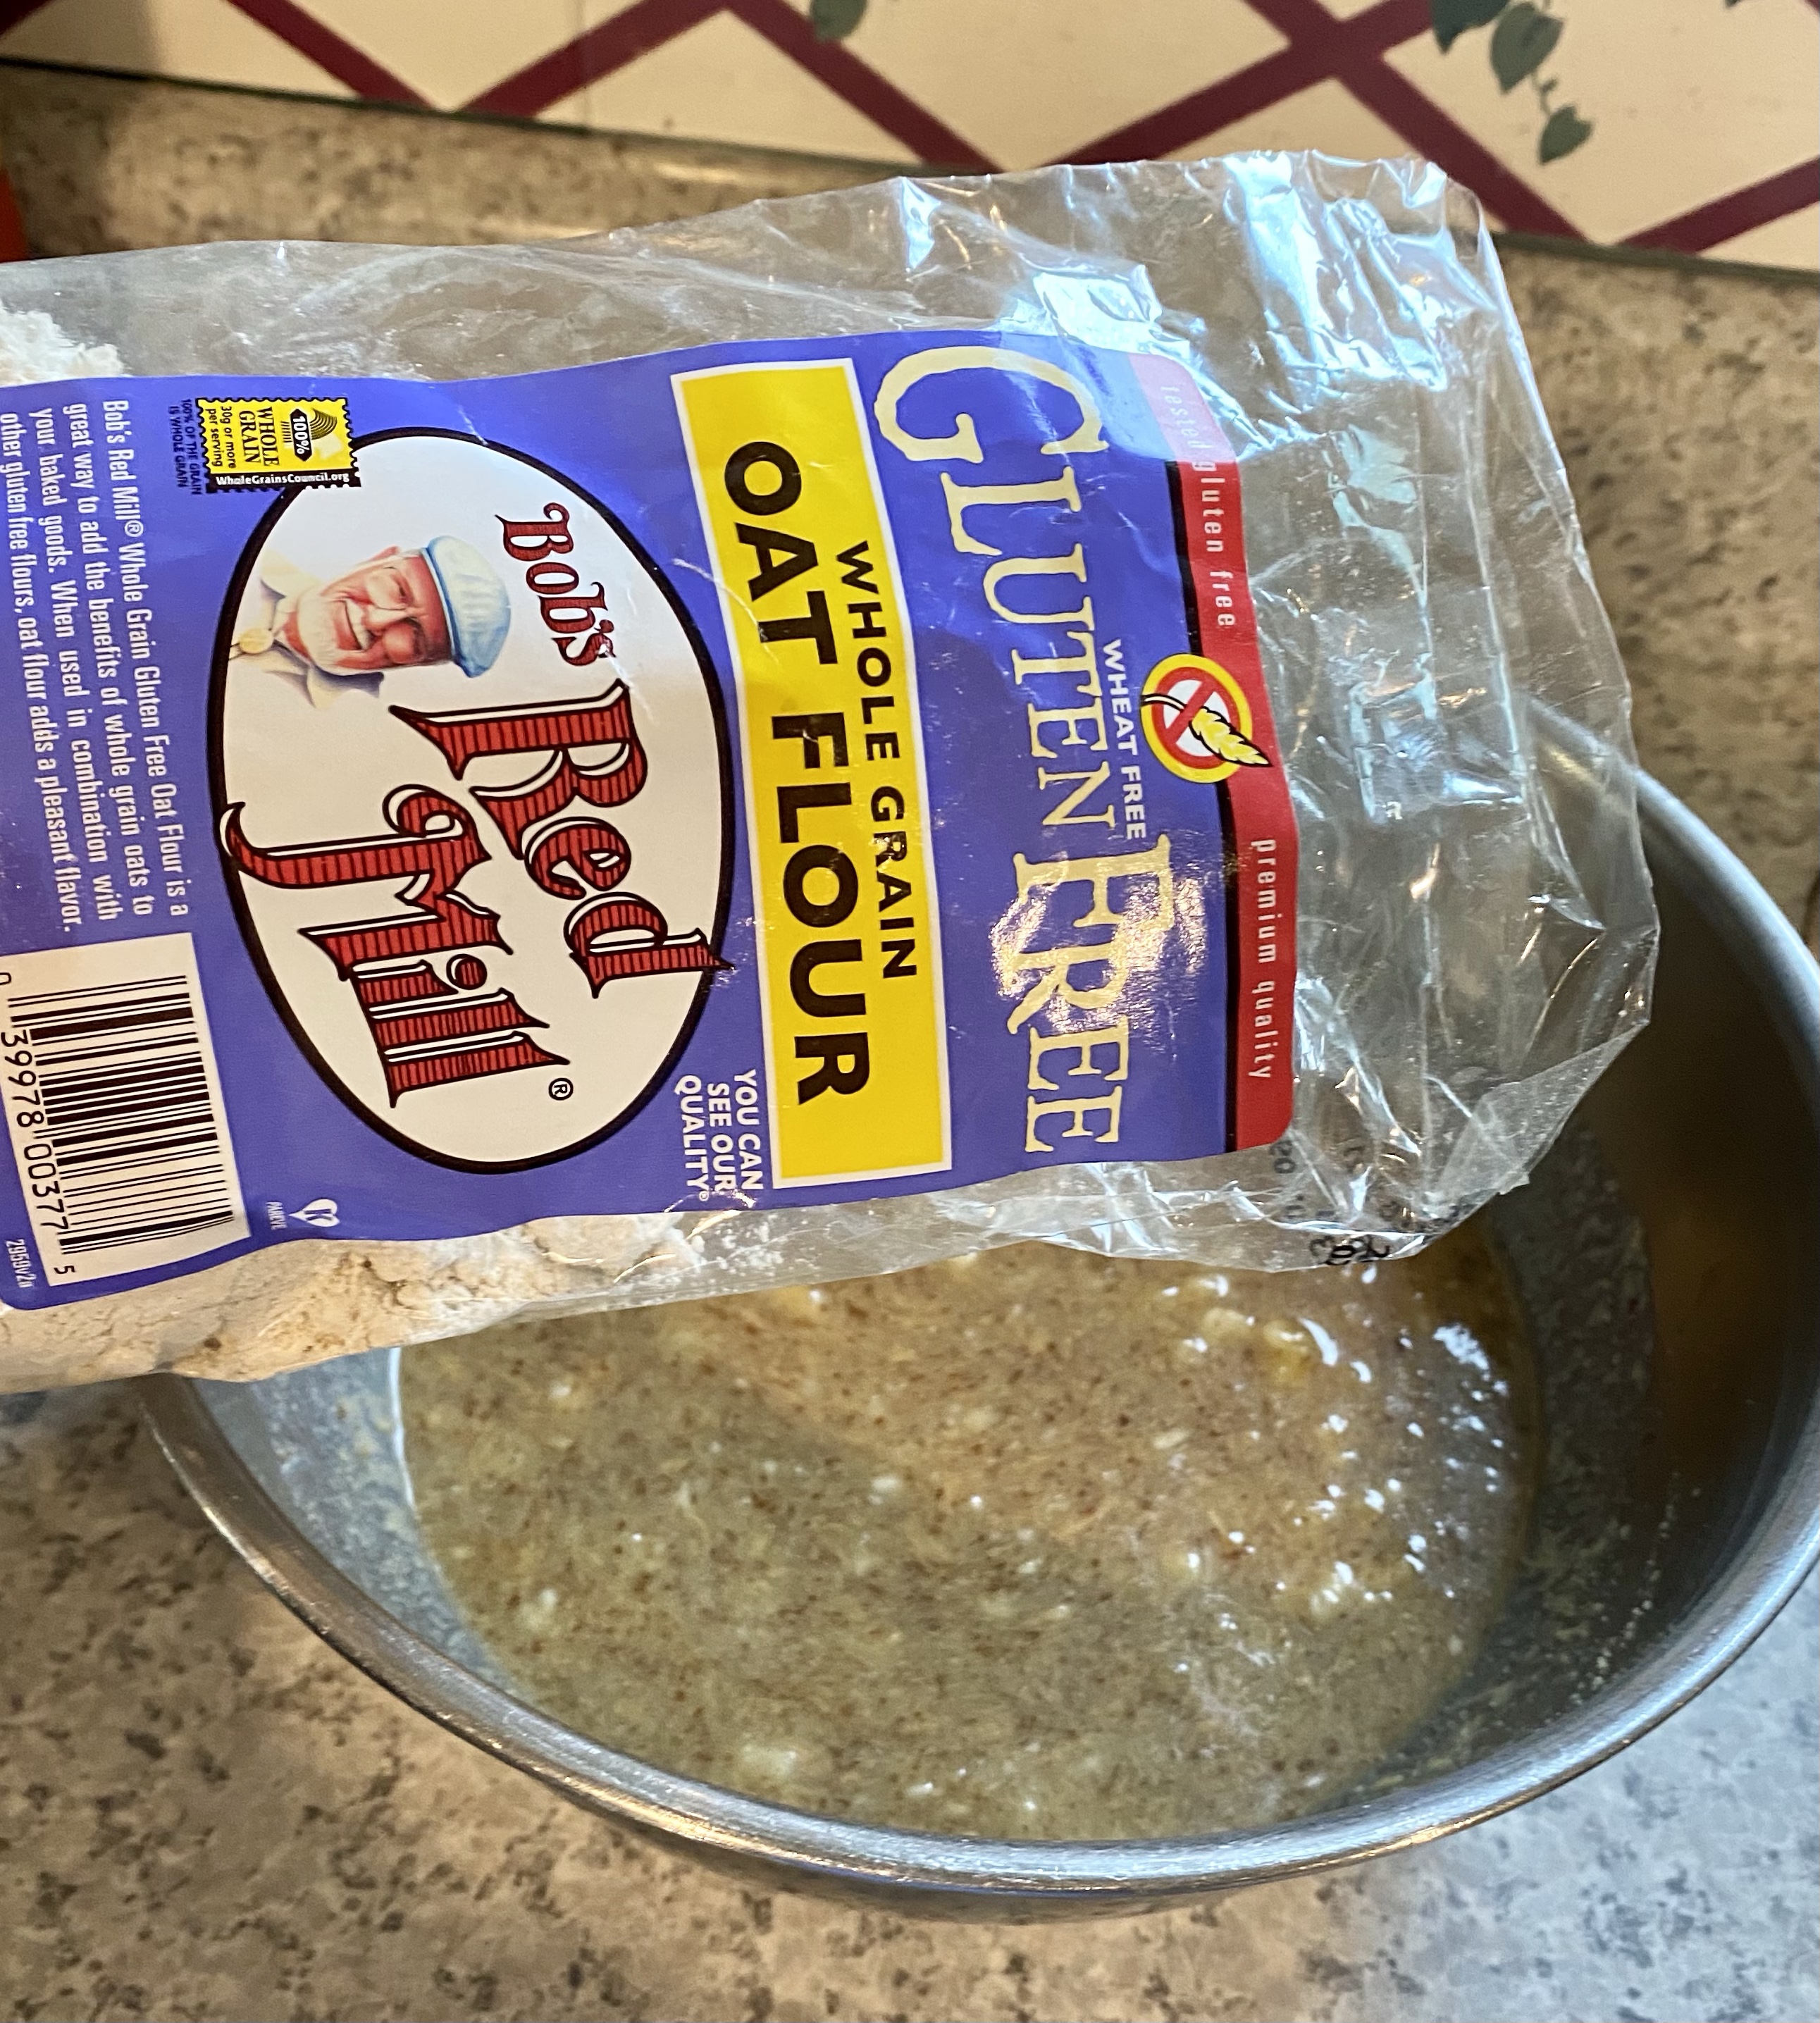
3 tablespoons all purpose flour (gluten free, if needed)

3 eggs or equivalent egg-replacement

⅓ cup oil, melted butter, or applesauce

½ water

1 teaspoon pure vanilla extract

1 ½ cup strawberry reduction, completely cooled (see below)

*Strawberry Reduction

Ingredients

2 pounds fresh or frozen strawberries (If frozen, be sure to thaw for at least 20 minutes)

4 tablespoons sugar

1 tablespoon lemon juice

Strawberry Buttercream Frosting

Ingredients

1 stick butter, softened (plant-based, if desired)

¼-½ cup strawberry reduction, depending upon how much flavor you want

1 teaspoon vanilla extract

⅛ teaspoon salt

4-6 cups confectioners sugar

Up to 4 tablespoons milk, if needed for creaminess

Directions

*Make Strawberry Reduction 12-24 hours+ in advance

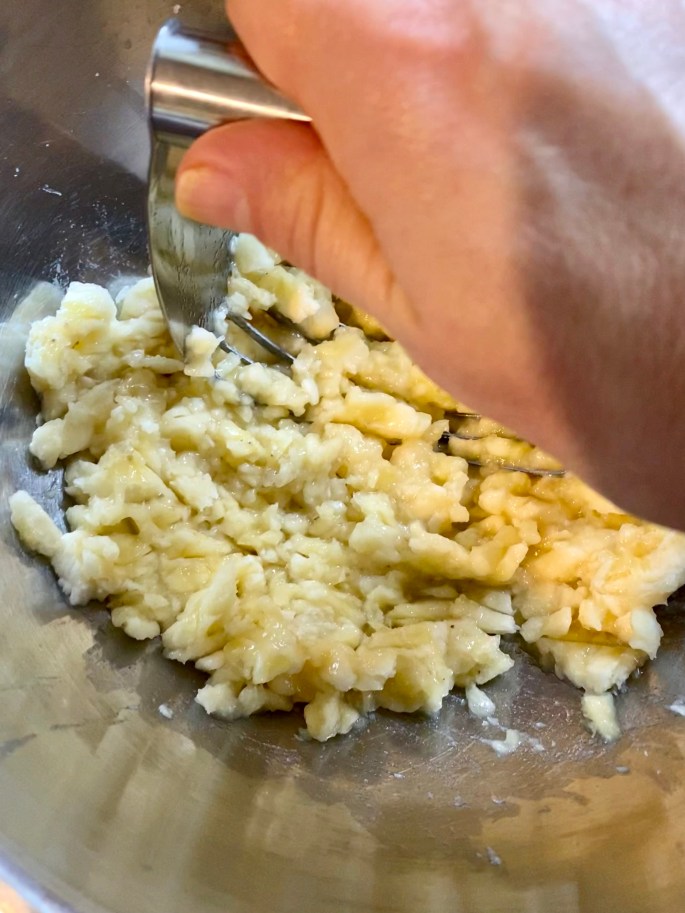
Thaw and/or remove stems from strawberries, then cut in half

Puree strawberries, sugar, and lemon juice in food processor or blender

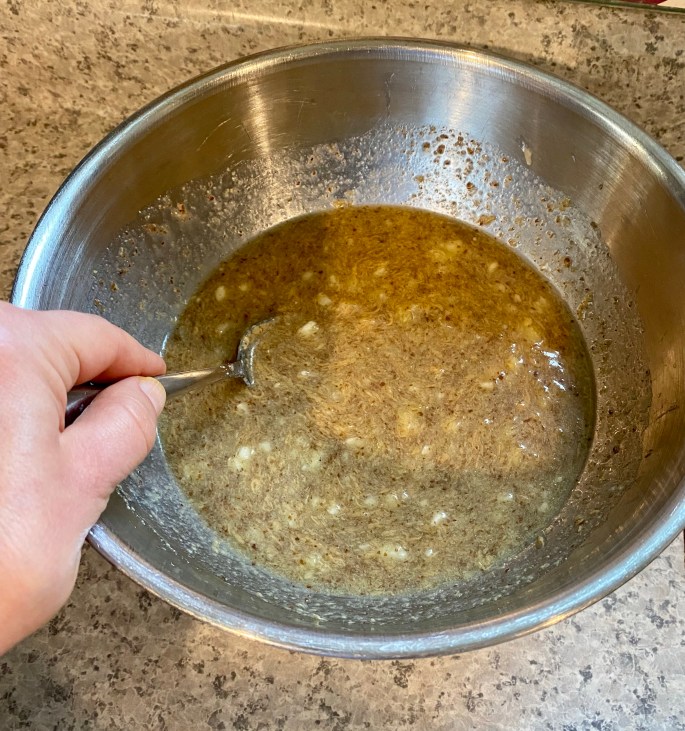
Pour into medium saucepan and bring to low boil over medium heat

Reduce heat, but continue to simmer over low heat for 30 or so minutes, stirring occasionally

Allow strawberries to reduce to texture similar to that of tomato sauce

Allow to cool, then store in an airtight container in the refrigerator until completely cooled and/or ready to use.

Make Cake or cupcakes

Add vinegar to milk, set in fridge for five minutes (making “buttermilk”)

Meanwhile, preheat oven to 350 degrees

Coat cake pan(s) with nonstick cooking spray or line muffin tins with parchment paper

In a large mixing bowl, stir together cake mix and flour

Beat in eggs, one at a time.

Then, stir in “buttermilk,” water, oil (or butter or applesauce), and vanilla extract.

Next, fold in strawberry reduction, scraping down the sides as needed

For cupcakes:  divide batter among cupcakes, using a greased ice cream scoop, if desired, filling cup ½ – ⅔  full

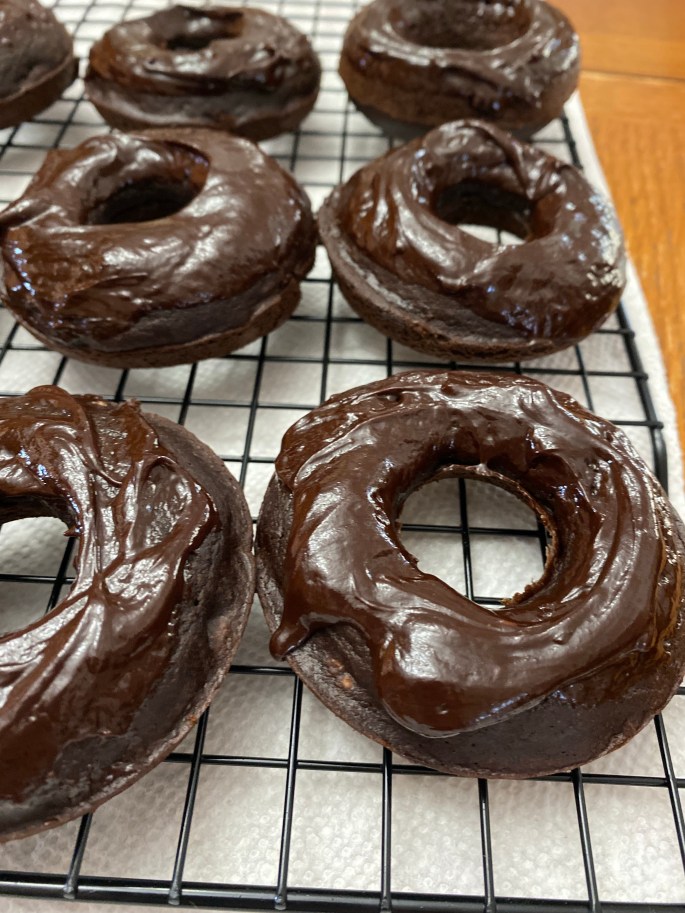
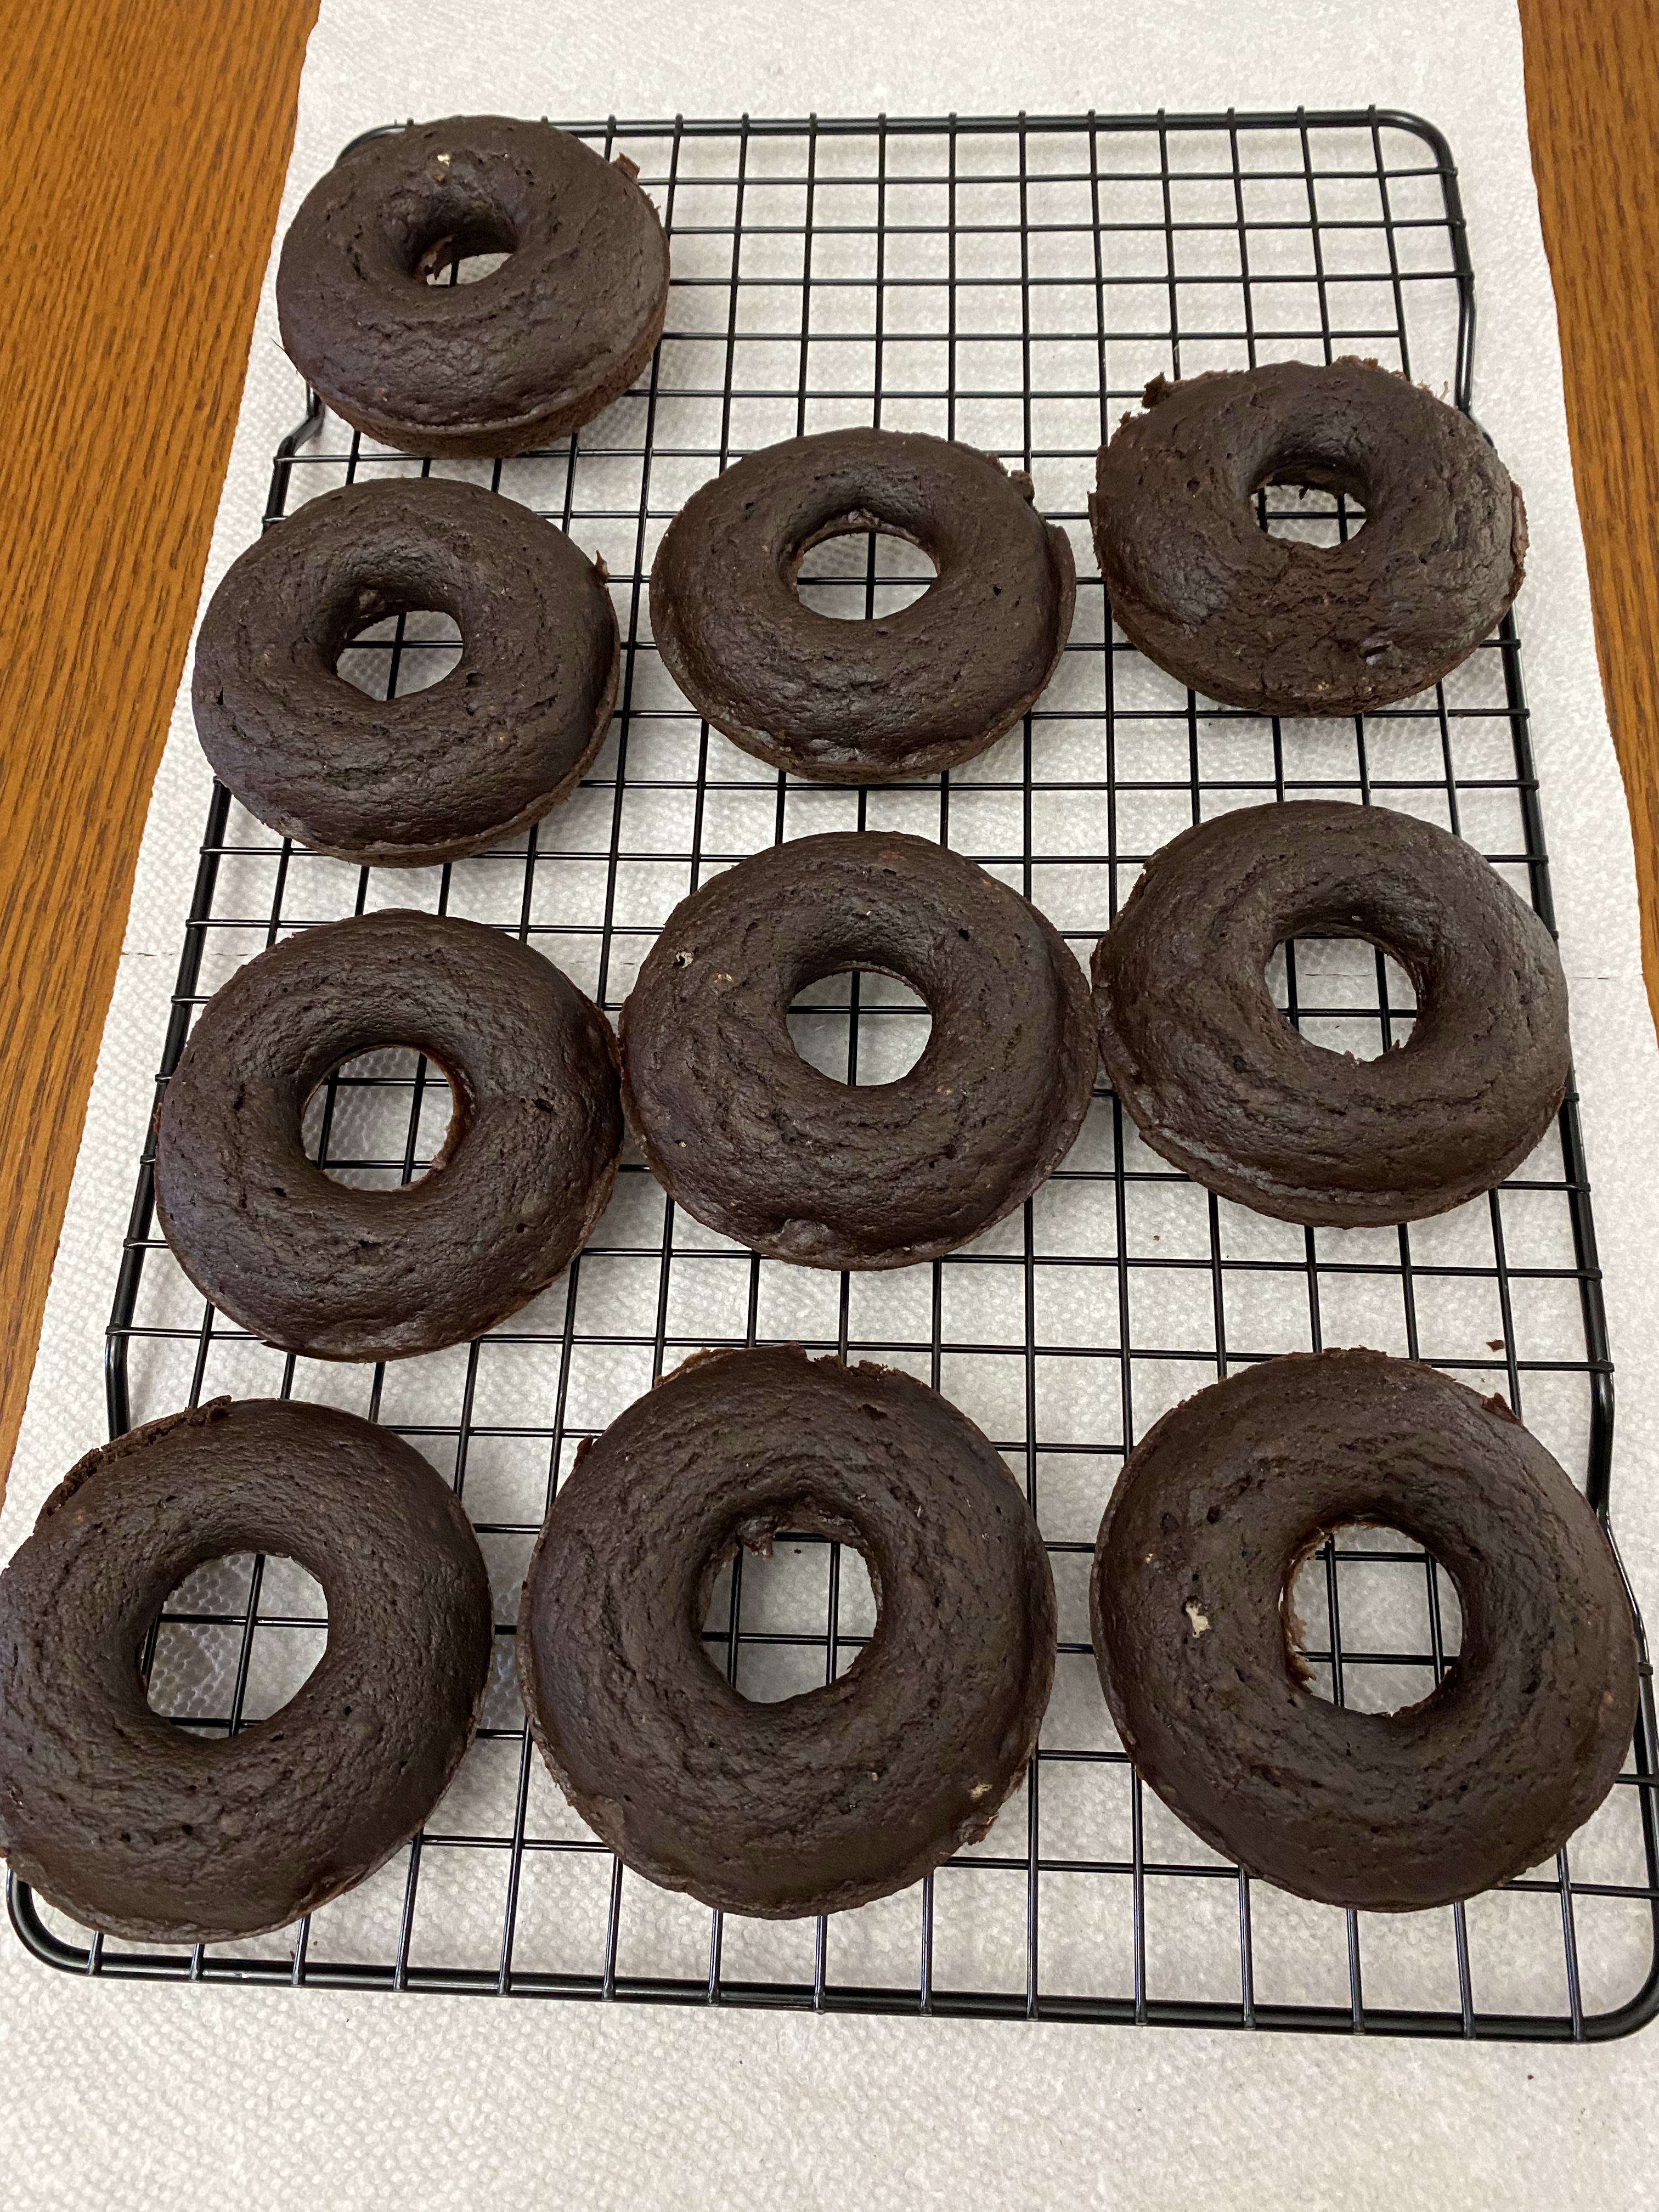
For cake:  pour batter into one 9 x 13 cake pan, a 10-cup bundt pan, or divide between two 8” or 9” inch round pans

Baking time:  Cupcakes = 20-25 minutes; 9 x 13 pan = 30-35 minutes; Bundt pan = 45-48 minutes; Two round pans = 30-35 minutes or until toothpick inserted in center comes out clean

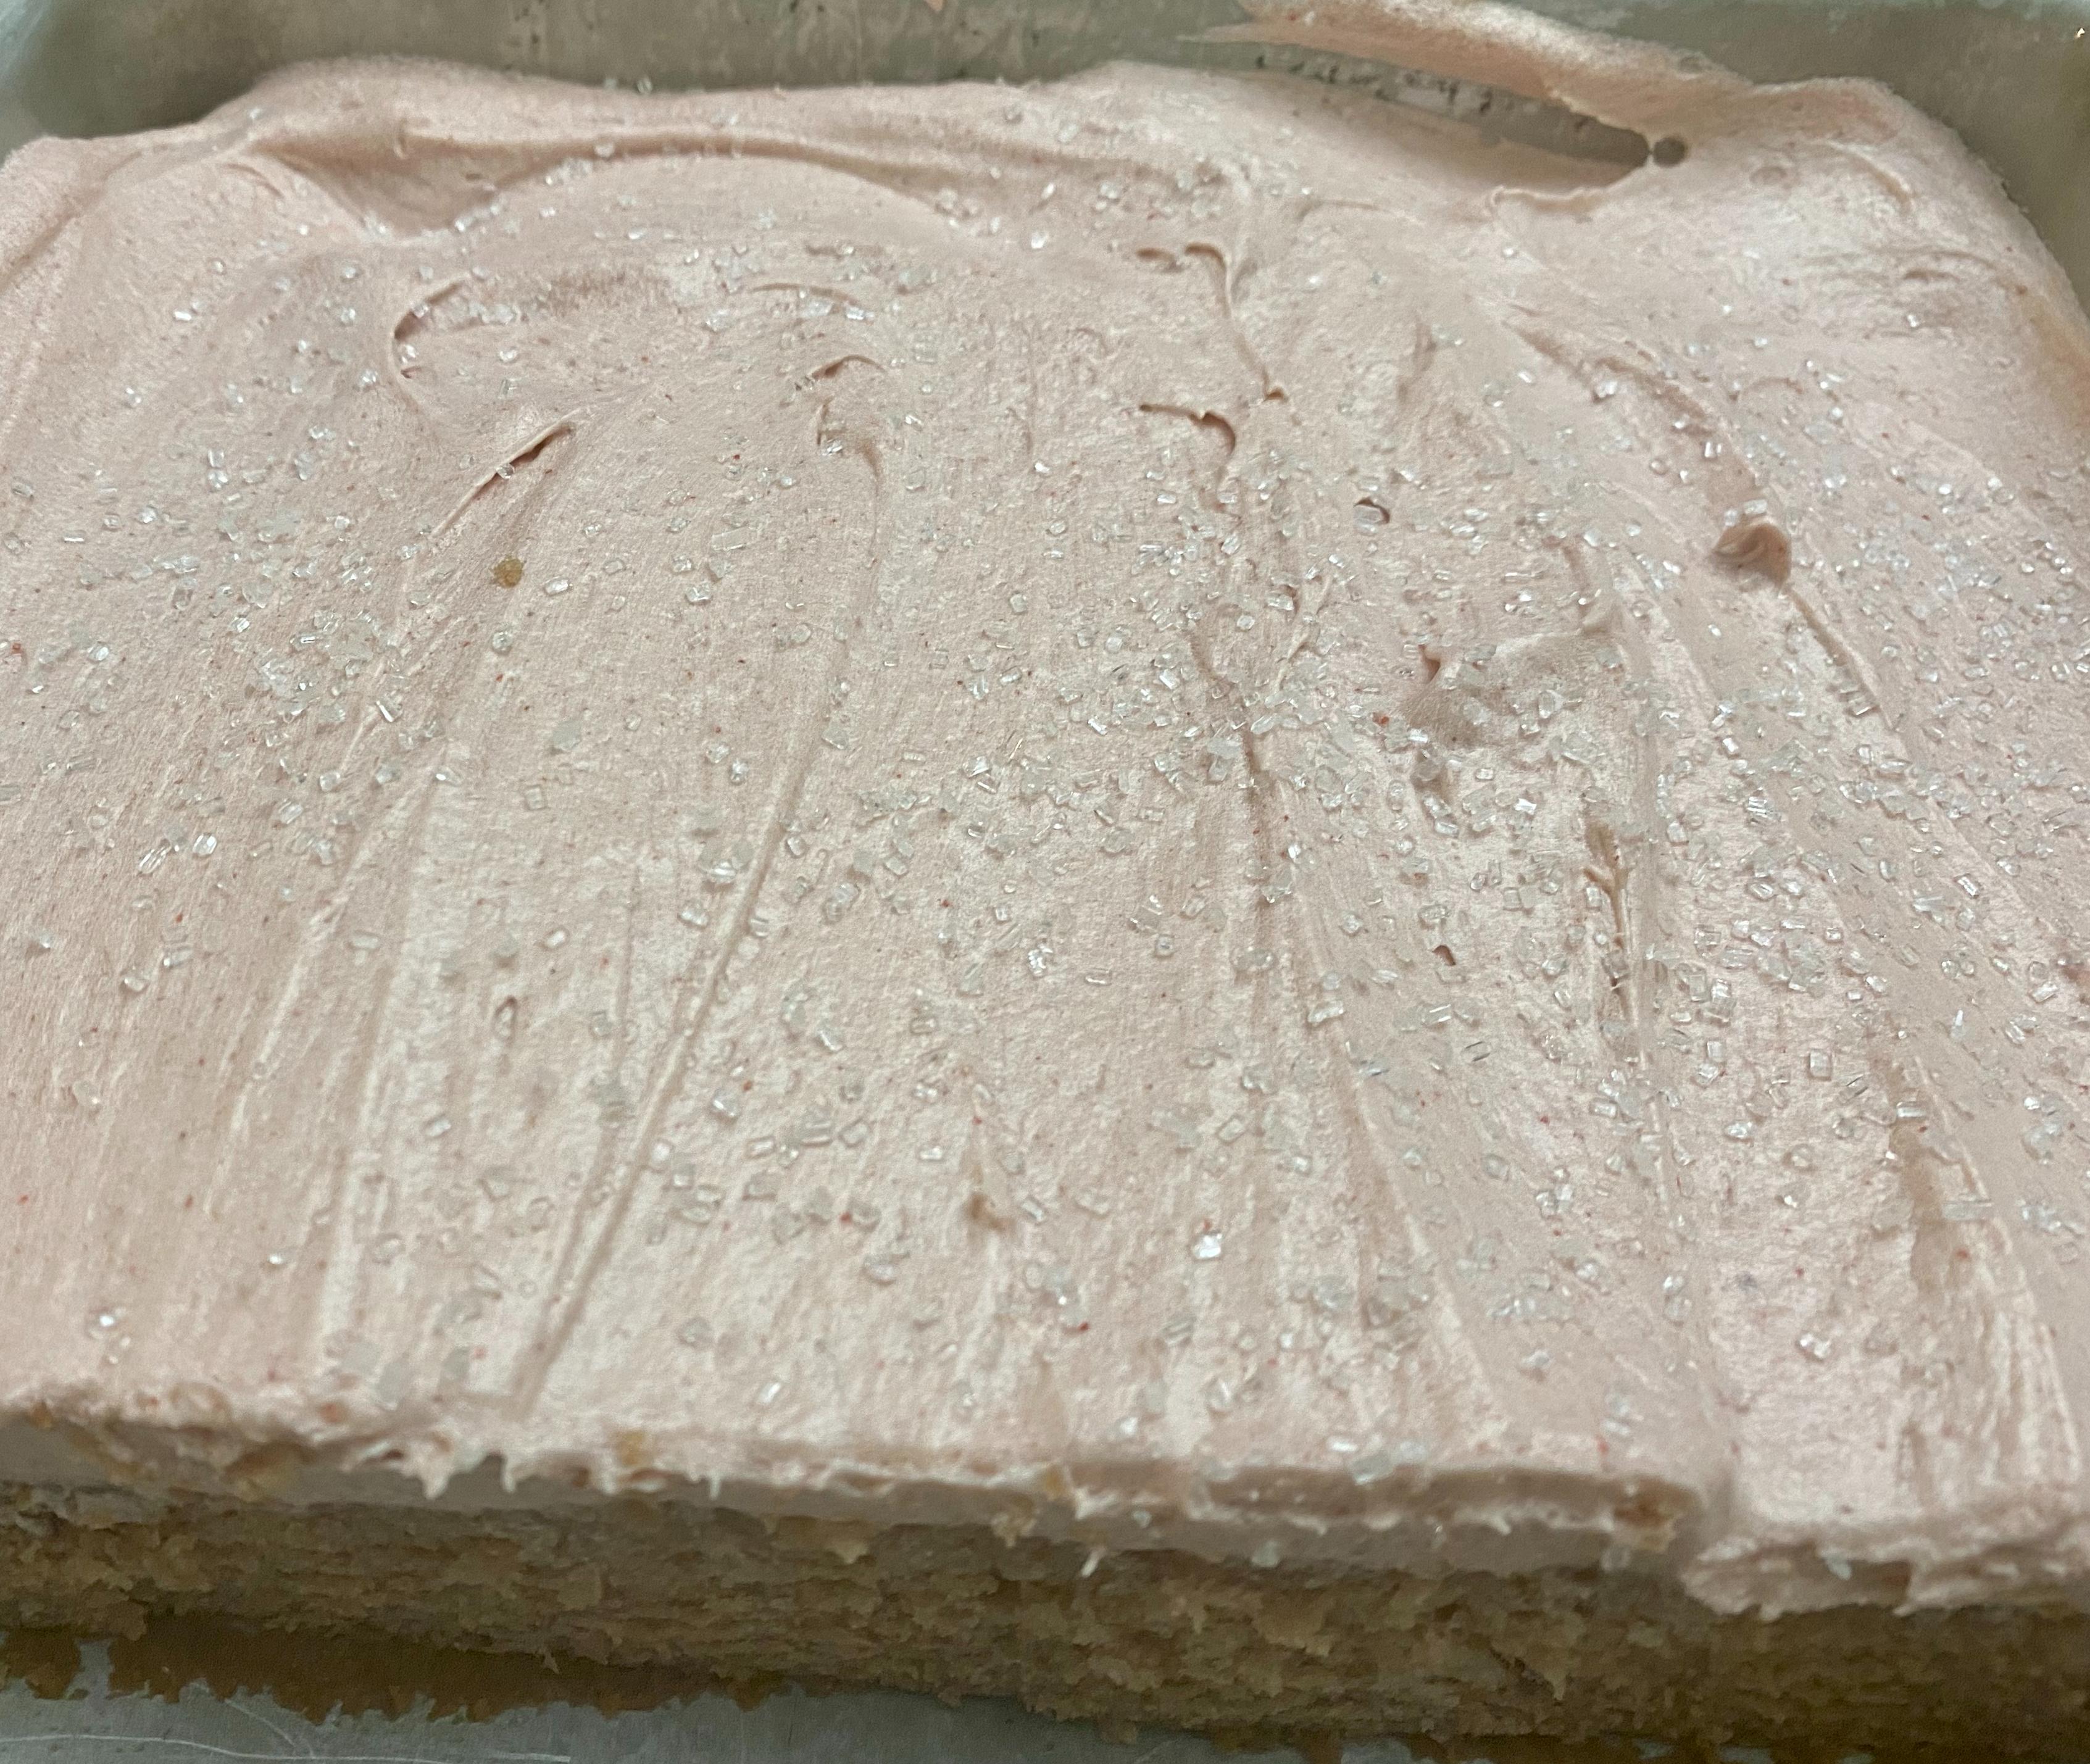
Allow cake or cupcakes to cool completely before frosting (I even put mine in the refrigerator for a couple of hours before frosting.)
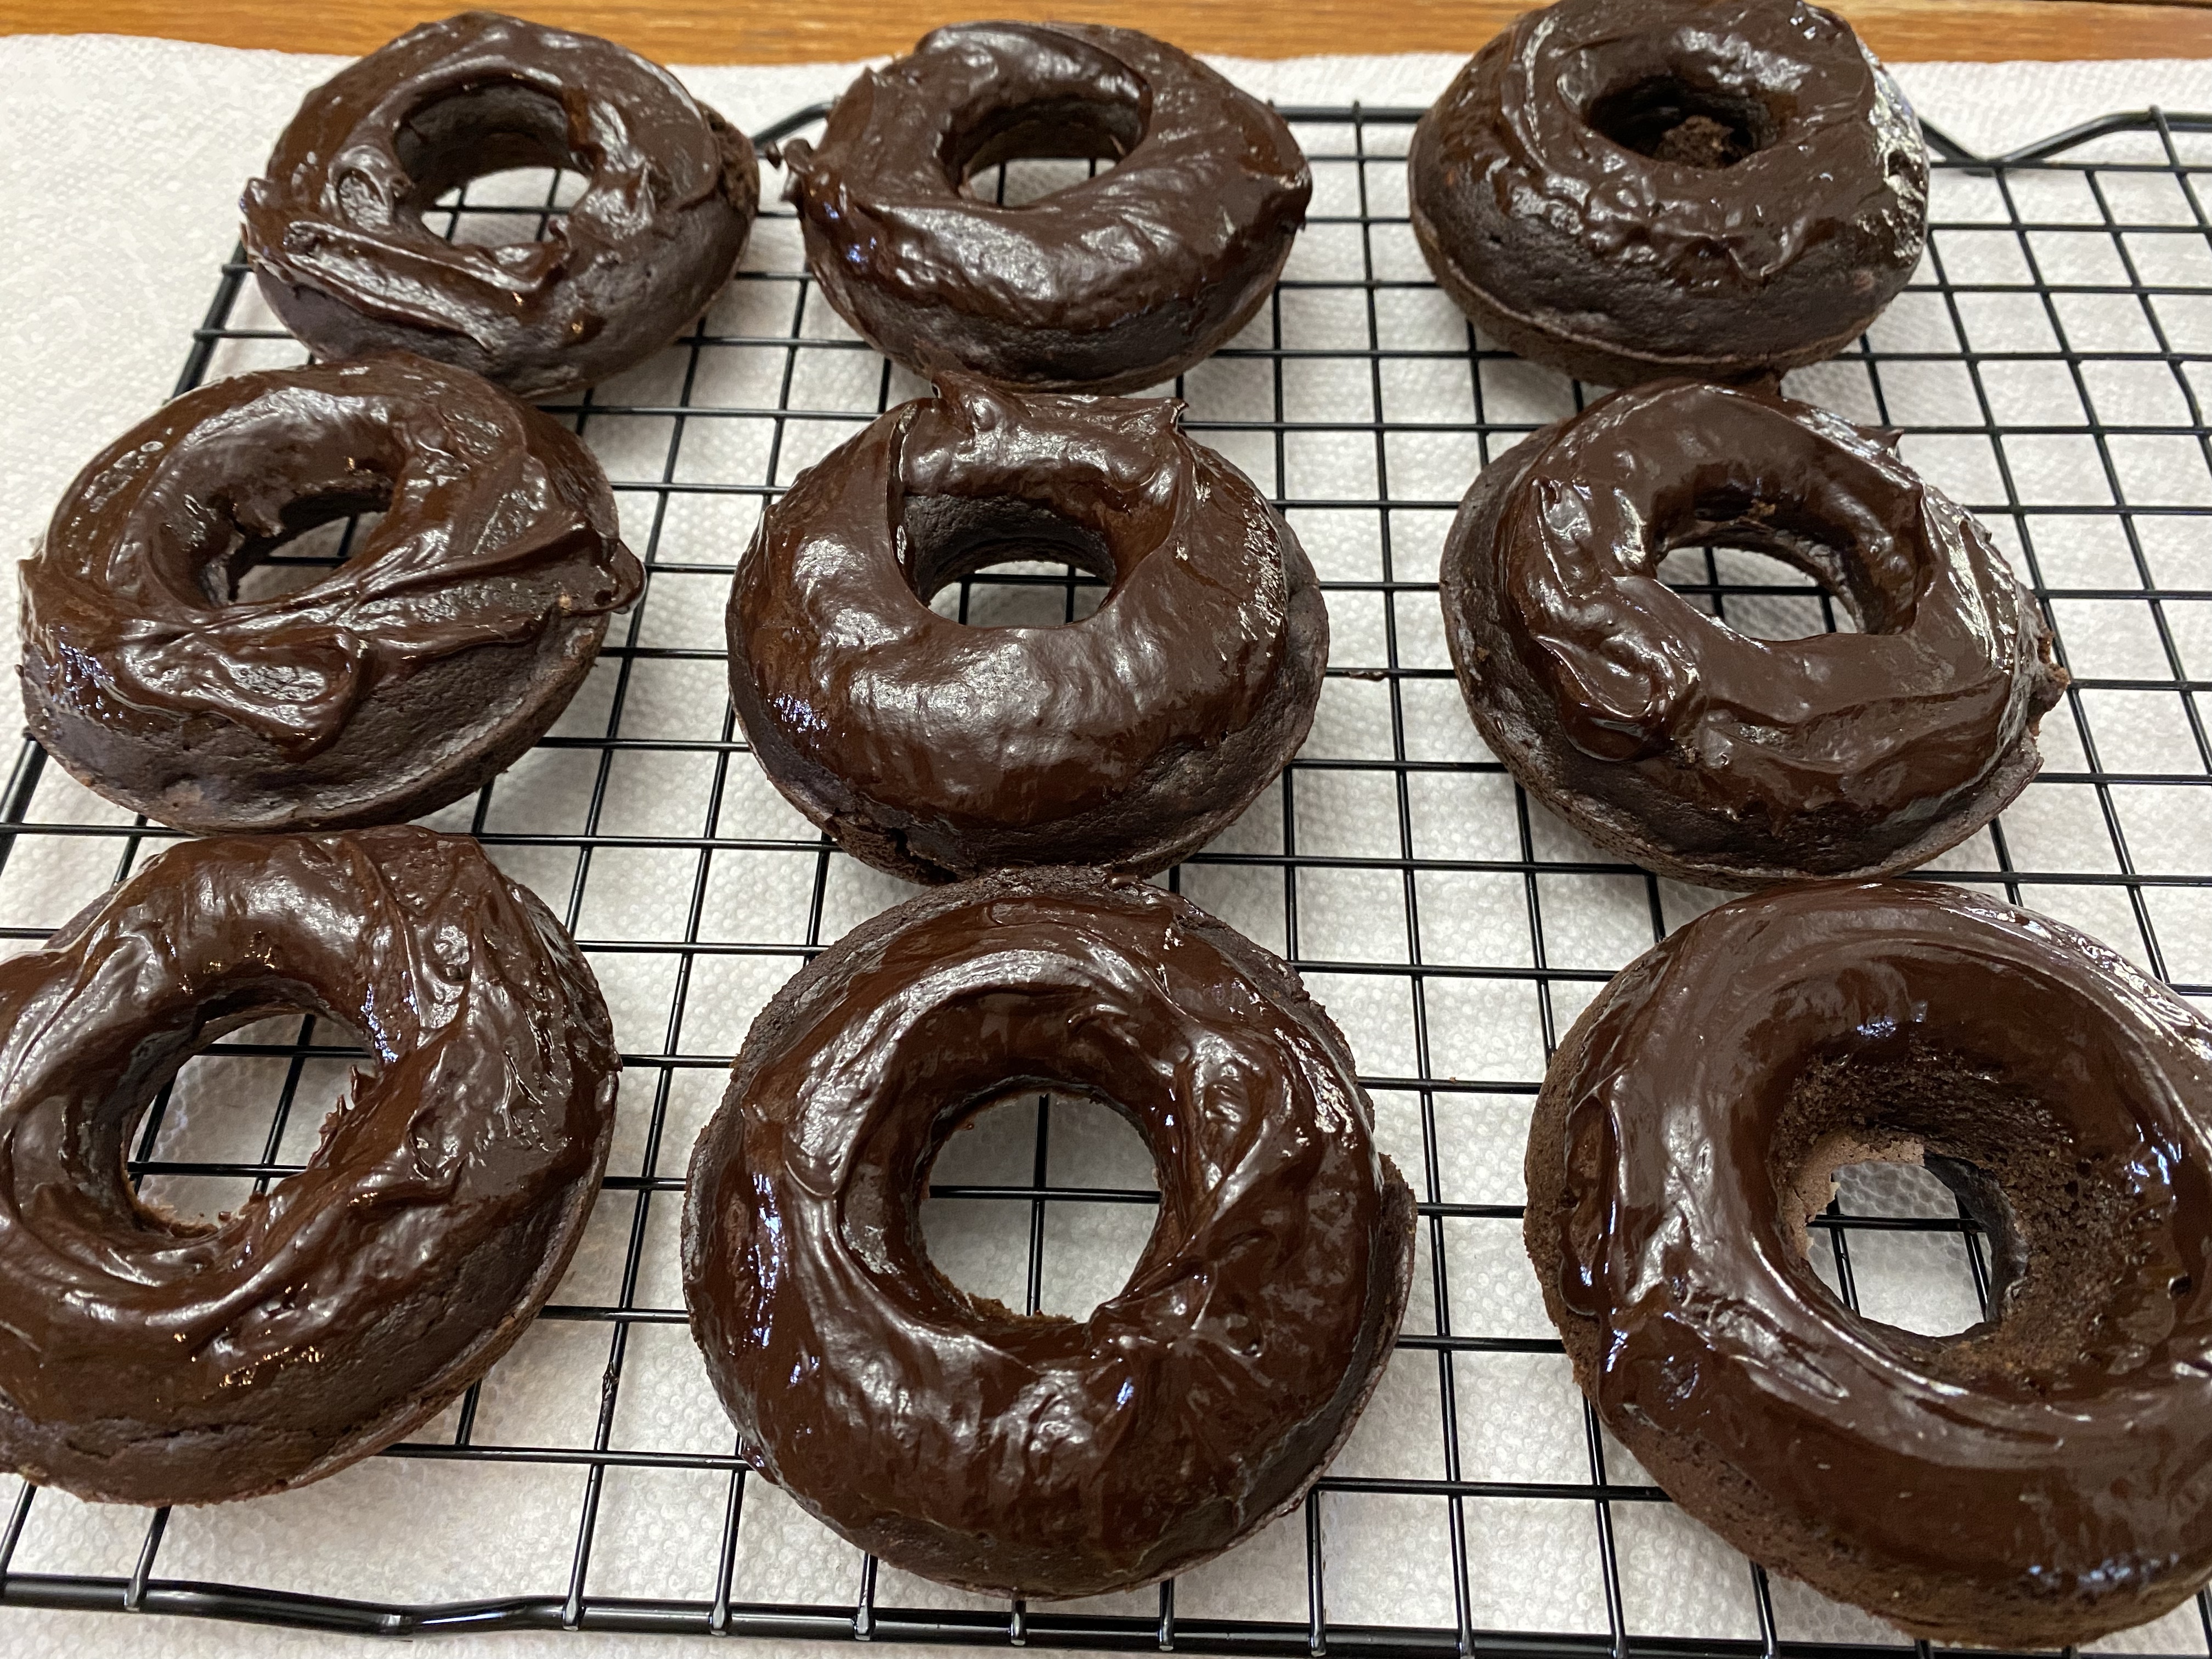
Make the Frosting

In a large bowl, cream butter, strawberry reduction, vanilla extract and salt

Add in confectioner sugar, one cup at a time, until icing is firm

Then, add in milk, one tablespoon at a time, whipping in between each addition until desired consistency is reached.

Pipe or spread over cake or cupcakes.

Decorate tops of cake or cupcakes with red, white, or pink sugar sprinkles or freshly sliced strawberries

Store in airtight container and refrigerate

Makes 24 cupcakes or 1 cake of your choosing

One pot walnut and mushroom penne, with gluten free option

“One pot meals make a lot of sense . . . because so much of what people hate about cooking is really the clean-up, the mess, the grease.”–Tom Douglas

Photo by Teona Swift on Pexels.com

Autoimmune diseases, according to John Hopkins University, unbelievably affect about 23.5 million Americans, 80% of which are women, of which I am one. While scientists are busy trying to understand the biological gender differences that contribute to this higher prevalence among females, one unexpected discovery is the contributions of the intestinal (gut) microbiome as a driver for these excessive numbers according to Scientific America. Furthermore, those identified with gut-centered autoimmune diseases, including irritable bowel disease (IBD), irritable bowel syndrome (IBS), ulcerative colitis, Crohn’s disease, and celiac disease, tend to have micronutrient deficiencies, in particular iron, folic acid, zinc, vitamins B6 and B12, copper, zinc, and vitamin D–which can really put the microbiome in dysbiosis.  

If left untreated, nutritional deficiencies can lead to an array of other health concerns, such as neurological complications, psychiatric symptoms, cancer, and bone health issues.  This is particularly of concern if adults have not been properly diagnosed.  For example, symptoms of celiac disease often vary from person to person; therefore, it is possible to go decades without identification as was the case with me.  I was in my late forties experiencing numerous unexplained, uncomfortable symptoms before one doctor finally suggested an endoscopy along with a blood test and a colonoscopy.  As it turned out, the endoscopy and blood work both identified celiac disease.

This dramatically changed my life, especially the way in which I eat.  In addition to eliminating gluten, the doctor advised a nutrient-rich, whole food diet, heavily emphasizing fruits, vegetables, whole grains (without wheat, barley, and rye), as well as legumes.  This is because I spent most of my life with malabsorption issues due to the damage of the lining of my small intestine as well as the inflammation and atrophying of the villi that absorb nutrients and minerals. Hence, the reason I was often sick as a young child.

Photo by Pixabay on Pexels.com

Specifically, vitamin D deficiencies are especially high with those who have celiac disease, which is crucial for growth of bones.  Chronic deficiency of vitamin D can lead to cancer, cardiovascular disease, and osteoporosis to name a few. Additionally, zinc is another nutrient often deficient in those with celiac disease. This nutrient promotes wound healing, virus recovery, growth, and development. 

Therefore, how I now choose to cook and eat is heavily influenced by this knowledge.  While, I can’t, per se, play catch up, I am aware of my need to focus on healthy eating and supplementing with a few key vitamins. The recipe below, based upon recipes by Simple Veganista and California Walnuts is reflective of this focus as it is chock full of nutritionally dense plant foods. 

In particular, this recipe emphasizes foods high in zinc, such as walnuts, mushrooms, spinach, and legumes as the pasta I use is made out of chickpea flour.  Mushrooms, especially those grown under UV light, are one of the few non-animal sources of vitamin D. Additionally, walnuts benefit gut, heart, and brain health while spinach (or other green vegetable I may use) is rich in flavonoid antioxidants and vitamins and possesses anti-inflammatory properties. 

With or without an autoimmune issue, we can all benefit from eating more healthy, homemade meals.  These meals don’t have to be complicated or time consuming and can even be completed in one pot as demonstrated in this recipe. Feel free to swap out the chopped walnuts with your favorite ground meat or meat alternative.  Don’t want spinach? Replace it with another favorite green vegetable. The point is eating healthfully doesn’t have to be hard, tasteless, or make clean-up challenging.  One pot and you’re done! 

From my home to yours, I wish you the best in health!

One pot Walnut and Mushroom Penne (with gluten free option)

Ingredients:

1 tablespoon olive oil

1 cup chopped onion

2 teaspoons minced garlic

1 pound mushrooms

1 tablespoon tomato paste

1 tablespoon balsamic vinegar

1 tablespoon dried oregano

1 tablespoon dried basil

¼ teaspoon black pepper

¼ red pepper

½ teaspoon fennel seed, options

1 28-ounce can crushed tomatoes

1 cup chopped walnuts*

1 cup chopped fresh or 14.5 ounce canned tomatoes

4 cups low sodium vegetable broth

1 pound penne pasta (I use gluten-free, chick-pea pasta.)

2 cups fresh spinach or other favorite green vegetable

Directions:

In a large pot, heat oil over medium heat. (Can also use ¼ cup water if you prefer oil-free cooking.)

Add in onion and garlic, saute until translucent. (If using water, you may need to add more water to prevent sticking.)

Stir-in mushrooms and cook until soft, stirring occasionally.

Stir-in tomato paste, balsamic vinegar, oregano, basil, black pepper, red pepper, and fennel, if using.

Add crushed tomatoes, walnuts, and chopped tomatoes and bring to a boil.

Reduce heat and stir in vegetable broth and pasta.

Allow to simmer and gently bubble for 15-20 minutes, stirring occasionally.

Remove from heat, stir in spinach or other green vegetable.

Allow to rest 3-5 minutes, then divide between 4 serving bowls.

Sprinkle with your favorite topping, such as parmesan or pecorino cheese, fresh parsley, and/or chopped scallions. 

Notes: 

*Walnuts can be swapped out with your favorite ground meat or meat alternative.

Get into the holiday baking mood with Banana Strawberry Bread with optional chocolate chips–with gluten-free and vegan options

“As long as you know how to bake, life is sure to be sweet!”–Unknown

One Sunday afternoon this past summer, I was talking with my Dad via phone as he now lives in Florida.  He shared that after church service, a fellow worshiper shared slices of homemade strawberry bread with others.  Listening to Dad, I decided to add “strawberry bread” to my list of writing/cooking ideas.  Of course, Dad was not surprised.

It took some trial and error, but I think I found the sweet spot.  Of course, when I bake, I am trying to meet unique dietary needs.  Selfishly, I prefer baking recipes that have the ability to be gluten free due to my celiac disease; however, I also like to find versatile ingredient scaffolding for those that can safely consume wheat.  Furthermore, I choose to eat plant-based; therefore, I also like to play with ingredients that offer that option as well.  Bottom line, however, if it tastes good and is easy to make, most people don’t care if it’s gluten-free and/or plant-based. 

Photo by solod_sha on Pexels.com

The recipe all came together after picking up a grocery order one day only to discover I was given extremely ripe, fully brown bananas instead of bright yellow.  Once I saw those bananas, I knew how I wanted to create my own version of strawberry bread.  I took further inspiration from The Big Man’s World website.  

Strawberries and bananas are complementary and commonly paired in many food items, such as drink mixes, smoothies, yogurts, fruit-cups, and so forth.  Additionally, bananas are one way to bake without eggs to bind ingredients together into a batter with a creamy texture and balanced moisture composition.  Furthermore, bananas add a subtle sweetness to baking recipes that tends to compliment many ingredients.  

Photo by Kimona on Pexels.com

When baking without eggs, I also add a tablespoon of vinegar.  This depression era egg replacement reacts with the baking soda to create carbon dioxide that helps baked goods rise as they bake.  Plus, vinegar overall improves bread texture, whether baking with or without eggs.

You may notice that I use date sugar in this recipe, although it can be replaced with your preferred form of sugar. Date sugar is considered less processed due to the fact that it is made from dried dates pulverized into a powder; therefore, it retains much of its fiber and nutrients.  That said, don’t be fooled, it is still sugar, and like any sweetener, it should be consumed in moderation.

If you like to bake for the holiday season, this bread will lend itself to potluck gatherings, as it can be made a day or two ahead of time.  It would also make a nice holiday gift or simply a fun weekend addition to brunch.  It stores well, becoming more moist with age. I have toasted leftover slices of it in my air-fryer and reheated it in the microwave–either way works.  Plus, you can substitute your favorite chopped nuts in lieu of the chocolate chips–I just happen to like chocolate!  It’s tasty plain or smeared with butter or cream cheese as my daughter and husband  do or with your favorite nut butter, as I like to do.

This recipe is versatile, using fresh or frozen fruit. (Hint: I save all over-ripe bananas–and even strawberries–in a freezer bag in my freezer and pull out what I need anytime I’m baking!) Notice all the ways I offer substitutions for the original ingredients I used, so that you can meet your own individual needs/taste preferences.  Sprinkle the top of the batter with crystallized or festive-colored sugar before baking if desired and find ways to make this recipe your own!

From my home to yours, here’s to holiday baking!

Banana Strawberry Bread with optional chocolate chips

 with gluten free and vegan options

Ingredients

2 cups oat flour, can replace with all-purpose or gluten free flour

1/2 cup date sugar, can replace with regular or brown sugar

¾ teaspoon baking soda

¼ teaspoon salt

1 ½ cup mashed banana (about 2 bananas)

1/4 cup applesauce, can replace with oil or melted butter

1 teaspoon vanilla extract

¼ cup milk, dairy or non-dairy work

1 tablespoon apple cider vinegar

½ + ¼  cup + sliced strawberries, frozen or fresh

¼  cup + 1 tablespoon chocolate chips, gluten free and/or vegan; 

(can replace chocolate chips with chopped nuts)

Directions

Preheat oven to 350 degrees

Prepare loaf by spraying with nonstick cooking spray

Mash banana and set aside

In a large mixing bowl, stir together dry ingredients

Make a well in the center of the dry ingredients

Stir in remaining ingredients, including banana, into the dry EXCEPT for strawberries and chocolate chips

Fold in ½ cup of sliced strawberries and ¼ cup of chocolate chips

Pour batter into loaf pan

Top with remaining strawberries and chocolate chips

Bake for 50-70 minutes or until a toothpick inserted in the center comes out clean

Cool in pan for 10 or so minutes, use spatula to gently lift out of the loaf pan.

Finish cooling on wire rack

Slice to serve.

Can be kept in an airtight container, once completely cooled, in the fridge for up to five days.

Can also be stored in a ziplock freezer bag and frozen for up to 3 months.

In a large bowl stir together dry ingredients and make a well in the center. Then set aside.
In a medium bowl, stir together wet ingredients.
Pour wet ingredients into the center of dry ingredients and mix with spoon until blended.
Finally, stir in sliced (or chopped, if preferred) strawberries and chocolate chips or nuts.
Bake in oven, and allow it to cool in pan at least 10 minutes before using a spatula to gently lift out loaf. Set loaf on cooling rack, and allow it to continue to cool.
Slice it up and eat it plain or with your favorite toppings, such as maple syrup, honey, nut butter, butter, or cream cheese to name a few.
Personally, I love nut butter smeared on a heated slice and allow the warmth of the bread to melt it.

Gluten-free, Chocolate Donuts with Glaze: make your house smell like a bakery outlet

And the donut stood there with a glazed expression.–Unknown

Honestly, I am not what I would call a “donut” person.  Even before I knew I had celiac disease, I never, per se, craved donuts.  However, when I was quite young, my grandparents would occasionally drive about an hour away from their home to a Dolly Madison bakery outlet.  They would buy treats that would normally never be in my own childhood home.  Oatmeal cream pies, twinkies, fruit pies, zingers, and bags of donut gems. I can recall the childlike appeal of those colorful, catchy items on my grandparents’ kitchen table.

I never really understood why they made this trip because my grandmother was an excellent cook and an exceptionally tasty baker of desserts.  Up until the day my grandfather went to a nursing home, it seemed as if Grandmother always had some freshly baked dessert on-hand.  Maybe they made this trip because they came of age during the depression and never had much during those lean years.  Then again, it could have had more to do with the fact that they had once owned and operated a grocery store and simply enjoyed having packaged products. 

Photo by Henri Mathieu-Saint-Laurent on Pexels.com

Regardless of the reason, the grandkids were often able to reap the benefits of these bakery outlet trips.  While we were certainly limited in the amount of sweets we were permitted to eat, my grandparents were always more lenient.  In particular, I fondly recall those donut gems that came in the white bag with a cellophane center allowing purchasers to see those orbs of processed confectionery–ready to spike blood sugar levels of consumers far and wide, especially the small bodies of children.  

In the end, I am not sure if those memories have inspired my latest obsession with donut baking, but I do find baking these treats once per month to be a sweet, creative outlet in a world often filled with bitter headlines.  However, I do try to find ways to bake these donuts a bit more healthily–although let’s be honest, they’re still donuts.  Nonetheless, this recipe is gluten-free that can be made free from animal products, if desired, and it is less sugary than those rings of gems from that long ago bakery outlet. 

Why not set aside less than an hour of time to bake up a pleasant headline in your own home? They are easy to make and a cinch to glaze.  You don’t even have to own a donut pan. Most of all, your house will be smelling like a bakery outlet without the two-hour round trip drive! 

These donuts are ready to be eaten or glazed.

Gluten-Free Chocolate Donuts with optional Glaze

Donut Ingredients:

1 egg OR 1 tablespoon ground flaxseeds + 3 tablespoons water*

1¼  cup oat or all-purpose (gluten-free) flour**

⅓ cup dutched cocoa powder ***

⅓ cup sugar

1 teaspoon baking powder

½ teaspoon baking soda

¼ teaspoon salt

1 tablespoon vinegar

¾ cup milk

3 melted tablespoons of favorite nut-butter, butter, or applesauce****

1 teaspoon pure vanilla extract

Chocolate Glaze Ingredients:

½ cup gluten-free chocolate chips

1-2 tablespoons milk

2 teaspoons pure maple syrup

¼ teaspoon pure vanilla extract

Directions:

  • If using flaxseed, combine flaxseed + 3 tablespoons of water, set in the fridge to “gel” for 10-20 minutes.
  • Preheat the oven to 350 degrees.
  • Prepare a donut pan(s) with a light coating of nonstick cooking spray, OR if you do not have a donut pan, do the same with a muffin pan and plan on filling with batter ½ way full.
  • Combine dry ingredients until well blended.
  • Mix in the remainder of wet ingredients including flaxseed/egg with a large wooden spoon.
  • Divide batter among 8-10 donut spots of donut pan.
  • Bake for 10-15 minutes until a toothpick inserted comes out clean.
  • Allow to cool in the pan for 5 minutes before flipping onto the rack to cool 10-15 more minutes. Serve immediately or add glaze. Makes 8-10 donuts.
Look at this yummy glaze, ready for donut dipping.

To make glaze:

  •  Lightly spray a microwave-safe bowl with non-stick cooking spray.  
  • Add in chocolate chips and milk. Heat for 30-45 seconds until slightly melted.
  • Stir gently, and once well mixed, add in maple syrup and vanilla extract
  • While glaze is still warm, individually dip one side of each donut into glaze, and place back on the cooling rack to firm up. Repeat for each donut.  Feel free to add sprinkles, sparkling baking sugar, or shaved bits of chocolate for a more festive look. 

Recipe Notes:

*Choosing between the egg or flaxseed is personal preference, but it is worth noting that

  flaxseed is plant-based. 

**I have celiac disease, so I cannot bake with wheat-based flours.  However, if you do

 do not have a gluten allergy, feel free to use all-purpose flour instead.

***I prefer dutched cocoa powder over regular cocoa powder due to its mellow, smooth

 flavor that I find to be less bitter than regular cocoa powder.  Plus, it makes baked goods

 dark and rich looking.  However, IF using REGULAR cocoa powder, reduce baking

 powder to ½ teaspoon and baking soda to ¼ teaspoon.

****Nut-butters, including tahini, offer a richer flavor and consistency; whereas, butter offers a lighter flavor and can be dairy or plant-based.  Applesauce is a no-oil choice. 

Enjoy!!

Chocolate Peanut Butter Banana Bars

“What’s the point in having a sweet tooth if you don’t use it?”–unknown

I blame my parents.  Who else am I supposed to blame for my sweet tooth? While both of my parents eat an overall healthy diet, they also like their dessert from time to time. I confess, I am the same way.  It’s all about moderation and balance, and, well, never underestimating the power of chocolate . . . or peanut butter! 

I enjoy nearly any form of chocolate!

About a month ago, I baked my grandmother’s traditional recipe for chocolate frosted brownies.  It is a family favorite from an old 1930s or 40s vintage Betty Crocker cookbook.  While it is not vegan, I can say it is vegetarian; and anyway, I am not about so-called perfect eating.  Besides, it’s not like I bake Grandmother Helen’s brownies on a regular basis.

My mom had dinner with us on the evening that I baked brownies, so I sent a few home with her.  The next day, my daughter walked into the kitchen where I was food prepping my work lunches for the week, laughing and shaking her head.  She said that while talking to my mom on the phone, “Gran’ma confessed to spreading peanut butter all over the brownies before eating them.”

Mash up the banana first. I find a pastry cutter perfect for this!

At first, that seemed sacrilege!  How could she desecrate that beloved, treasured family recipe?  The horror of it!  What was she thinking?

“Sounds like a good idea to me!” said my husband.  “I just might try that!”

He had a point.  Peanut butter–and almond butter for that matter–are like dessert.  Nothing can improve a bad day like nut butter.  In fact, I would argue that nut butters, as a rule, have a certain calming quality to them!  During my younger years, when annoying bodily afflictions, such as acid reflux, were nearly non-existence, banana and peanut butter was one of my favorite go-to meals.  This led me to thinking . . .  which is always dangerous!

Stir in the peanut butter.
Add in the rest of the liquid ingredients.

I began to wonder if there was a plant-based, gluten-free compromise-recipe I could find or create.  Thus, my research began.  Scrolling through one web-site after another, I eventually landed on two different recipes. One recipe was from a web-site entitled, “It Doesn’t Taste Like Chicken,” and the other recipe was from a web-site called, “Purely Kaylie.”  

Add in the dry ingredients.

Using both of their recipes as scaffolding to create my own variation, I did a bit more research on baking with both oat milk and oat flour.  These two ingredients, I decided, would not only increase the nutritional value, (Read between the lines–ease the guilt of my sweet tooth!) but also eliminate gluten and dairy products since I have celiac disease and prefer to eat plant-based.  Additionally, I also conducted a bit of research on the science of baking with dutched cocoa, my preferred cocoa, and I learned that it bakes more effectively with baking powder, rather than baking soda.

Stir in chocolate chip and mix until just blended.
Pour batter into prepared pan and sprinkle with remaining chocolate chips.

I made this recipe on a Saturday afternoon, and our entire home was redolent with the scent of baking chocolate.  The recipe was super-easy, requiring only one bowl, and honestly took no longer than 10 or so minutes of active kitchen time. The oven did the rest.  Once cooled, I cut the recipe into 9 generous sized squares and stored part of them in a plastic container in the fridge. I could have frozen them for future weekend cravings, but they did not last that long.

Give this recipe a try.  Enjoy it for breakfast, as a dessert, or a grab-and-go snack. It’s a mostly healthy, guilt-free way to have your cake and eat it too!  

All to cool before cutting into 9 generous squares.
Who prefers corner pieces???

Chocolate Peanut Butter Banana Bars

Ingredients: 

2 *fleggs (2 tablespoons of ground flax seeds + 6 tablespoons water)

1 cup ripe mashed banana–about 2-3 bananas (The bananas should have brown spots.)

1/2 cup sugar or equivalent sweetener

⅓ peanut butter

¼ cup favorite milk (I used oat-milk.)

1 teaspoon vanilla extract

1 cup flour (I used oat flour to keep it gluten-free, but any all-purpose flour would work.)

½ cup cocoa powder (I prefer to use Dutched Cocoa powder as it dissolves more quickly.)

½ teaspoon baking powder

½ teaspoon salt

⅔ cup chocolate chips (I use Enjoy Life chocolate chips.  They are dairy and allergy-friendly.)

Directions:

Combine ground flaxseed with water in a small bowl and set in the fridge for about 15 minutes to thicken.

Preheat the oven to 350 degrees.

Lightly coat, with nonstick cooking spray, a square 8 x 8 baking pan, or line it with parchment paper.

Mash banana in a large mixing bowl.

Mix in sugar, peanut butter, milk, vanilla extract, and flegg.

Stir in the dry ingredients–flour, cocoa powder, baking powder, & salt–but do not over mix. Gently fold in half of the chocolate chips.

Spread batter evenly as it will be fairly thick.

Sprinkle batter with remaining chocolate chips.

Bake for 35-40 minutes, or until a toothpick inserted in the center comes out clean.

Allow to cool for at least 10 minutes, preferably longer, before attempting to cut into 9-squares.

Store in an airtight container for up to a week in the refrigerator, or freeze for up to three months.

Mix ground flaxseed and water first. Set in fridge for about 15 minutes before using for best consistency according to my research.

*Flegg= flax “egg”, which is a plant-based, allergy friendly substitute for eggs.