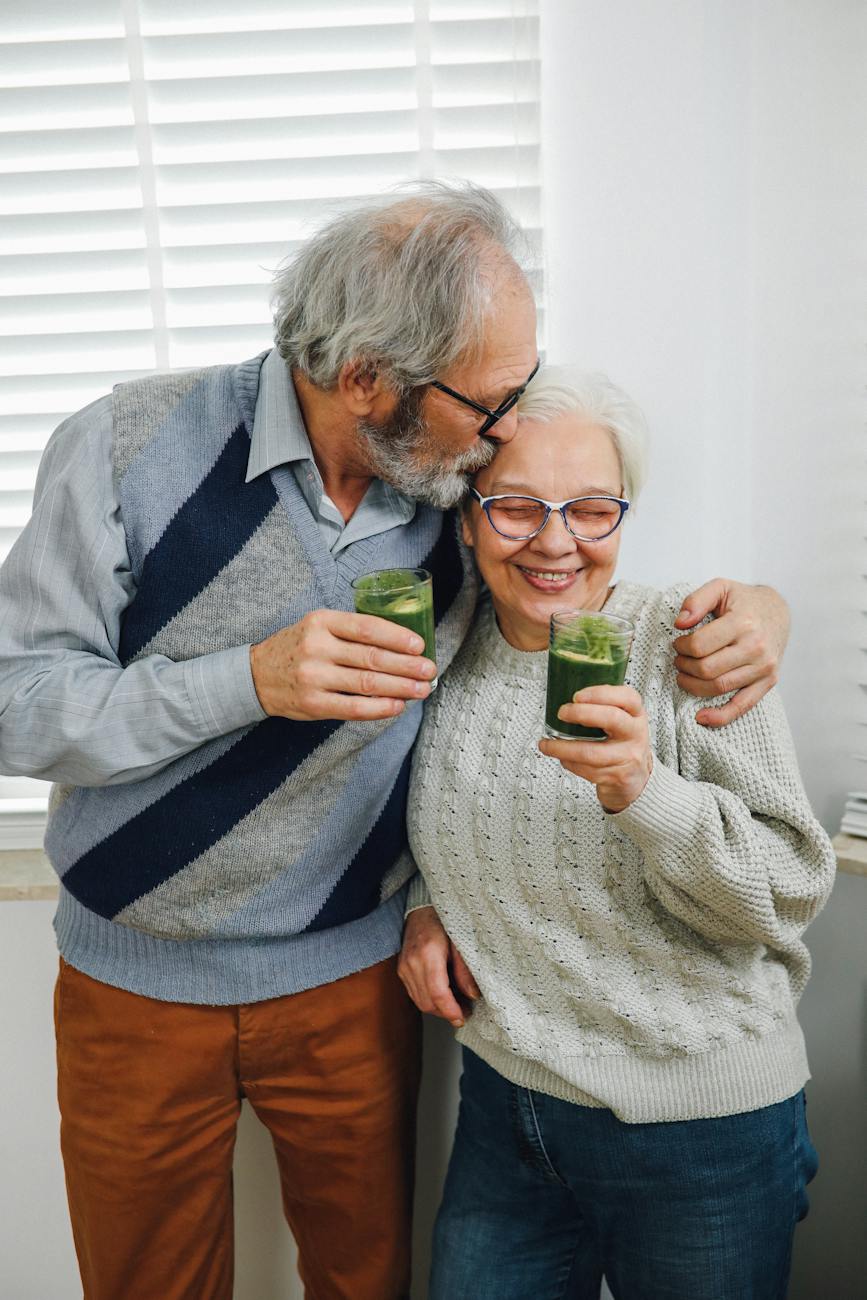
“If you’re one of the many people who struggle to eat enough fruits and vegetables each day, adding smoothies to your diet may help.”–WebMD

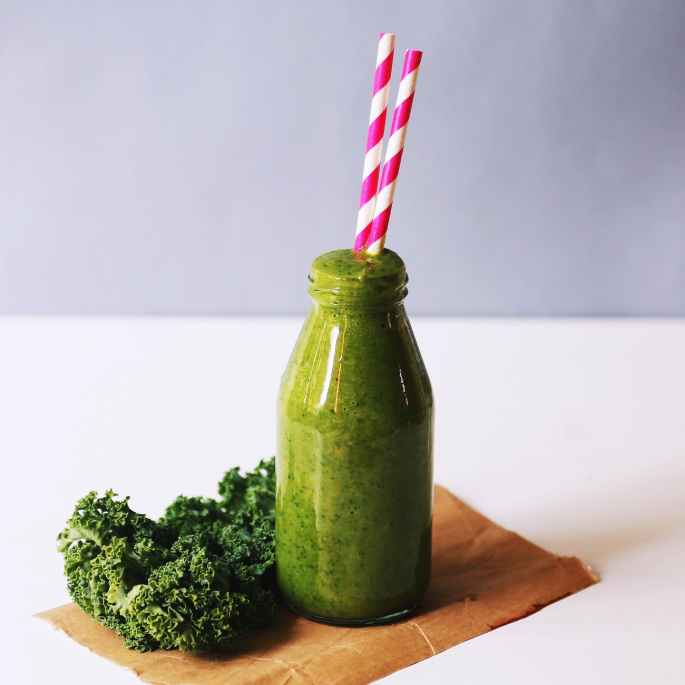
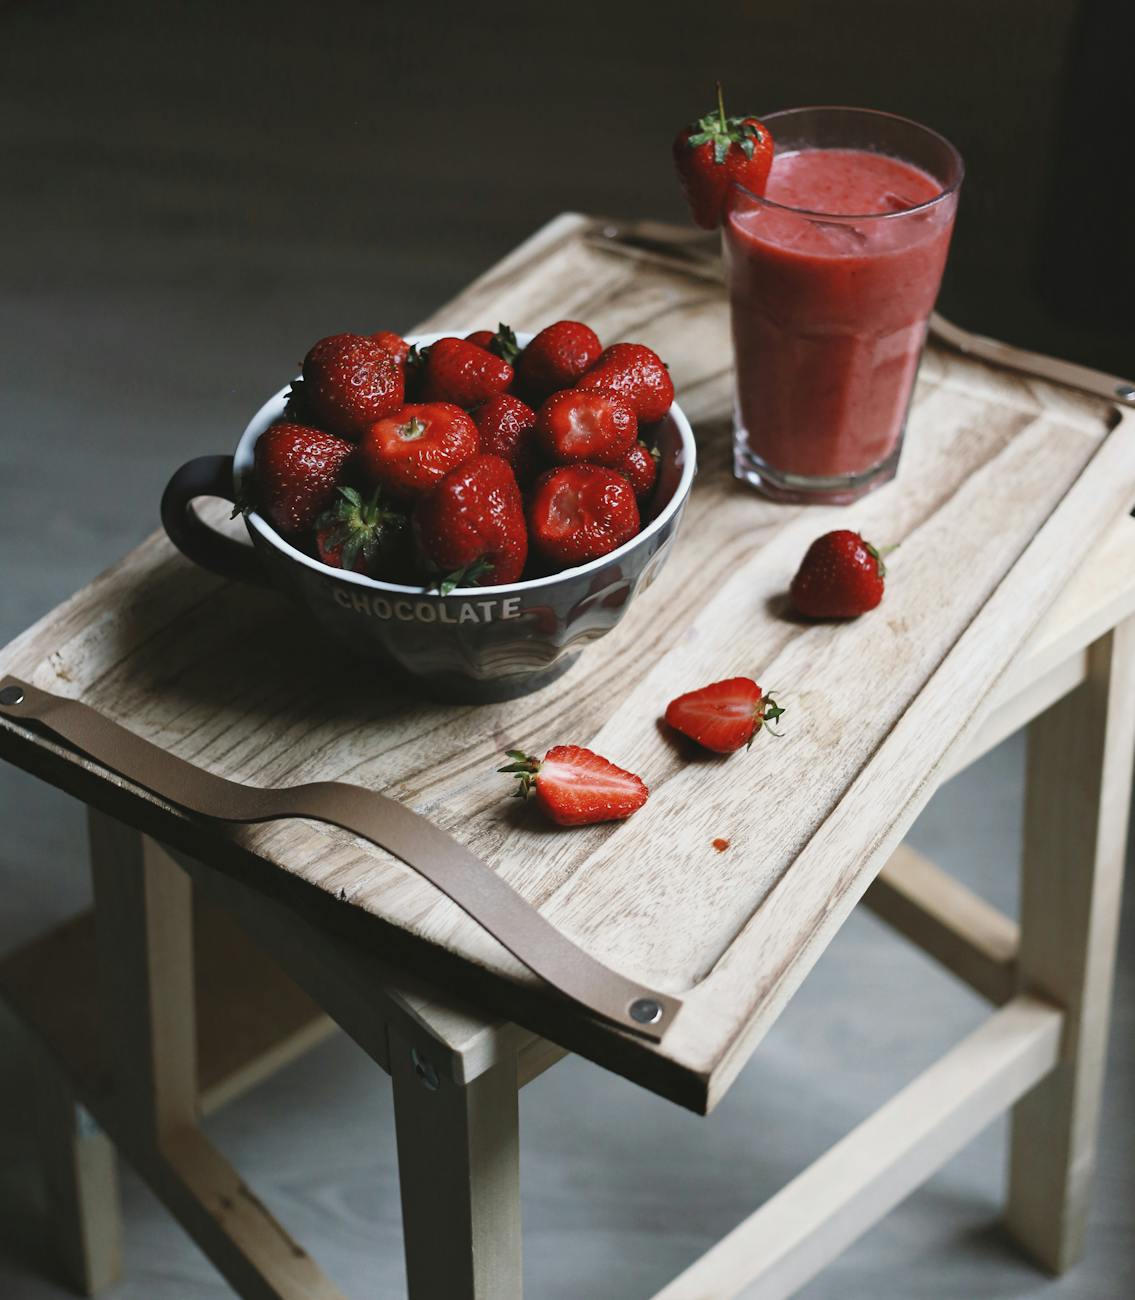
Why Make a smoothie? 🍓🍒🫐🥬
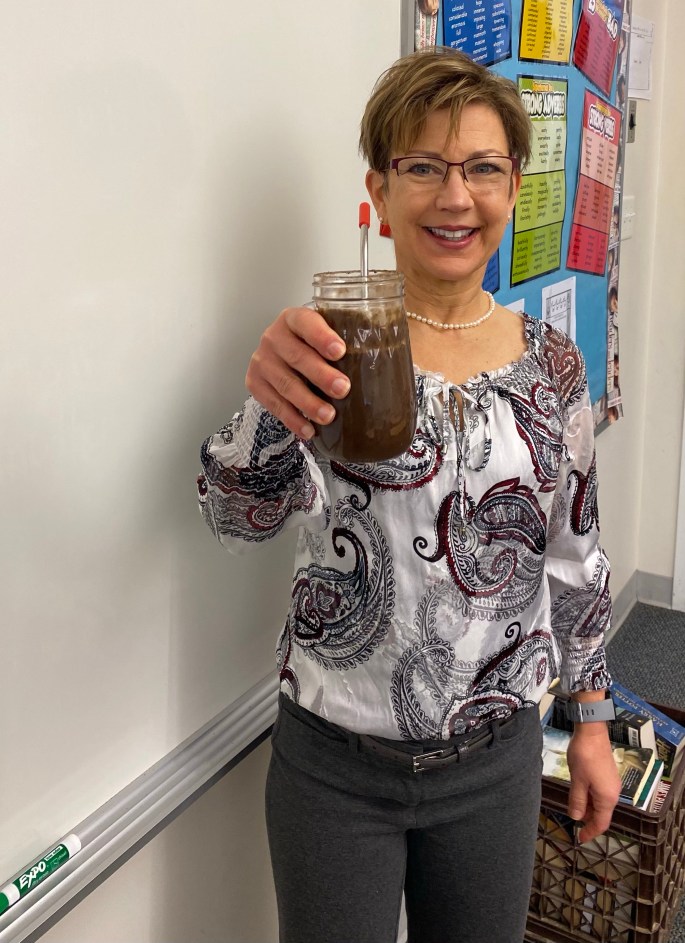
I love a good smoothie, but I am often questioned about why make a smoothie when I could eat the same foods for your breakfast or lunch? It’s a fair question. Personally, I enjoy eating a good meal. However, if, like me, your morning is busy, the day’s schedule is packed, and even your lunch time is a working lunch, a smoothie might be one way to ensure a healthy dose of nutrition for at least one meal.
The key to a balanced and nourishing smoothie is whole food ingredients, with heavy emphasis on fruits and vegetables, in order to get a healthy mix of carbohydrates, protein, and fats. This ensures your smoothie is full of fiber, has a wide variety of vitamins, minerals, antioxidants, and other beneficial nutrients. This is why I advocate for making your own smoothie, rather than buying it, so that you can control the ingredients.
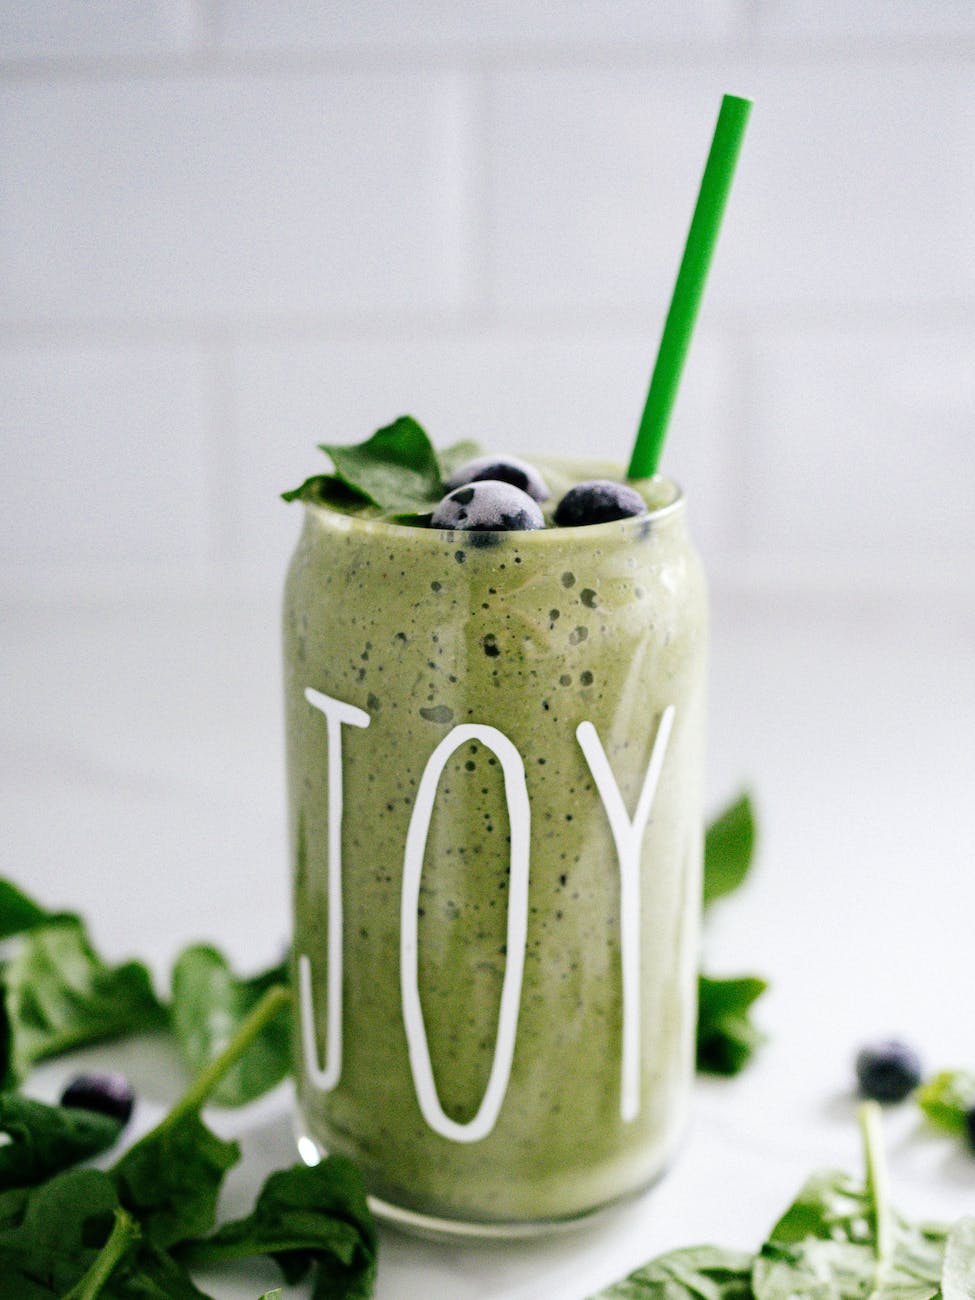
customize your own creation 🍎🥭🍌
Smoothies are customizable; therefore, even though I am sharing my latest smoothie recipe, you can feel free to swap out one whole food ingredient for another. For example, if you need to avoid seeds in your diet, but you want to maintain a dose of healthy fats, swap the seeds for an avocado. (Some grocery stores sell frozen bags of avocado cubes.) If you don’t have one of the fruits on hand the recipe calls for, use what you have on hand. (I do this all of the time.)
Sure, switching one ingredient for another, may somewhat vary the taste, texture, or nutritional content. However, as long as you’re swapping out one fruit for another, one vegetable for another, and so forth, you are still overall increasing the consumption of fruits, vegetables, and other healthy nutrients–which is the goal.
Smoothie benefits✨
Here are the benefits (the pixie dust) of the ingredients in this recipe:
Spinach or cauliflower: These cruciferous vegetables are chock full of essential nutrients that are associated with lowering risk of chronic disease, such as cancer and heart disease.
Cherries: This fruit is full of polyphenol antioxidants which can protect our heart from cell damage and may reduce inflammation.
Blueberries: Full of flavonoids, especially anthocyanins which gives the fruit its gorgeous hue, blueberries are associated with reducing oxidative stress that can lead to inflammation among numerous other benefits.
Banana: In addition to being an excellent source of potassium, bananas, especially when frozen, lend a creamy texture to smoothies.
Prunes: These luscious orbs are full of fiber, potassium, vitamin K, and boron. The latter two ingredients are key to bone building health.
Cinnamon: The National Institutes of Health describes cinnamon as a “multifaceted medicinal plant that is “an antioxidant, anti-inflammatory, antidiabetic, antimicrobial, anticancer, lipid-lowering, and cardiovascular-disease-lowering compound, cinnamon has also been reported to have activities against neurological disorders, such as Parkinson’s and Alzheimer’s diseases.”
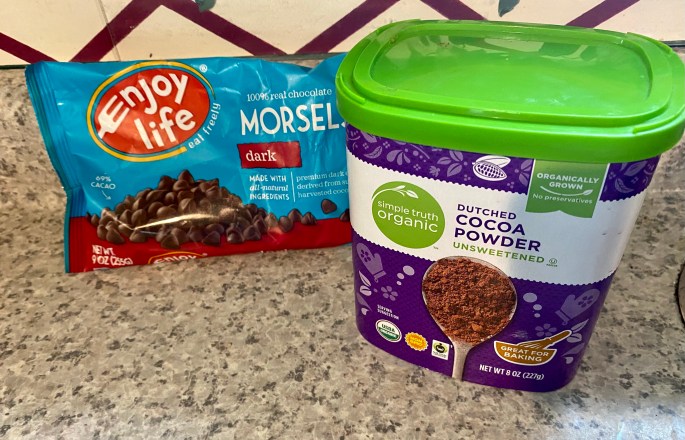
Cocoa powder: This much beloved ingredient is also full of flavonoids, which have been shown to lower blood pressure and increase blood flow to heart and brain.
Protein powder: Obviously, this ingredient increases the protein content of your smoothie, but it affects texture by making it creamier.
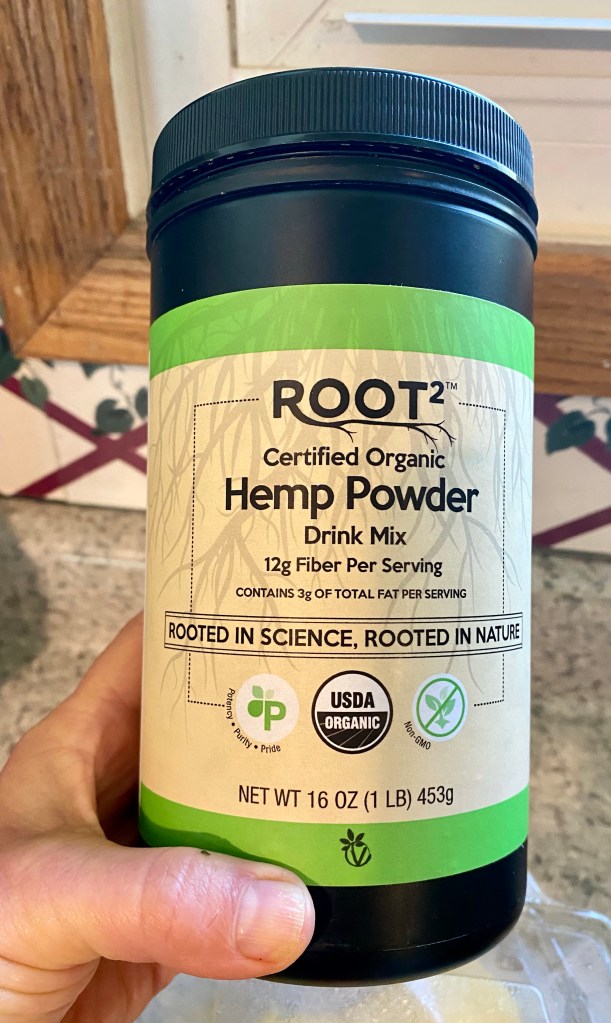
Seeds: These tiny, but mighty ingredients, contain alpha linolenic acid (omega-3 fatty acid) which may increase brain function and boost the immune system. In addition, they are full of fiber, protein, and a variety of minerals.
Beet juice: Beets are rich in nitrates that the body converts to nitric oxide which helps with blood flow and lowers blood pressure. Additionally, beets are full of other beneficial nutrients as they are also part of the cruciferous family. ( I rarely include juice in my smoothie recipes, but this is one juice I will add.)
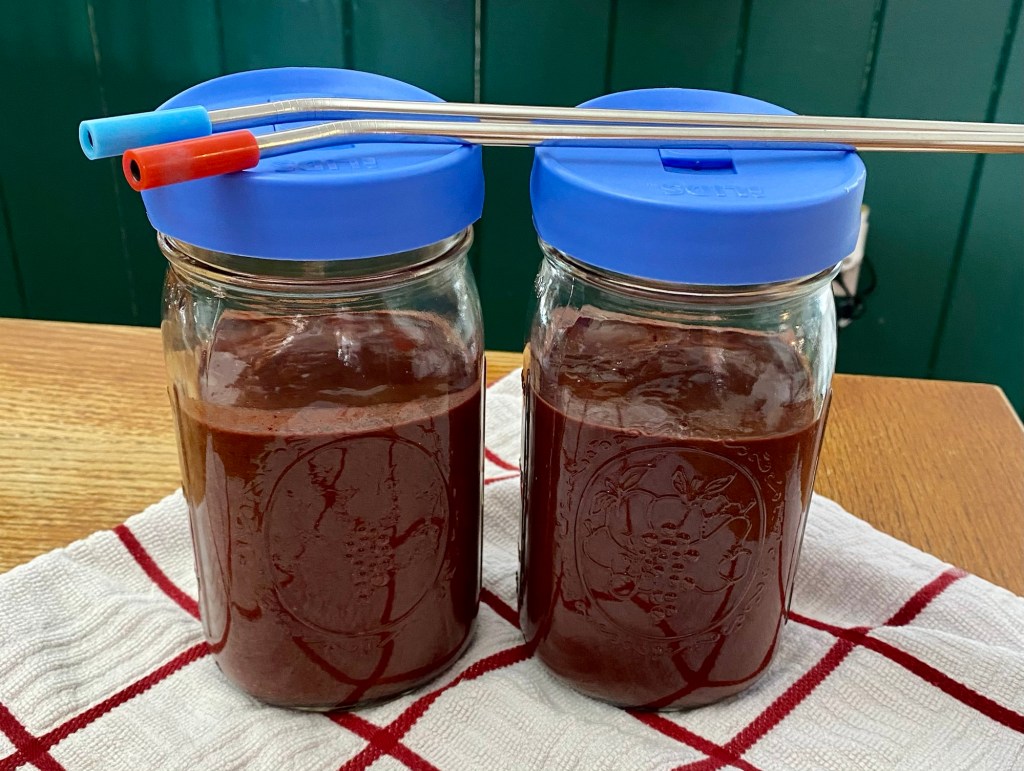
Whole Food ingredients that can even be made ahead of time! 🍍🥝🍑
As you can see from the nutritional deconstruction of this recipe, smoothies made with whole food ingredients can be a healthy part of your daily dietary intake. They can be easily made from frozen fruits and vegetables, so you don’t have to waste what you don’t use.
Furthermore, smoothies can be made ahead of time, such as the night before. They can even be made several days ahead of time and frozen, which is what I often do. Then, it’s simply a matter of removing one from the freezer the night before and placing it in the refrigerator. The next morning, grab the container and go. It can either be sipped on the way to work or saved for later time in the day. All that is required is to give the smoothie container a good shake, and you have a perfectly chilled, thick, and creamy delight that is not only tasty but is also contributing to the body’s overall health and well being.
High Quality Blenders can’t be beat 🍐🍇🍊

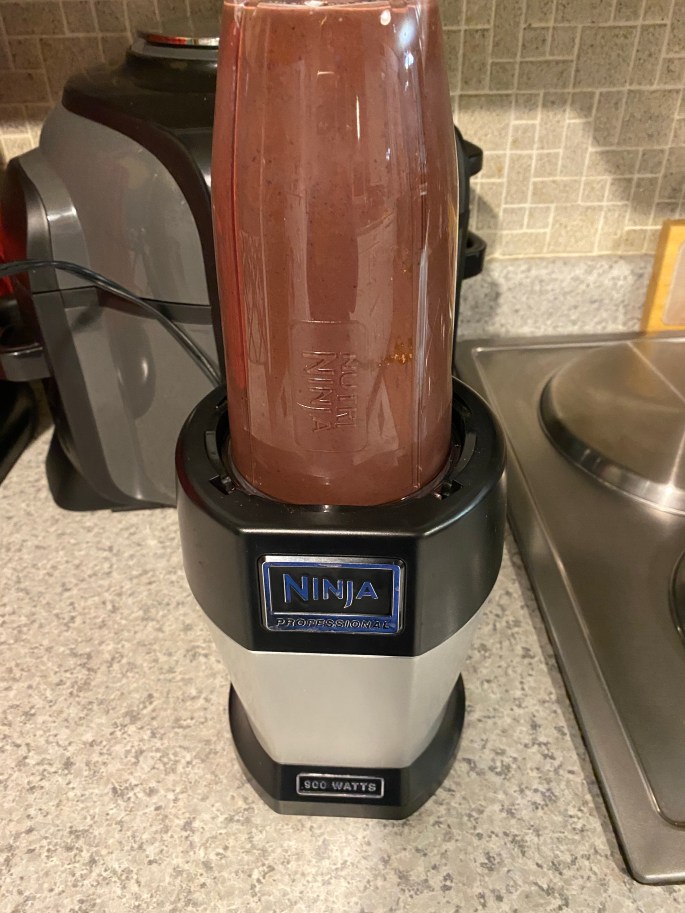
One caveat I will mention is that it is worth investing in a quality, high powered blender if you are one who frequently makes smoothies as I do. I actually purchased a certified reconditioned model, directly from the factory. It automatically came with a five-year warranty, and the company’s customer service has been outstanding. This is not only a cost-effective way to get a quality, high-powered blender, but it also promotes sustainability. Win. Win.
From my home to yours, I wish you health, happiness, and peace.
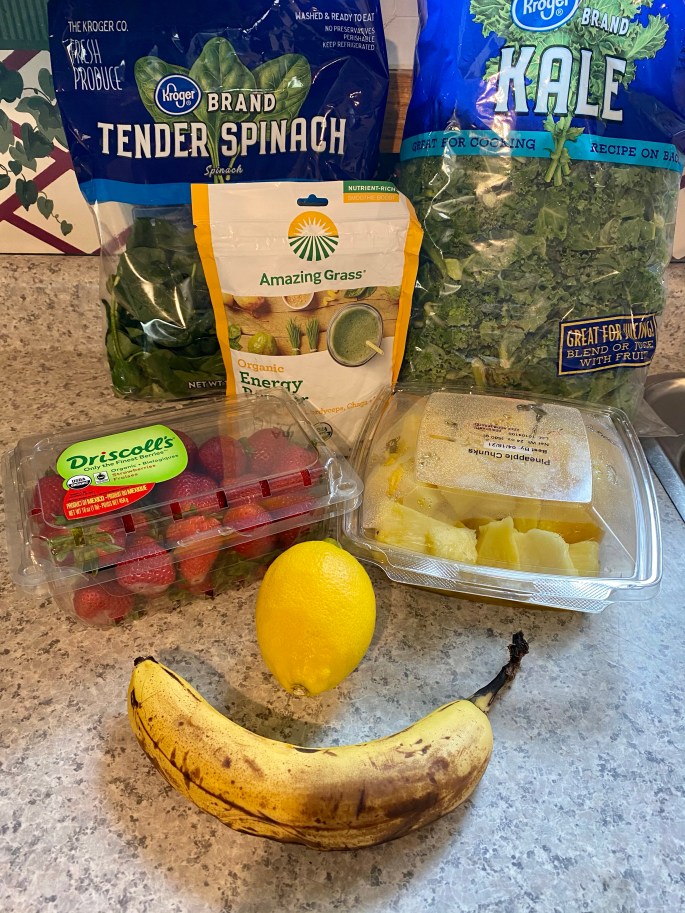
Chocolate Cherry Berry Smoothie
Ingredients:
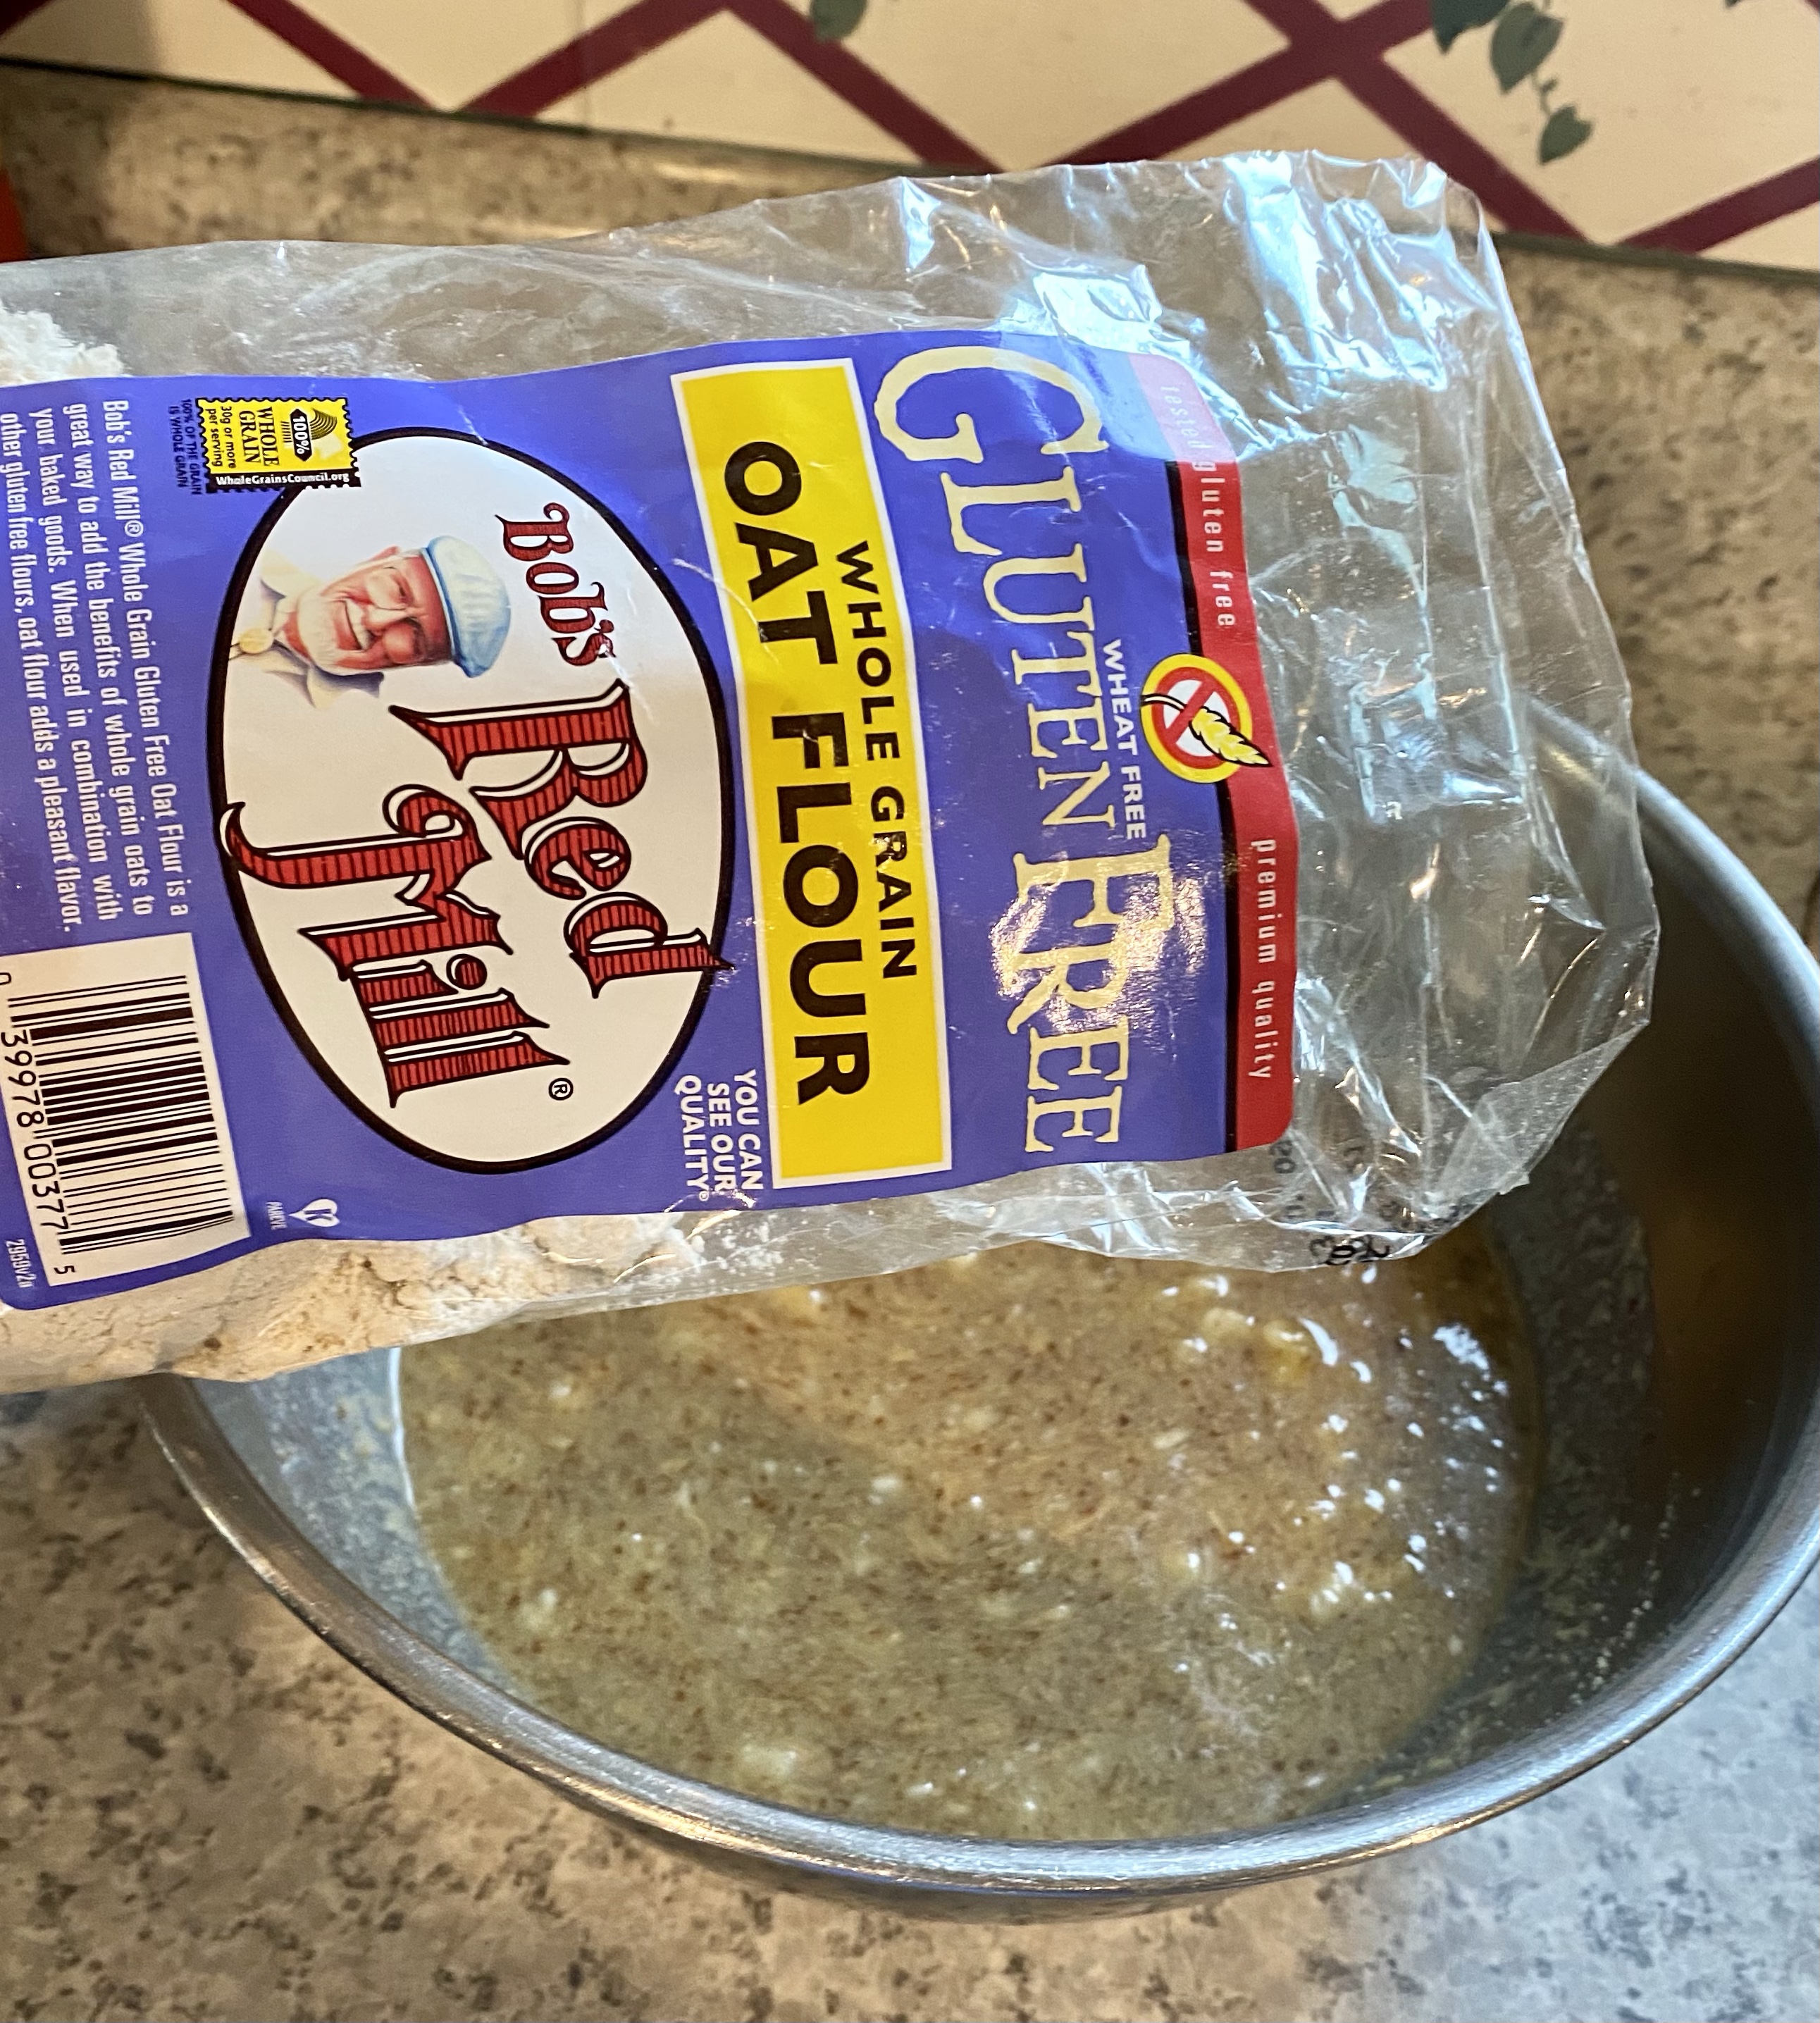
2 cups frozen spinach or riced cauliflower
1 cup frozen cherries
1 cup blueberries
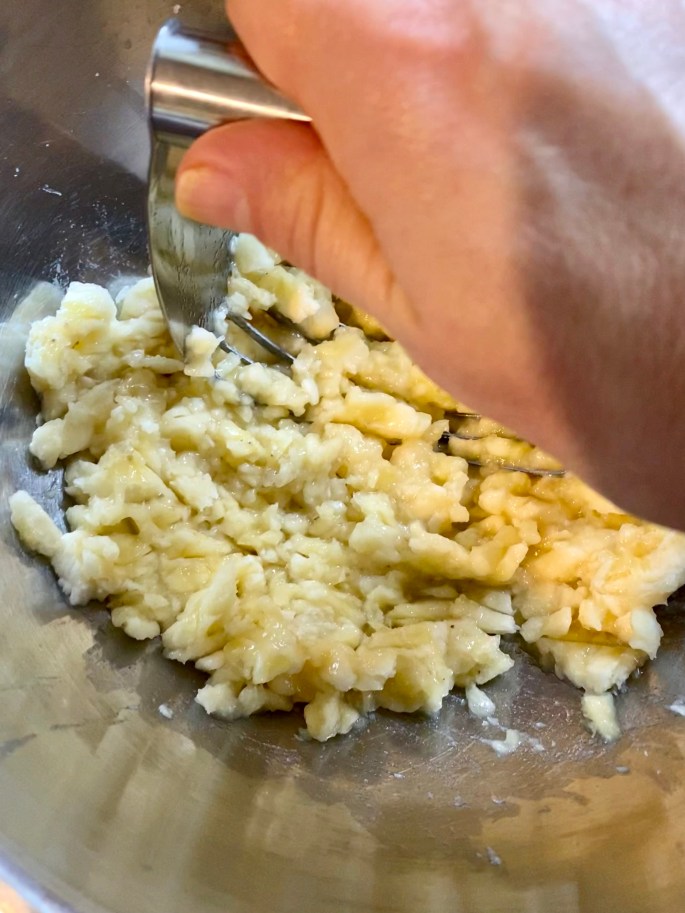
1 ripe banana, frozen if possible
¼ lemon with its peel (remove seeds)
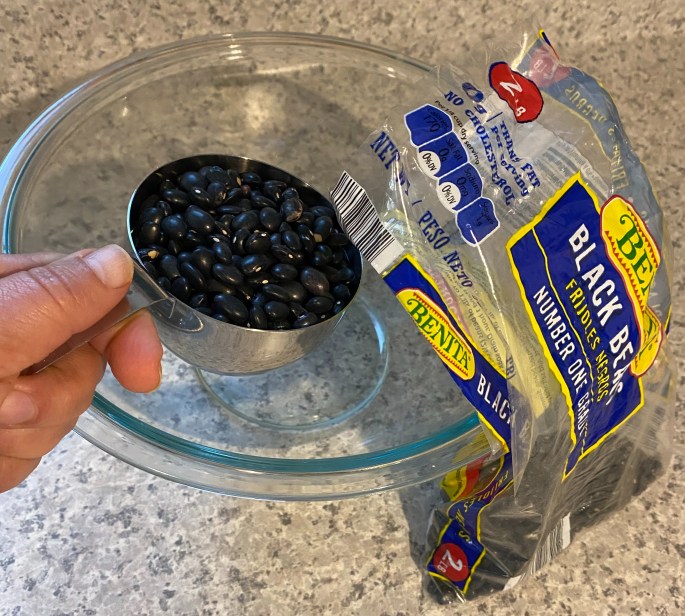
2-4 prunes (can substitute medjool dates)
2 tablespoons cocoa powder
1 teaspoon cinnamon
vanilla protein powder
2-4 tablespoons flax, hemp, or chia seeds
2 cups water OR 1 cup beet juice + 1 cup water (Can substitute pomegranate juice for beet juice.)
Directions:
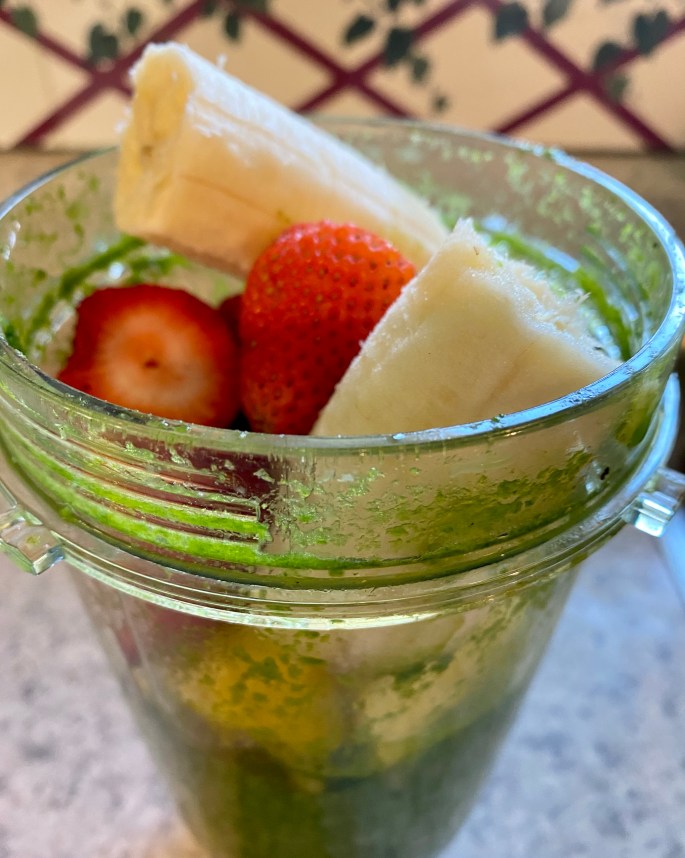
Place all ingredients in the order listed in a high powered blender and blend from one minute or until smooth and creamy.
Serves 2