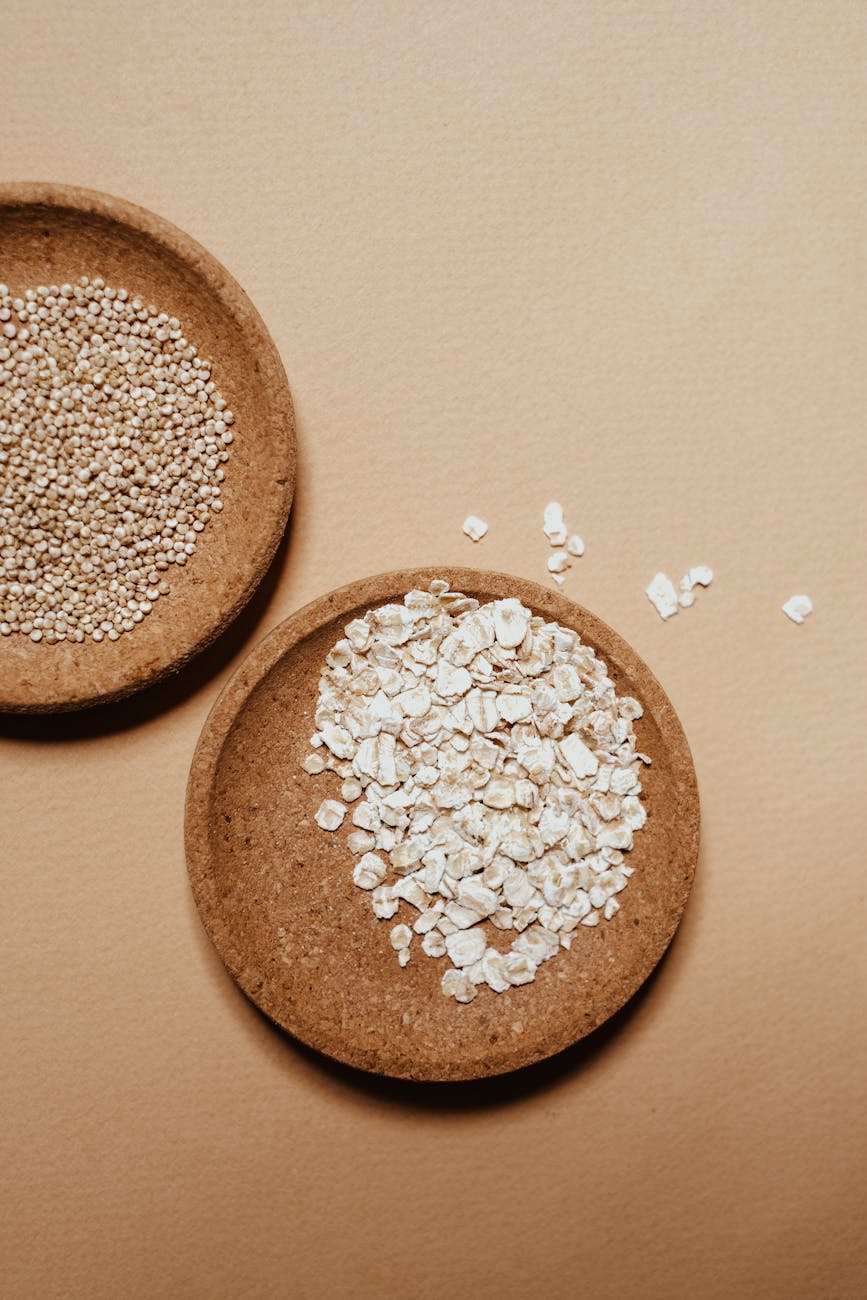
Health Benefits of Oat Bran: A Nutritional Powerhouse with muffin recipe

Oat bran, a by-product of oat grain processing, is a good source of soluble fibers: β-glucans that are linked to the reduction of cholesterol and to the prevention of cardiovascular diseases.”Science Direct

Photo by Vie Studio on Pexels.com

Oat Bran Fad 🥄

Are you old enough to remember the oat bran craze of the late 1980? A 1991 Los Angeles Times article described the oat bran-craze as a short-lived obsession, which began in 1987 when several influential U.S. medical groups, such as the American Heart Association and the American College of Cardiology, started the Know Your Cholesterol campaign. Former president Ronald Reagan would later proclaim April 1988 as National Know Your Cholesterol Month.

 I was early in my career at that time, and I can recall one of my coworker’s transformation when his doctor ordered him to lower his cholesterol after suffering a mild heart attack in his mid-40s. He decided to eschew medication, and try the “eating healthier” route, which included eating oat bran every morning for breakfast. In addition to several dietary changes, he added walking and/or bike riding for 30+ minutes four to five times a week. His results were stunning. By the end of that school year, he looked like a different person. 

Award-winning Nutrition 🏆

The oat bran craze, like other dietary fads, lost its shine by the early 1990s; however, it is still certainly worthy of regular consumption and should probably have a star placed on the Nutritional Wall of Fame if there were one. Specifically, it is high in soluble fiber. When eaten, soluble fiber soaks up water like a sponge, creating a gel-like substance that can lower blood sugar levels, holds on to cholesterol and fat, and make stool easier to pass.  

In addition to being high in soluble fiber, oat bran is lower in carbs and calories than oatmeal.  Oat bran is also higher in nutrients such as protein, fiber, iron, thiamine, and magnesium to name a few. It contains high levels of antioxidants which ward off chronic disease, inflammation, and offers other health benefits. Additionally, oat bran may also help lower both blood pressure and cholesterol.  Plus, it is naturally gluten free. 

Easy addition ➕

Making oat bran a regular part of a healthy diet is easy to do. Eat it as a creamy, comforting, warm porridge-like cereal, or mix it up as you would your favorite overnight-oats recipe for a velvety breakfast delight in the morning. Oat bran can be a nutritional addition to smoothies. It can be an excellent addition to baked goods, such as quick breads, cakes, and muffins like the recipe I share here. Stir oat bran into your favorite yogurt, or add it to your favorite casseroles, meatballs, meatloaf, or burger recipes. 

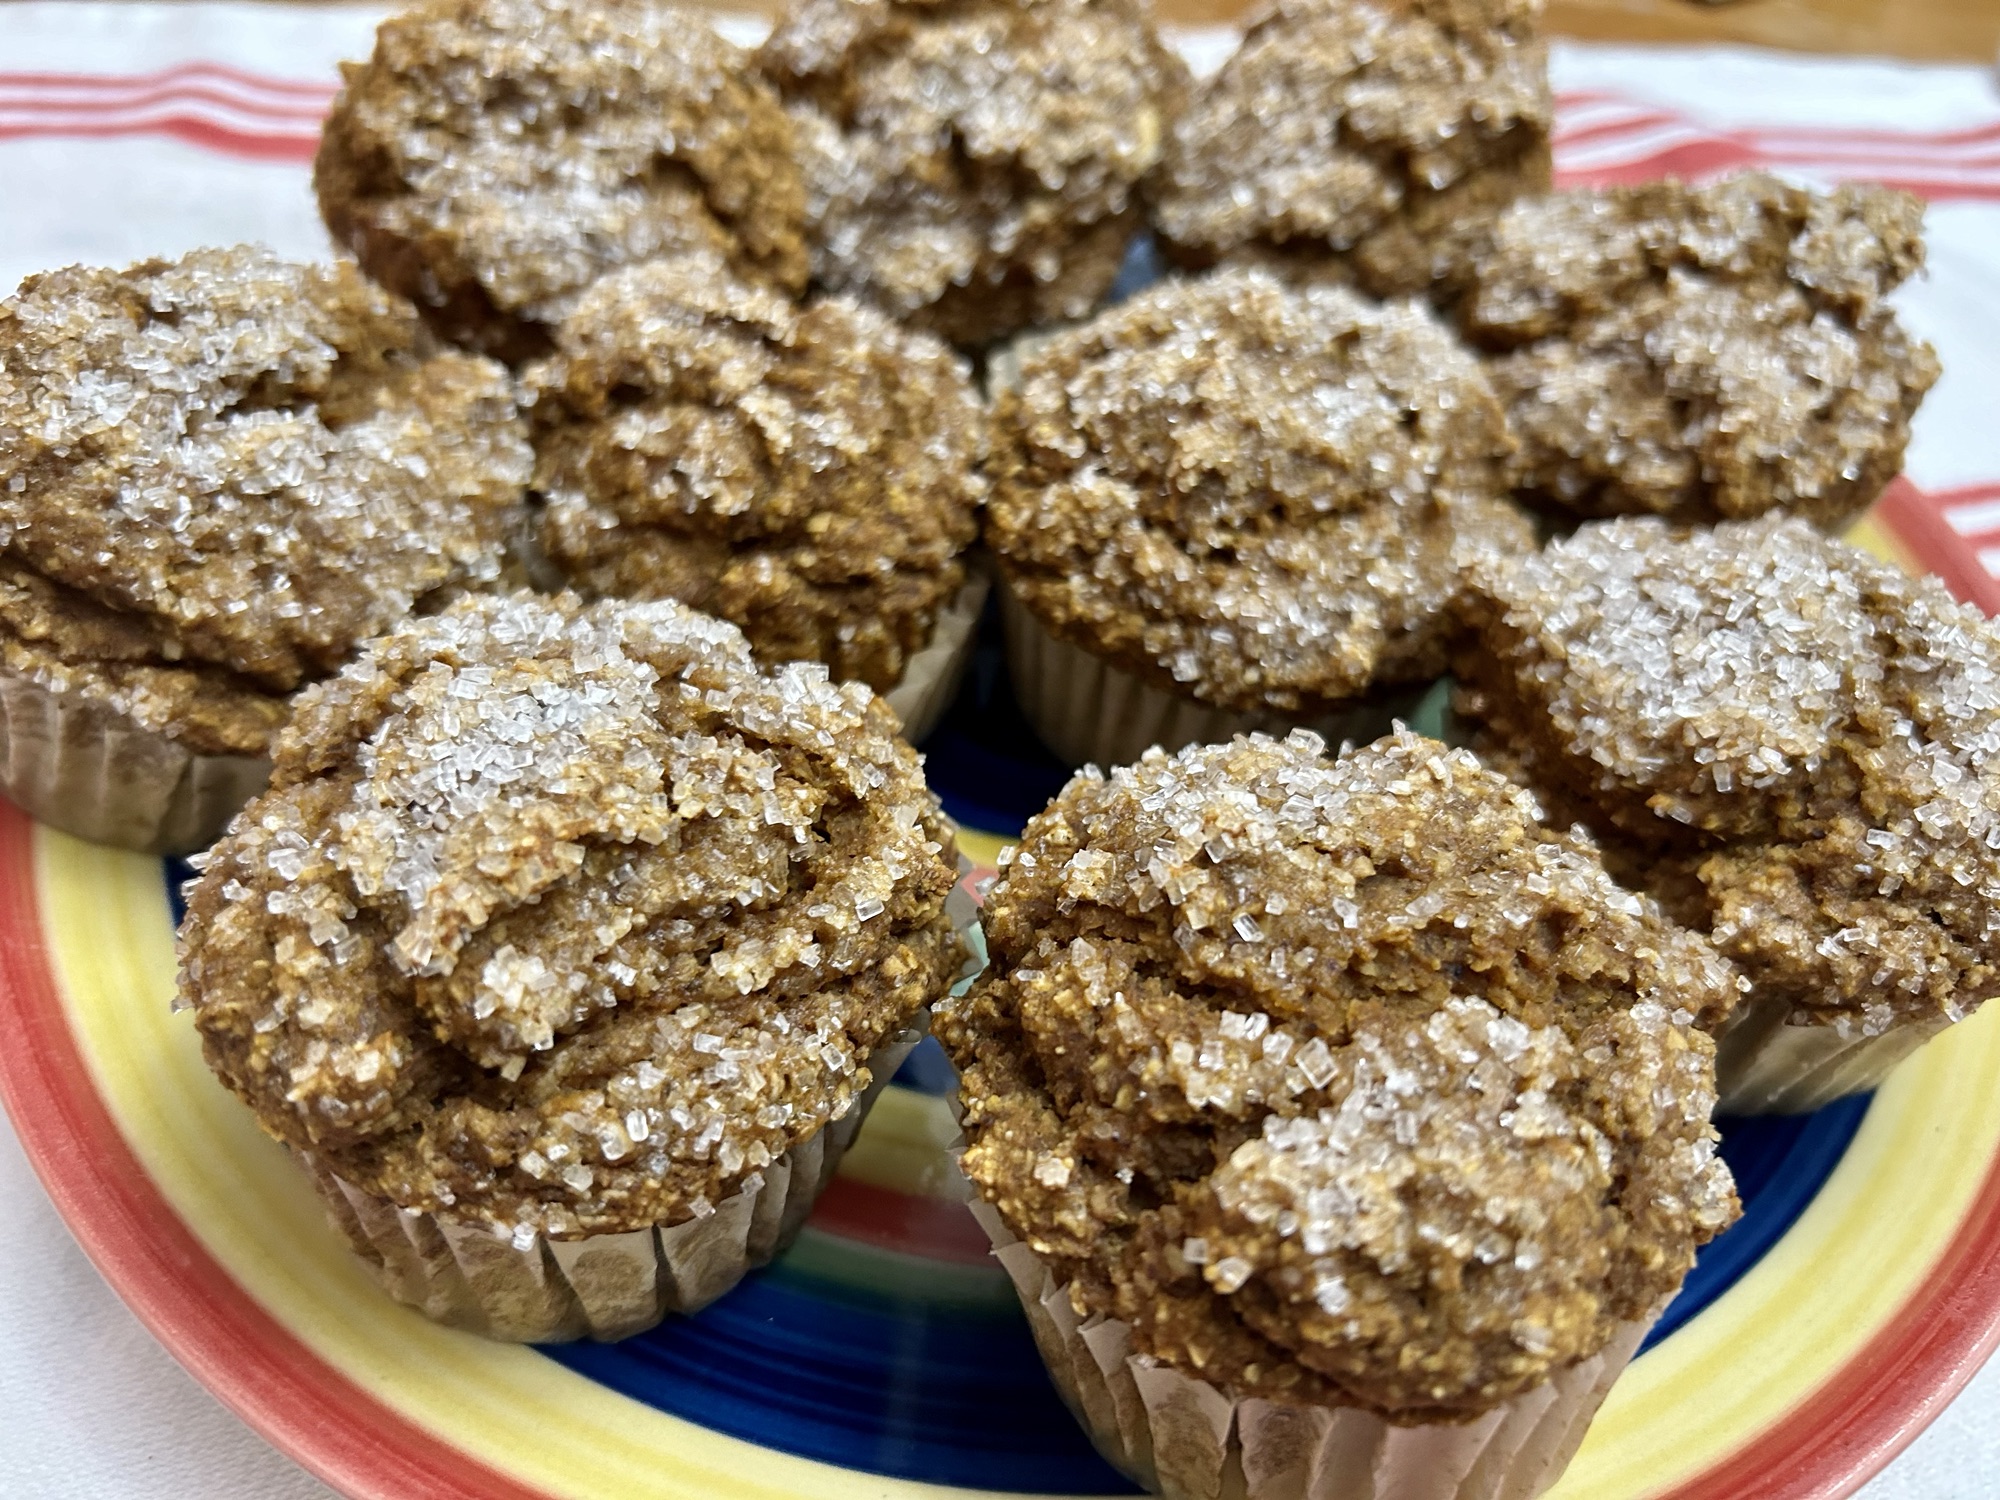
TAsty Holiday Treat That benefits your Health ✨

Even though it is a long way from those late 1980s, regular consumption of oat bran can go a long way to benefiting your health. The recipe below is one easy way to level up your oat bran game. The muffins are tasty on their own, and they deliciously pair with a drizzle of honey or smear of melted butter alongside a warm cup of coffee or tea. They freeze well for quick grab and go convenience, which is important over the coming Thanksgiving holiday. Plus, there’s a slew of optional stir-in ingredients listed below, so you can personalize this recipe to fit your taste preferences.

From my home to yours, I wish you a healthy, happy, and wonderful Thanksgiving full of homemade goodness. 

Personalize this recipe with your choice of stir-in ingredients to take this recipe to the next level of flavor and health!

Healthy Holiday Pumpkin Oat Bran Muffins

Ingredients:

1 ½ cup oat bran

1 ½ cup oat flour (can replace with all-purpose flour or gluten free variation)

2 teaspoons baking soda

1 teaspoon baking powder

½ teaspoon salt

4 packets of your favorite sweetener

1 ½ teaspoon cinnamon

½ teaspoon ground ginger*

½ teaspoon ground nutmeg*

¼ teaspoon ground cloves*

⅛ teaspoon all-spice* 

2 eggs or “fleggs**” 

1 tablespoon apple cider vinegar

15 ounce can pure pumpkin puree 

½ cup apple sauce

½ cup pure maple syrup 

⅓ cup milk (dairy or nondairy)

2 teaspoons pure vanilla extract

Optional stir-ins: 1 cup chopped nuts and/or ½ cup blueberries, raisins, currants, chopped dates, dried cranberries, or chocolate chips

Notes: 

*Can replace ginger, nutmeg, cloves, & all-spice with 1 ½ teaspoon pumpkin pie spice

**To make two flax “eggs” or “flegg”: Stir together 2 tablespoons ground flaxseed + 5 tablespoons water and set in fridge for 5+ minutes before adding to recipe

Directions:

Preheat oven to 375 degrees

Be sure to set out eggs, if using, and maple syrup ahead of time to come to room temperature.

If replacing eggs with flaxseed “flegg” variation, combine ground flaxseed and water, and set in fridge for five minutes to thicken 

Meanwhile, combine dry ingredients (oat bran, flour, baking soda, baking powder, salt, and all of the spices) into large mixing bowl and set aside

Next, mix together wet ingredients

Pour wet ingredients into dry ingredients, but do not overmix

Gently fold in any additional stir-in ingredients, such as blueberries, nuts, chocolate chips, and/or dried fruit, if using

Divide evenly among 12 prepared muffin tins

Sprinkle with sparkling sugar or cinnamon, if desired

Bake 18-22 minutes or until a toothpick inserted in the center comes out clean

Cool five minutes before serving

Store uneaten muffins in an airtight container in the fridge for up to five days, or freeze for up to three months.

Made From Scratch Black Beans–The Magical Food

“Three of the most beneficial, longevity promoting, anticancer foods are green vegetables, beans, and onions.”–Joel Fuhrman  

Let’s face it, many people, myself included, lead hectic lives. Balancing the demands of our time and energy with the desires of a little bit of comfort and/or down time, while also knowing we need to set aside time for good nutrition, can feel like an impossible task, especially when it comes to our budgets.  With the costs of food, fuel, housing, and other living expenses rising, who doesn’t want to save a little money and shave a little time whenever possible?  Saving time and money, while maintaining one’s health and sanity, can seem elusive. 

Black beans pack a cost-effective nutritional punch.

Enter the humble bag of dried beans–budget friendly, healthy, and honestly, not labor intensive! With a wide variety of beans from which to choose, dried beans are quite versatile. Even if you choose canned, beans are affordable on just about any budget and can be cooked into numerous recipes.  However, with a little bit of know-how, and especially with a pressure cooker–either electric or stove top–dried beans can be super easy to fix and much more economical than their canned counterparts.

Adding salt to the soaking water, in order to create a brine-soak, is optional. Some cooks debate whether or not you should, but most experts seem to agree that salt does allow the beans to soften even more.

Black beans and soybeans are the cornerstones of longevity diets around the world.”–Dan Buettner

 Beans are often one of the most overlooked, and even undervalued, sources of protein.  Chock full of iron, antioxidants, fiber and other nutrients, beans are a nutritional powerhouse that can be eaten daily.  In fact, regular consumption of beans is often considered an important dietary consideration in many longevity studies, including the popular, “Blue Zones,” coined by author, Dan Buettner, in his National Geographic article, “The Secrets of a Long Life,” and expanded upon in his book, The Blue Zones: Lessons for Living Longer from the People Who’ve Lived the Longest.  In fact, regular consumption of beans offers multiple benefits for the body.

Beans can soak up to 24 hours. The longer the soak, the softer they cook up, and the easier they are to digest.

A diet filled with regular consumption of beans and legumes can reduce LDL cholesterol by up to 5 percent!  In particular, black beans, with a whopping 15 grams of protein and 15 grams of fiber per one cup serving, have a low glycemic effect.  Therefore, eating black beans may reduce spikes in blood sugar, which may also lead to a reduction of risk for diabetes.  Additionally, the high fiber and high protein count of all beans, but in particular black beans, also keeps you feeling satiated longer which could lead to weight loss, or at the very least, maintenance of a healthy weight without feeling deprived. Black beans are also an excellent source of folate, manganese, magnesium, thiamine, and iron.  Talk about a nutritional dynamo!

Rinse well after soaking beans for desired length.

“Beans are such a nice, neutral canvas, you can make a big basic pot of them and then play around with them differently every day.”–Crescent Dragonwagon 

Black beans are versatile too. They are wonderful with almost any rice variation.  Stuff beans in tortillas or taco shells, sprinkle them on salads, add them to soup or chili, spoon them over potatoes, chips, or even fries. Black beans can also be made into brownies or added to a pan with a touch of oil and/or broth, heated up, and mashed into refrieds. They can also be blended into fun dips, such as black bean hummus. The choices are nearly limitless, as black beans–also known as turtle beans– have a mild, almost sweet flavor that lends itself well to a variety of spices and condiments as well as other additions, such as avocado, oranges, peppers, onions, tomatoes, spinach, kale, chili powder, cumin, salsa, garlic cilantro, chiles, to name a few.

Draining the cooking broth from the beans after cooking is a personal choice. I typically save most of the cooking broth, and use a slotted spoon for serving.

Come on, don’t be afraid.  Cooking beans from scratch isn’t hard, time consuming, or expensive.  If you don’t have a pressure cooker, you can always use a crock pot or cook low and slow on a stove for several hours–freeing your time up to do other tasks while keeping your budget in check.  

Open an inexpensive bag of beans, pour ’em into a bowl, add salt and water, then let them soak for up to 24 hours while you go about your life. When you’re ready, cook them up, and let the magic begin!

I encourage you to give this recipe a try.  If I can do it, anyone can do it!  Let me know how it goes!  I’d love to hear from you!

Leftovers can be stored in the fridge or up to a week or frozen for up to 3 months!

Ninja Foodie or Instant Pot Black Beans

Presoaking (Quick or Overnight)

1 cup dried black beans

3 cups water 

1 teaspoon kosher salt or ½ teaspoon table salt

Ninja Foodie or Instant Pot Black Beans

Adjust, eliminate, or add in spices to taste preferences.

1-2 teaspoon olive oil (optional) for those who prefer a little fat added to their beans

1-2 teaspoons minced garlic

½ cup chopped onion

1 cup soaked or dried black beans

1 dried ancho pepper or ½ teaspoon ground ancho chili powder 

½ teaspoon garlic powder

½ teaspoon onion powder

½ sea salt

½ teaspoon black pepper

2 teaspoons reduced sodium taco seasoning

2 cups of water

1 cup vegetable broth

Juice of 1 fresh lime (optional) 

Directions for soaking if preferred:

If using a traditional soaking method of  8-10 hours (although beans can be soaked longer–up to 24 hours–if preferred), place beans, water, and salt in a glass bowl. 

(Feel free to cover for the sake of cleanliness.)

Allow beans to soak either overnight or during the day while away at work. 

When ready to cook, drain in a colander or mesh basket and rinse well.

If using a quick soak method, place dried beans, salt, and water into a pan.

Cover and bring to a boil over medium-heat, and allow to simmer for 5 minutes.

Remove from heat and allow to cool to room temperature for approximately 30 minutes.

When ready to cook, drain in a colander or mesh basket and rinse well.

OR skip all of the presoak methods and simply measure out dried black beans and rinse well before using. 

Ninja Foodie or Instant pot cooking directions:

Swirl oil in the bottom of the pot if using.

Add in minced garlic and onions.

Next add in black beans.

If using a dried ancho pepper, place it on top of beans.

Sprinkle on desired spices–either following my list of ingredients, or go rogue by adding, eliminating, or adjusting the listed spices–they’re your beans after all!

Pour on water.

Fasten the pressure cooker lid and set the nozzle to seal.

Click high pressure, and set time for cooking.

IF beans have soaked, set cooking time for 5 minutes; IF beans have NOT soaked, set cooking time for 25 minutes.

Once the cooking cycle stops, allow the recipe to sit for at least 10 minutes (Do nothing with lid or seal.)

Carefully release the pressure seal, avoiding skin contact with the steam. (Trust me, it can burn!)

Once steam has fully released, carefully remove the lid, stir, and serve.

If you prefer, drain beans; however, I find that the beans store/taste/texture remains best when stored in a bit of their own broth, but it’s really personal preference.  We simply use a slotted spoon to ladle beans.

Can be stored up to one week in the refrigerator or in the freezer for up to 6 months.

Makes approximately 3 cups of cooked beans.

Recipe can be doubled! 

Add your favorite vegetables, starch, and condiment(s) to your made-from-scratch beans, and you’ve got one healthy meal!